Fluffy Buns
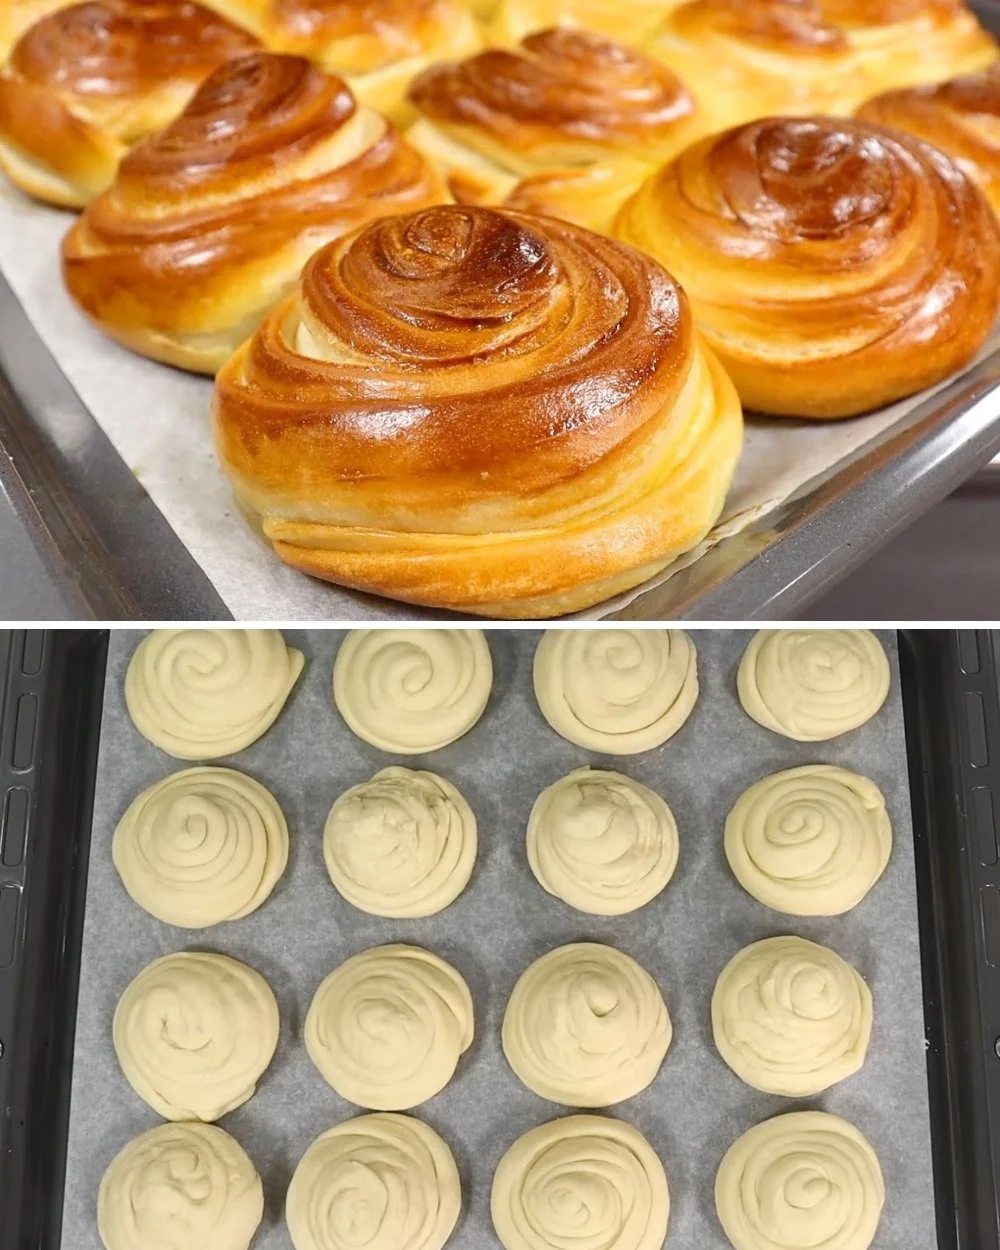
There’s something incredibly satisfying about fresh, fluffy buns just out of the oven. Whether you’re hosting a gathering, enjoying a cozy family dinner, or just indulging in a comforting snack, these buns are a wonderful addition to any meal. They’re versatile, soft, and perfect for sandwiches or simply slathered with butter. I’ve enjoyed making these with varying fillings and toppings, but there’s something about the simplicity of a plain fluffy bun that just hits the spot.
Why You’ll Love This Recipe
- Soft and tender texture that pulls apart easily.
- Simple ingredients you likely already have at home.
- Perfect for various uses, from burgers to breakfast sandwiches.
- Can be made ahead of time and stored for later use.
- Great for baking with kids or newer bakers!
Ingredients
- 200 ml (about ¾ cup) warm milk
- 200 ml (about ¾ cup) warm water
- 120 g (½ cup) sugar
- 10 g (1 packet) dry yeast
- 1 tsp salt
- 2 egg whites
- 90 ml (⅓ cup) vegetable oil
- 820 g (about 6½ cups) all-purpose flour, sifted
- 50 g (3-4 tablespoons) melted butter
- 2 egg yolks
- 2 tablespoons milk for brushing
Ingredient Notes
Using warm liquids is crucial for activating the yeast. Make sure they’re not too hot, as this can kill the yeast, preventing your buns from rising. If you’re out of all-purpose flour, you can use bread flour for added chewiness. Vegetable oil keeps the buns moist but can be replaced with melted butter for richer flavor.
Kitchen Tools Needed
- Mixing bowl
- Mixer with a hook attachment (or a wooden spoon and some elbow grease)
- Measuring cups and spoons
- Baking sheet
- Plastic wrap or a clean kitchen towel
- Pastry brush
Step-by-Step Instructions
-
In a mixing bowl, combine the warm milk and water. Sprinkle in 2 tablespoons of sugar and the dry yeast. Mix gently and let it sit for about 15 minutes until frothy. This shows that the yeast is activated!
-
Add the remaining sugar, salt, egg whites, and vegetable oil to the yeast mixture. Use the mixer with a hook attachment to mix until combined.
-
Gradually add in the sifted flour while mixing, until a smooth dough forms. Knead the dough for about 5-6 minutes using the mixer or around 10 minutes by hand. The dough should feel soft and elastic, not sticky.
-
Cover the bowl with plastic wrap or a clean kitchen towel and let the dough rise in a warm place for about 1 to 1.5 hours, or until it doubles in size.
-
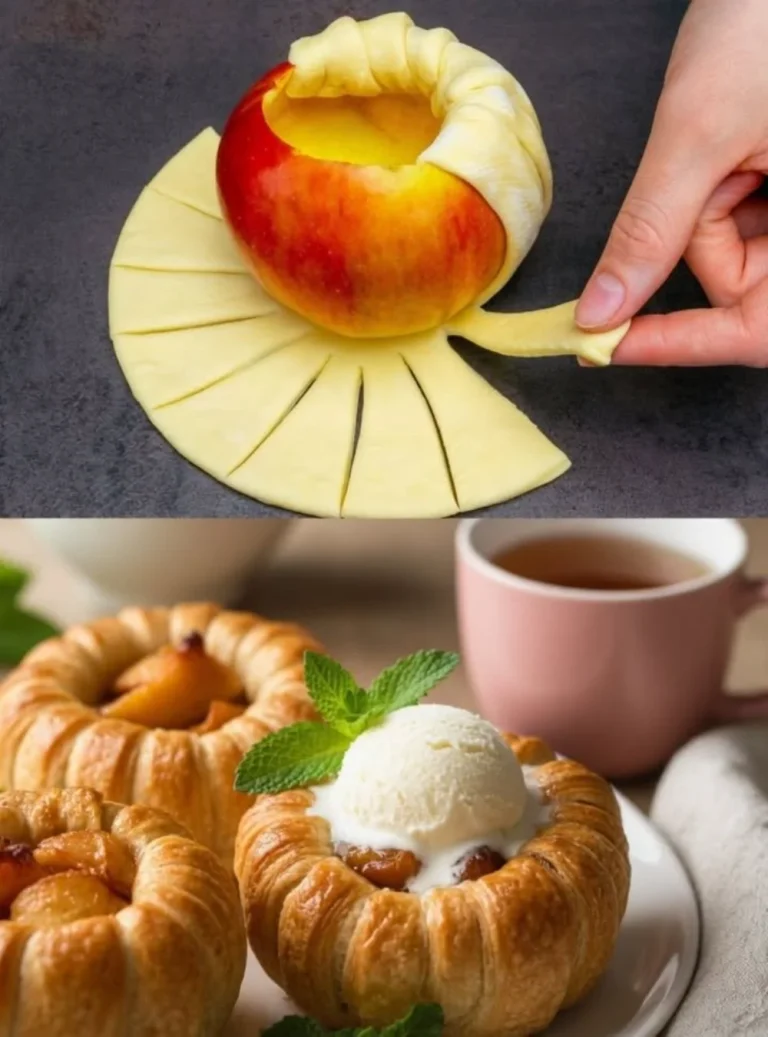
Once risen, punch down the dough and divide it into eight equal pieces. Roll each piece into a ball, then flatten slightly. Cut each piece in half, fold them like a fan, and roll each piece from the base into a snail shape.
-
Place the formed buns on a baking sheet lined with parchment paper, cover them with a towel, and let them rise for another 20 minutes.
-
Preheat your oven to 180°C (350°F). In a small bowl, mix the egg yolks with 2 tablespoons of milk. Brush the tops of the risen buns with this mixture for a beautiful golden finish.
-
Bake the buns for 25-30 minutes, or until they are golden brown. The aroma will fill your kitchen! Allow them to cool slightly before serving.
Pro Tips
- Ensure your yeast is fresh; expired yeast will lead to dense buns.
- For a touch of flavor, consider adding a bit of vanilla extract or a sprinkle of nutmeg to the dough.
- If your buns aren’t browning well in the oven, you can place them under the broiler for an extra minute, but keep an eye on them!
Common Mistakes
- Not allowing the dough to rise long enough can result in dense buns.
- Adding flour too quickly can make the dough tough; go in small increments.
- Forgetting to brush with egg wash can leave your buns looking pale instead of golden.
Variations
- Add a sprinkle of fresh herbs to the dough for a savory twist.
- Mix in some shredded cheese for cheesy buns, perfect for pairing with soups.
- Sweeten the deal by adding dried fruits or chocolate chips for a delightful treat.
Serving Suggestions
These fluffy buns are perfect for sandwiches, sliders, or even as a side for soups and salads. Serve warm with butter, jam, or honey for a delightful touch.
Storage Instructions
Store any leftover buns in an airtight container at room temperature for up to three days. They can also be frozen for up to a month. Just make sure they are completely cooled before freezing.
Reheating Tips
To reheat, simply place the buns in a preheated oven at 150°C (300°F) for about 5-10 minutes until warmed through. This brings back their fluffy texture.
Nutrition Estimate (per bun)
- Calories: approximately 180
- Protein: 3 g
- Carbohydrates: 30 g
- Fat: 5 g
Recipe Summary
Prep Time: 1 hour 15 minutes
Cook Time: 30 minutes
Total Time: 1 hour 45 minutes
Servings: 8 buns
Cuisine: Baking
Course: Side Dish
Calories: 180
Frequently Asked Questions
Can I make these buns ahead of time?
Yes! You can prepare the dough up to the first rise and then shape and bake them on the day you plan to serve.
What kind of flour is best for these buns?
All-purpose flour works wonderfully, but bread flour will give you an even chewier texture.
Can I add flavors to the dough?
Absolutely! Feel free to experiment with herbs, spices, or even cheese mixed into the dough.
What if my buns turn out dense?
This usually means the dough didn’t rise enough or the yeast was expired. Be sure to check the freshness of your ingredients!
Are these buns suitable for freezing?
Yes, they freeze very well. Just make sure they’re completely cooled and stored properly.
Enjoy the process of making these delightful fluffy buns, and savor each bite!