The Best Breakfast Bread Ideas for Quick Mornings
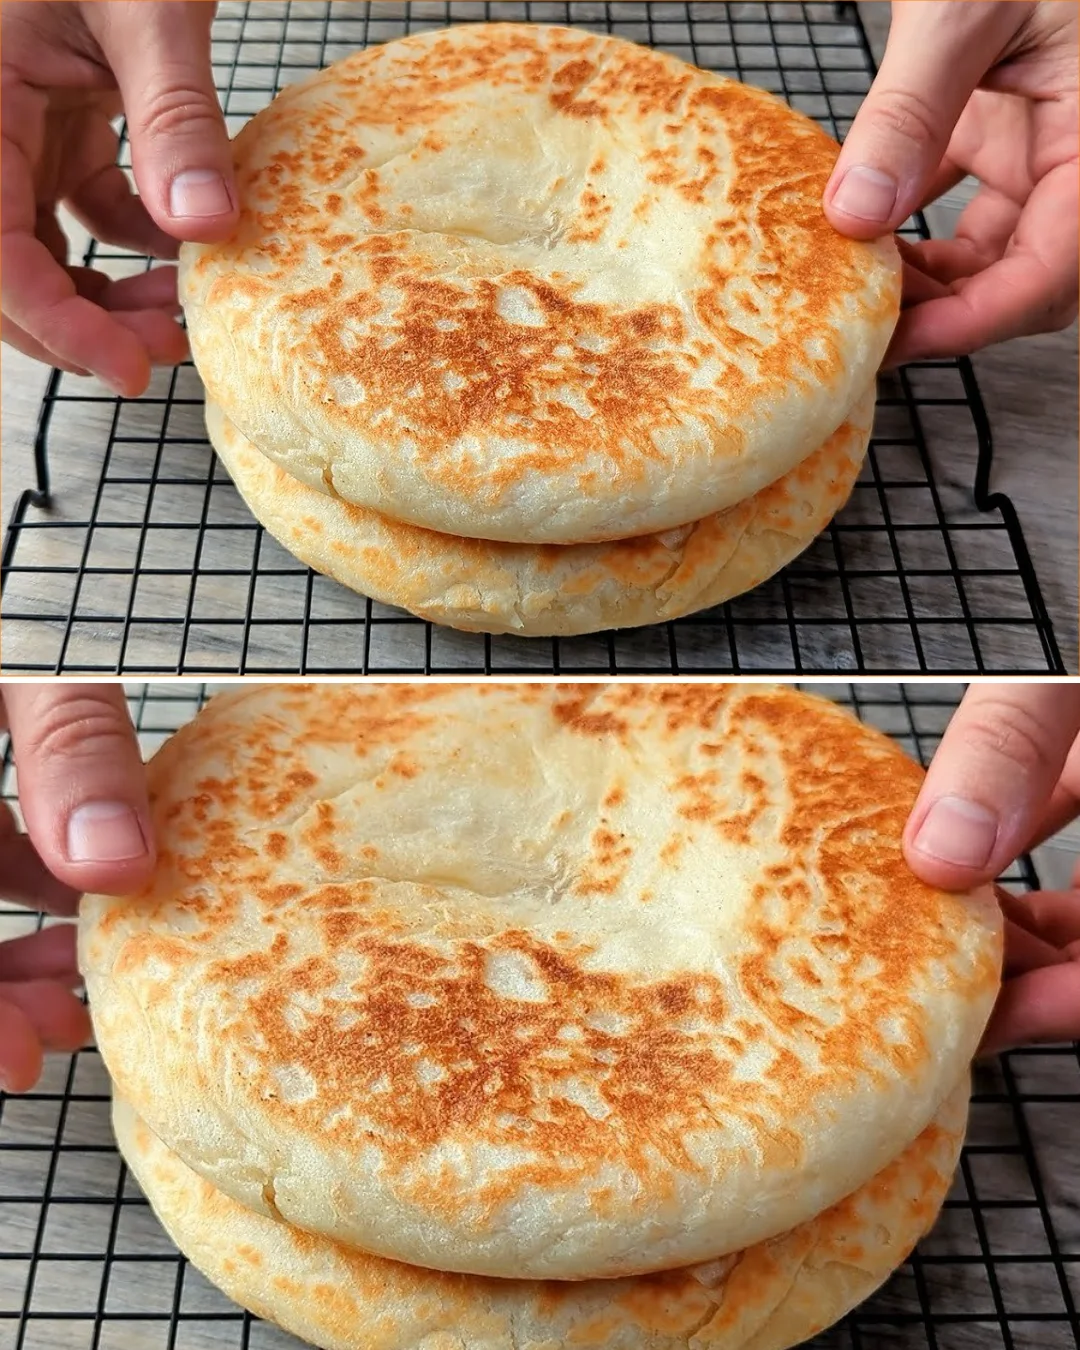
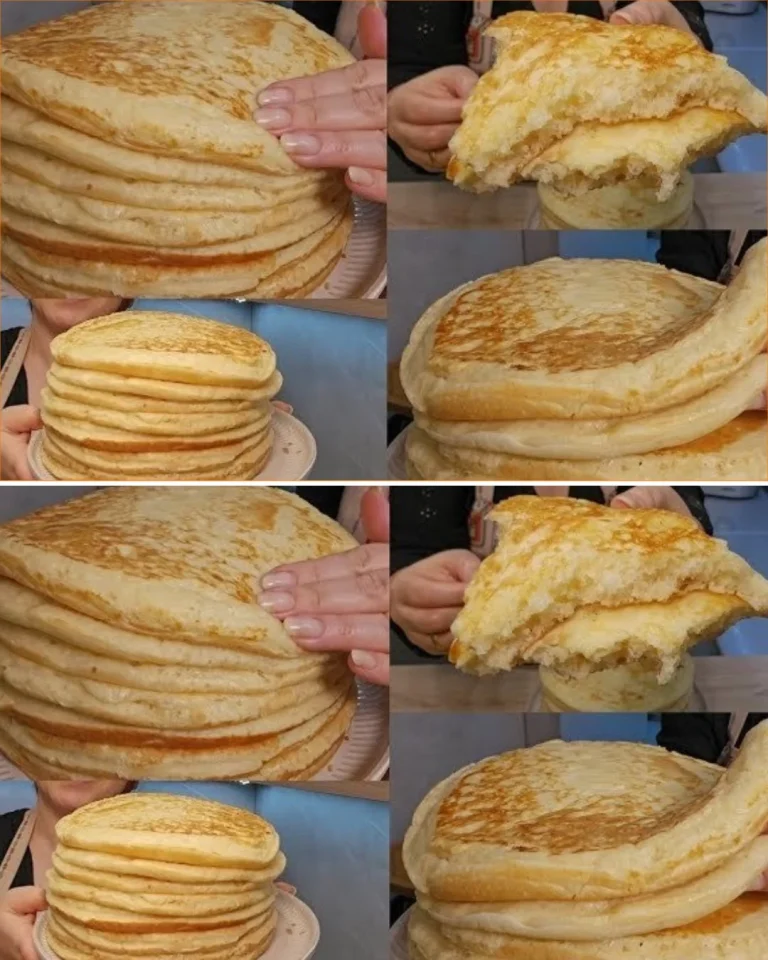
There’s a reason simple homemade breakfast bread keeps showing up in home kitchens right now: it’s inexpensive, filling, and surprisingly versatile. This version is especially nice because it uses a soft yeast dough enriched with milk, oil, and butter, which gives you a tender crumb and a lightly golden crust without needing a mixer or oven.
I tested this like I would on a busy morning, and the biggest win was how forgiving the dough turned out. The first time I made it, I let it rest a little longer than written, and the texture improved noticeably. The bread cooks up best when the skillet is kept at a steady medium heat, so the outside turns golden before the inside dries out.
Why You’ll Love This Recipe
- Soft, fluffy breakfast bread with a rich, buttery finish
- No oven needed, so it’s great for small kitchens or hot weather
- Uses basic pantry ingredients you probably already have
- Makes a generous batch, perfect for family breakfasts
- The dough is forgiving and easy to handle, even for beginners
- Tastes especially good warm, when the butter is still slightly melty inside
Ingredients
- 1 cup warm water (240 ml), about 100 to 110°F (38 to 43°C)
- 1 tablespoon instant or active dry yeast (10 g)
- 4 teaspoons sugar (16 g)
- 1/3 cup vegetable oil (80 ml)
- 1 cup warm milk (240 ml), about the same temperature as the water
- 1/2 teaspoon salt (3 g)
- 5 cups all-purpose flour (600 g), plus 1/4 to 1/2 cup more for kneading and shaping if needed
- 3 1/2 ounces butter (100 g), divided into 8 pieces
Ingredient Notes
Warm water and warm milk help the yeast wake up and keep the dough soft. If the liquid is too hot, the yeast can weaken, so aim for warm, not hot.
The sugar is not just for sweetness; it gives the yeast a quick boost and helps the bread brown nicely.
Vegetable oil keeps the dough tender, while butter adds richness during cooking. I wouldn’t skip the butter if you want that soft, almost layered bite.
All-purpose flour works well here. Depending on humidity, you may need a little extra flour while shaping, but add it gradually. Too much can make the bread dense.
Kitchen Tools Needed
- Large mixing bowl
- Measuring cups and spoons
- Wooden spoon or sturdy spatula
- Clean kitchen towel or plastic wrap
- Floured work surface
- Sharp knife or bench scraper
- Large skillet or griddle
- Spatula
- Cooling rack
Step-by-Step Instructions
-
In a large mixing bowl, combine the warm water, yeast, sugar, and vegetable oil. Stir well, then cover the bowl and let it sit for about 10 minutes. The mixture should look a little foamy on top; that tells you the yeast is active.
-
Add the warm milk and salt to the yeast mixture. Stir to combine.
-
Gradually add the flour, about 1 cup at a time, stirring with a spoon until a rough dough forms. When it starts pulling away from the sides of the bowl, turn it out onto a lightly floured surface.
-
Knead the dough for 5 to 7 minutes, adding only enough extra flour to keep it from sticking. The dough should feel soft and smooth, not stiff. In testing, I found that a slightly tacky dough gives a much lighter bread than one packed with extra flour.
-
Place the dough back in the bowl, cover it, and let it rest in a warm place for about 45 to 60 minutes, or until noticeably puffed. It doesn’t need to fully double, but it should look airy.
-
Transfer the risen dough to a floured surface and divide it into 12 equal pieces. Shape each piece into a ball, keeping the surface smooth.
-
Divide the butter into 8 equal portions. Flatten each dough ball slightly, place a piece of butter in the center, then wrap the dough around it and pinch it closed well. Roll gently to seal and round it out again.
-
Heat a dry skillet or lightly greased skillet over medium-low to medium heat. The pan should be hot enough to sizzle gently, but not so hot that the bread browns too fast.
-
Cook the bread pieces in batches for about 3 minutes on the first side and 2 to 3 minutes on the second side, until golden brown and cooked through. If the bread browns too quickly, lower the heat slightly.
-
As each piece finishes, pierce it once or twice with a toothpick or skewer to release steam. This helps prevent the bread from puffing awkwardly inside.
-
Transfer the cooked bread to a wire rack and let it cool for a few minutes before serving. They’re best warm, when the crust is still soft and the inside is tender.
Pro Tips
- Keep the skillet on medium-low if your stove runs hot. I learned quickly that these bread pieces brown before the center finishes if the heat is too high.
- Seal the butter in the dough well. If it leaks out, the bread can fry on the pan instead of cooking evenly.
- Use only enough flour to handle the dough. A softer dough gives you a lighter breakfast bread.
- Let the dough rest until it looks puffy, not just until the timer ends. Room temperature makes a big difference here.
- If your first piece cooks too fast, lower the heat before continuing with the rest.
Common Mistakes to Avoid
- Using milk or water that is too hot, which can damage the yeast
- Adding too much flour on the counter, which makes the bread heavy
- Cooking on high heat and burning the outside before the inside is done
- Skipping the sealing step and letting the butter escape
- My first attempt mistake: I cooked a piece too soon after shaping, and it spread more in the pan. A short 5-minute rest helped the dough hold its shape much better.
Variations
- Add a little cinnamon and sugar to the dough for a sweeter breakfast version
- Brush the finished bread with melted butter and a pinch of salt
- Fill each piece with a small cube of cheese instead of butter for a savory option
- Serve with honey, jam, or softened butter on the side
Serving Suggestions
Serve these breads warm for breakfast with tea, coffee, or milk. They’re also good alongside eggs, yogurt, or fresh fruit. If you want a fuller meal, split them open and tuck in scrambled eggs or a slice of cheese.
Storage Instructions
Let the bread cool completely before storing. Keep it in an airtight container at room temperature for up to 2 days. For longer storage, refrigerate for up to 4 days, though the texture is best the first day.
You can also freeze them for up to 2 months. Wrap individually, then place in a freezer bag so they don’t dry out.
Reheating Tips
Reheat in a dry skillet over low heat for 1 to 2 minutes per side, or warm in a 300°F (150°C) oven for about 5 to 7 minutes. If reheating from frozen, thaw first for the best texture. A light brush of butter after reheating brings back the soft finish nicely.
Nutrition Estimate
Per serving, based on 12 pieces:
- Calories: 255
- Protein: 5 g
- Carbs: 34 g
- Fat: 10 g
Recipe Summary Card
- Prep Time: 20 minutes
- Cook Time: 35 minutes
- Total Time: 1 hour 25 minutes
- Servings: 12
- Cuisine: Homemade
- Course: Breakfast
- Calories: 255 per serving
Frequently Asked Questions
Can I use active dry yeast instead of instant yeast?
Yes. It works well here. Just make sure it foams during the first 10-minute rest so you know it’s active.
Why is my dough sticky?
A slightly sticky dough is normal. If it’s hard to shape, add flour a tablespoon at a time, but don’t overdo it.
Can I bake these instead of pan-cooking them?
This recipe is designed for the skillet method, which gives the best soft texture. Baking would change the result and the timing.
How do I know when they’re fully cooked?
The outside should be golden, and the bread should feel set when pressed lightly. If you’re unsure, split one open; the center should look cooked and fluffy, not doughy.
Can I make the dough ahead of time?
Yes, you can make the dough a few hours ahead and refrigerate it after the first rise. Let it come back to room temperature before shaping.
Conclusion
This is the kind of breakfast bread that feels special without being difficult. It uses simple ingredients, comes together with everyday tools, and delivers a soft, buttery result that works well for both busy mornings and slow weekend brunches.
Tested Note
I tested this one with both medium and medium-low heat, and the lower setting gave the most even color. Letting the shaped dough rest for a few minutes before cooking made the bread easier to seal and improved the final texture.