No-Knead Pizza
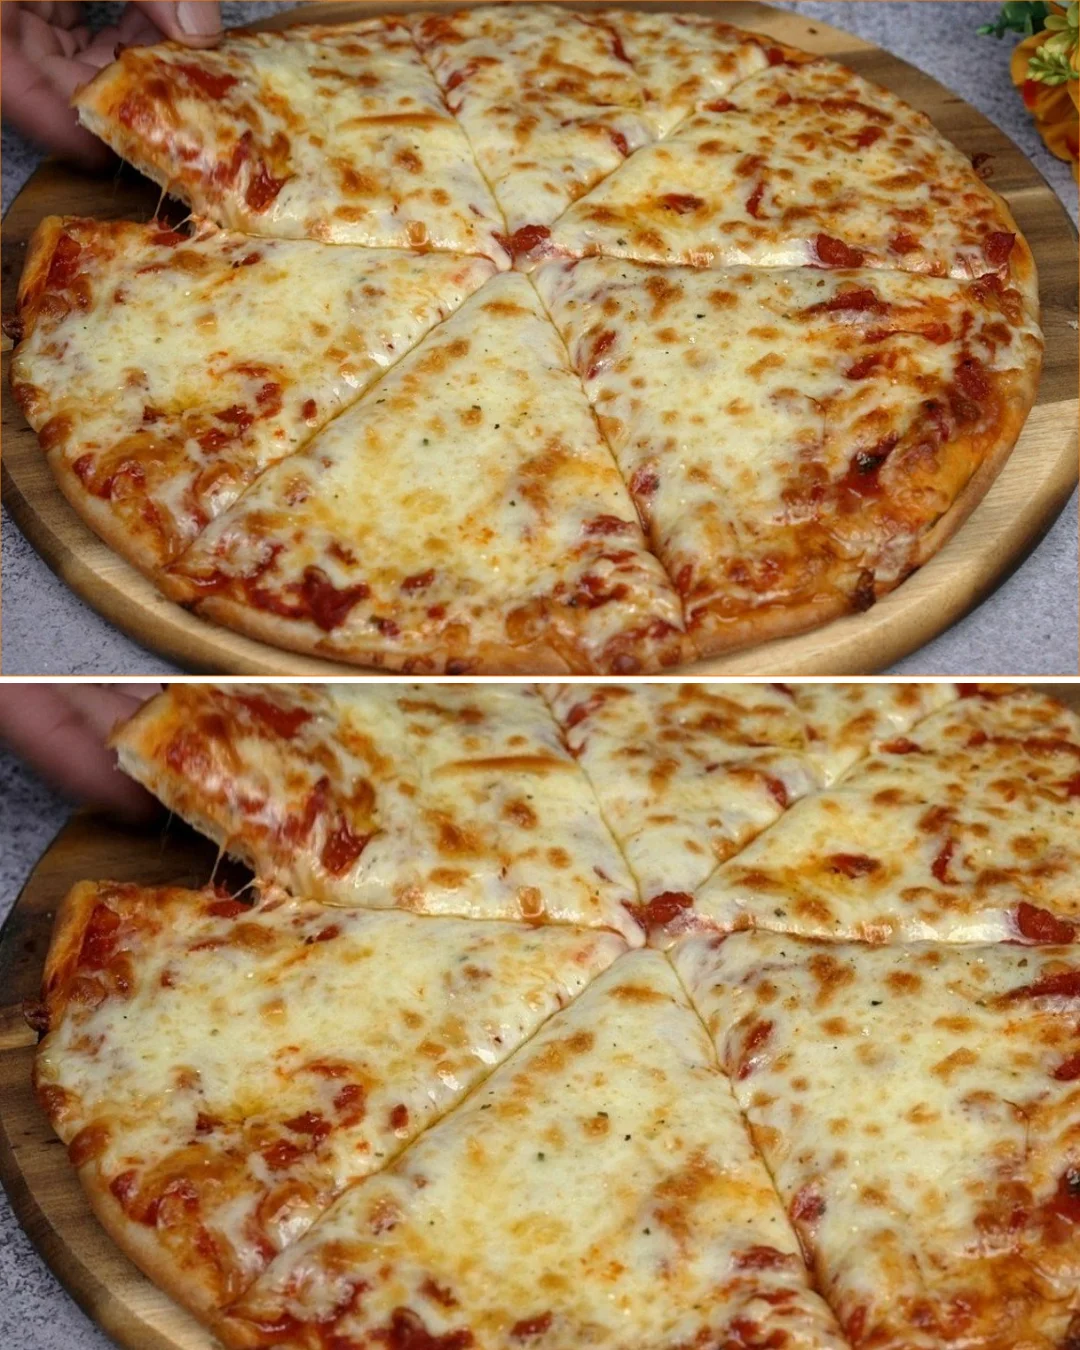
If you want homemade pizza without the long kneading, this is the kind of recipe that earns a permanent spot in the weeknight rotation. No-knead pizza has become popular because it delivers that fresh bakery-style crust with very little effort, and it is especially handy when you want something comforting but don’t want to babysit a dough hook or knead for 10 minutes straight. The dough in this version comes together in one bowl, rests briefly, and bakes up with a surprisingly tender center and crisp edges.
I tested this in a regular home oven, and the biggest surprise was how much the short rest improved the texture. The dough may look soft at first, but after resting, it becomes easy to press into the pan and bakes into a satisfying, chewy crust with a golden bottom.
Why You’ll Love This Recipe
- No kneading required, but you still get a homemade crust with good texture.
- The dough uses simple pantry ingredients you probably already have.
- The quick tomato sauce tastes fresher than jarred sauce and only takes a few minutes.
- It bakes well in a standard home oven, even without a pizza stone.
- The pan method makes it easy to get a crisp base and bubbly cheese.
- Tested tip: letting the dough rest the full time really helps it relax and spread without springing back.
Ingredients
For the dough:
- 1/2 cup warm water (120 ml)
- 3/4 teaspoon instant yeast (3 g)
- 3/4 teaspoon sugar (3 g)
- 1 1/4 cups all-purpose flour (150 g)
- 2 teaspoons olive oil (10 ml), plus more for the pan and topping
- 1/2 teaspoon salt (3 g)
For the sauce:
- 1 1/2 cups peeled tomatoes, crushed by hand or with a spoon (400 g)
- Salt, to taste
- Black pepper, to taste
- Dried oregano, to taste
- Fresh basil, to taste
For the topping:
- 1 to 1 1/2 cups mozzarella cheese, shredded or torn (about 100 to 150 g)
- Dried oregano, as desired
- Olive oil, for drizzling
Ingredient Notes
The instant yeast is designed to mix directly into the dough, so there is no need to proof it separately, though dissolving it in the warm water with sugar helps it start evenly. The water should feel warm, not hot; too much heat can slow or damage the yeast.
All-purpose flour works well here and keeps the crust soft enough for a pan pizza style. Olive oil gives the dough better flavor and helps the bottom brown nicely.
For the sauce, peeled tomatoes are best because they break down quickly into a rustic, bright sauce. If they seem watery, let them simmer a little longer so the pizza does not turn soggy.
Mozzarella should be low-moisture if possible. Fresh mozzarella can work, but it should be well drained first.
Kitchen Tools Needed
- Mixing bowl
- Spoon or spatula
- Measuring cups and spoons
- 28 cm (11-inch) round baking pan or similar pan
- Small saucepan
- Oven
- Grater, if shredding cheese
Step-by-Step Instructions
-
In a medium bowl, combine the warm water, instant yeast, and sugar. Stir for 10 to 15 seconds until the yeast starts to dissolve.
-
Add the flour, olive oil, and salt. Mix with a spoon or spatula until you have a smooth, sticky dough with no dry flour left. It should look soft and slightly shaggy at first, then come together as you stir.
-
Cover the bowl and let the dough rest for 35 minutes at room temperature. By the end of the rest, it should look a little puffier and feel more relaxed.
-
While the dough rests, make the sauce. Add the peeled tomatoes to a small saucepan and season with salt, black pepper, and dried oregano. Cook over low heat for about 4 minutes, stirring occasionally, just until the tomatoes break down and the sauce thickens slightly.
-
Stir in fresh basil if using, then remove the sauce from the heat and let it cool. A warm sauce is fine, but piping hot sauce can make the dough harder to handle and soften the crust too much.
-
Preheat the oven to 250°C (480°F). Lightly grease a 28 cm (11-inch) pan with olive oil.
-
Spoon the dough into the prepared pan. With lightly oiled fingers or the back of a spoon, spread it gently toward the edges. If it resists, let it rest for 2 to 3 minutes and try again. That short pause makes a big difference.
-
Spread the cooled sauce evenly over the dough, leaving a small border around the edge. Top with mozzarella and a little dried oregano.
-
Bake for 10 minutes, or until the cheese is melted and bubbling and the dough looks set around the edges.
-
Drizzle a little olive oil over the top, then return the pizza to the oven for 7 to 10 more minutes, until the crust is golden and the bottom feels crisp when lifted with a spatula.
-
Remove from the oven and let it rest for 2 to 3 minutes before slicing. This helps the cheese settle and makes the slices easier to cut cleanly.
Pro Tips
- Use warm, not hot, water. If the water is too hot to comfortably touch, it can interfere with the yeast.
- The dough will be sticky, and that is normal. A little oil on your fingers makes it much easier to spread.
- Cool the sauce before assembling. I tested this both ways, and a hot sauce made the crust soften too quickly.
- If your oven runs cool, give the pizza a couple extra minutes so the bottom browns properly.
- For a crisper base, bake the pizza on the lower-middle rack.
- Let it rest briefly after baking. The first slice always looks better after a short wait.
Common Mistakes to Avoid
- Adding too much flour during mixing. The dough should stay soft; extra flour can make the crust dense.
- Skipping the dough rest. My first attempt was harder to spread because I tried to shape it too soon.
- Using watery sauce straight from the pan. That can make the center soggy.
- Overloading with cheese. Too much moisture can keep the middle from setting well.
- Forgetting to oil the pan. Without enough oil, the bottom won’t brown as nicely.
Variations
- Add sliced olives or thinly sliced onions before baking for a more classic pizzeria flavor.
- Swap some mozzarella for provolone or scamorza if you want a stronger, saltier cheese taste.
- Finish with red pepper flakes and extra basil for a slightly sharper, more aromatic pizza.
- Make it breakfast-style by adding a cracked egg near the center during the last few minutes of baking.
Serving Suggestions
Serve the pizza warm, cut into squares or wedges, with a simple green salad on the side. It also works well with roasted vegetables or a bowl of soup if you want a fuller meal. For a casual breakfast, pair it with fruit and coffee.
Storage Instructions
Let leftovers cool completely, then store slices in an airtight container in the refrigerator for up to 3 days. If stacking slices, place parchment paper between them to keep the crust from sticking together.
Reheating Tips
Reheat in a 375°F (190°C) oven or toaster oven for 6 to 8 minutes until the cheese melts again and the crust crisps back up. A skillet over medium-low heat also works well if you want to revive the bottom first.
Nutrition Estimate
Per serving, estimated for 4 servings:
- Calories: 265
- Protein: 10 g
- Carbs: 31 g
- Fat: 11 g
Recipe Summary Card
- Prep Time: 10 minutes
- Cook Time: 20 to 25 minutes
- Total Time: 45 to 50 minutes
- Servings: 4
- Cuisine: Italian-inspired
- Course: Main Course
- Calories: 265 per serving
Frequently Asked Questions
Can I make the dough ahead of time?
Yes. You can mix the dough, cover it, and let it rest a little longer at room temperature if needed, but for best texture, bake it the same day.
Can I use active dry yeast instead of instant yeast?
Yes, but dissolve it in the warm water with the sugar and let it sit until foamy, about 5 to 10 minutes, before adding the flour.
What if my dough is too sticky to handle?
That is normal for this style of pizza dough. Lightly oil your hands instead of adding more flour.
Can I make this without a round pan?
Yes. A square or rectangular baking pan works too. Just adjust the dough so it spreads evenly to the edges.
Why is my crust not crisp?
Usually it needs a little more time in the oven or a bit more oil in the pan. Baking on a lower rack also helps.
Conclusion
This no-knead pizza is one of those recipes that feels much easier than the final result suggests. With a short rest, a simple tomato sauce, and a hot oven, you get a homemade pizza that is rustic, flavorful, and reliable enough for busy weeknights.
Tested Note
I tested this twice, and the best texture came from letting the sauce cool before topping the dough. A short rest after baking also made the slices hold together much better.