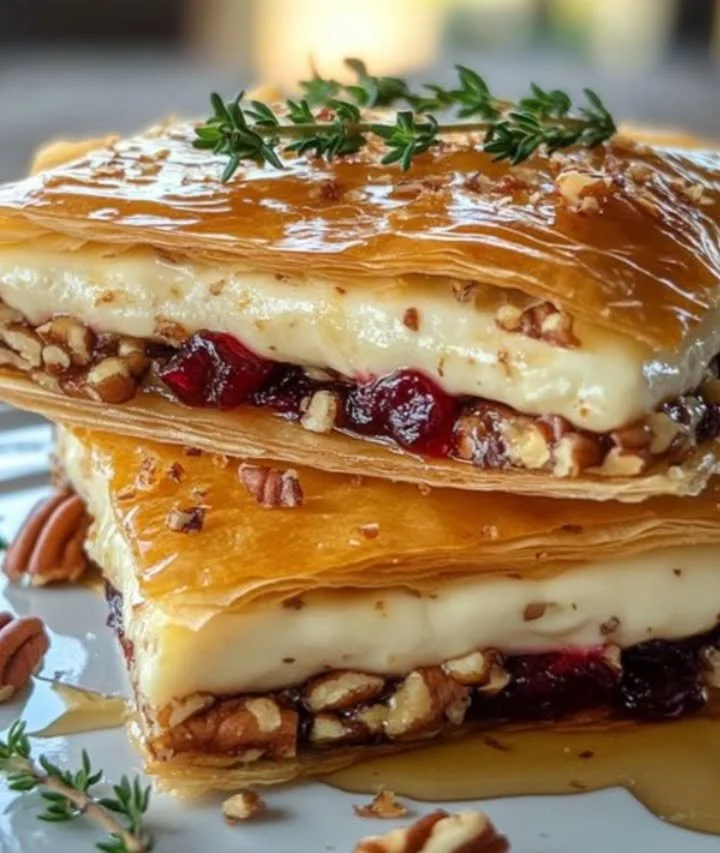
No-Bake Honey Walnut Biscuit Slice
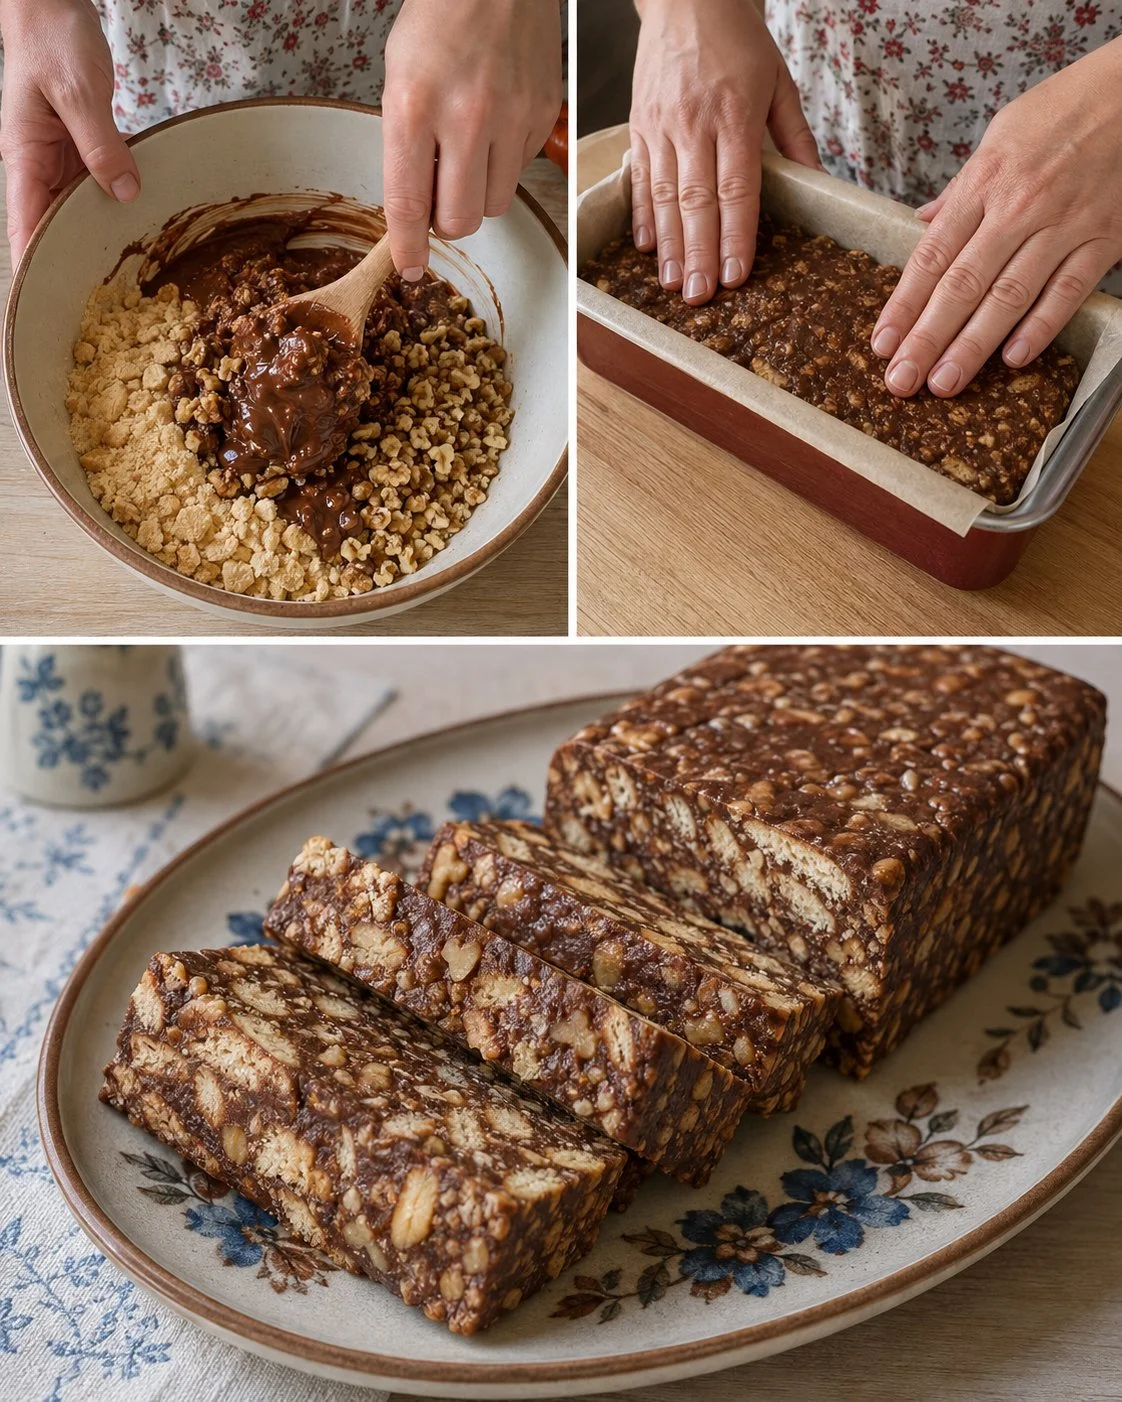
Sometimes you want a sweet treat that feels indulgent but actually comes together without fuss or an oven in sight. This no-bake honey walnut biscuit slice fits the bill perfectly—a simple combination of crunchy biscuits, toasted walnuts, and a rich, honey-cocoa glaze that sets into irresistible bars. It’s one of those rare desserts that somehow manages to feel both homemade and a little bit fancy, without any complicated steps or fancy ingredients.
The best part is how the honey adds a natural sweetness and depth, balancing the cocoa’s richness and the buttery texture. Mixing warm glaze with crunchy biscuits and nuts creates a delightful contrast that’s just right. This slice holds together nicely after chilling but stays tender enough to enjoy right away. It’s ideal for a last-minute dessert, afternoon snack, or even a little treat with your coffee. Adjusting the texture by chopping the biscuits smaller or adding extra nuts can easily customize it to your taste.
Why You’ll Love This Recipe
- No baking required, making it quick and easy for busy days
- Combines crunchy biscuits and walnuts with a smooth honey-cocoa glaze
- Reliable, set-it-and-forget-it chilling means minimal hands-on time
- Subtle natural sweetness from honey blends better than refined sugars
- Versatile enough for casual snacks or simple dessert plates
- Small changes in biscuit size or walnuts let you tailor the texture perfectly
Ingredients
- 250 g (9 oz) plain biscuits (digestive biscuits or tea biscuits work well)
- 1 cup (120 g) walnuts, chopped
- 100 g (7 tbsp) unsalted butter
- 3 tbsp (60 ml) honey
- 2 tbsp (15 g) cocoa powder (unsweetened)
- 1/3 cup (80 ml) milk (whole milk preferred for richness)
Ingredient Notes
Plain biscuits act as the base, providing gentle sweetness and crunch without overpowering. Digestive or Marie biscuits are perfect here—avoid overly sweet or flavored types. Walnuts add texture and a slightly earthy flavor that complements the cocoa. You can lightly toast the walnuts beforehand for extra aroma.
Using butter, honey, and cocoa powder warmed together gives a smooth, glossy glaze that binds everything naturally without extra sugar. Cocoa powder should be unsweetened to control sweetness and avoid bitterness—sift it if lumpy. Whole milk works best for creaminess, but any milk can be used.
Kitchen Tools Needed
- Mixing bowl
- Small saucepan
- Whisk or spoon for stirring
- Loaf pan (8 x 4 inches / 20 x 10 cm)
- Parchment paper or plastic wrap for lining
- Measuring cups and spoons
- Knife for chopping walnuts
Step-by-Step Instructions
-
Break the biscuits into small pieces by hand or inside a sealed bag with a rolling pin. Aim for mostly small chunks, about 1/2 inch (1.3 cm) pieces, but a little variation gives a nice texture.
-
Chop the walnuts roughly, so there’s a mix of small fragments and slightly larger pieces for crunch.
-
In a small saucepan over low heat, combine butter, honey, cocoa powder, and milk. Stir gently until melted and smooth—avoid boiling. This should take 3 to 5 minutes. The mixture will be glossy and fluid.
-
Remove from heat and pour the warm glaze over the biscuit and walnut mixture. Stir everything together well, making sure every biscuit piece is coated.
-
Line your loaf pan with parchment paper or plastic wrap, leaving some overhang for easy removal later. Press the mixture firmly and evenly into the pan using the back of a spoon or your hands.
-
Chill in the refrigerator for at least 2 hours, or until completely firm. This lets the glaze set and the flavors meld.
-
Once set, lift the slice from the pan using the overhanging paper. Cut into rectangular bars or squares with a sharp knife—and enjoy!
Pro Tips
- Crushing the biscuits unevenly helps keep the texture interesting—too finely crushed can be crumbly; too large won’t hold as well.
- Use medium-low heat when melting the glaze to avoid burning honey or cocoa. Stir constantly.
- Press the mixture firmly into the pan to help the slice hold together nicely after chilling.
- Let the slice chill completely before cutting to prevent crumbling or sticky edges.
- If walnuts seem too strong or dry, swap half for pecans or almonds for a milder crunch.
- Store leftovers chilled for best texture—warming them can soften the slice too much.
Common Mistakes
- Melting the butter and honey mixture too quickly or over high heat can burn the cocoa, ruining flavor.
- Failing to line the pan or not leaving enough overhang makes removing the slice tricky.
- Pressing the mixture too lightly results in crumble-prone bars that fall apart easily.
- Not chilling long enough can cause sticky, soft slices that don’t slice cleanly.
- Using flavored or sweetened biscuits changes the balance and can make the slice overly sweet or mushy.
Variations
- Swap walnuts for other nuts like pecans, almonds, or hazelnuts for different flavors and textures.
- Add a handful of mini chocolate chips or dried fruit such as raisins or chopped dates for bursts of extra sweetness.
- Sprinkle a pinch of sea salt on top after pressing to elevate the honey and cocoa flavors.
- For a lighter version, replace half the butter with coconut oil or use lower-fat milk.
Serving Suggestions
These bars are perfect on their own with a cup of tea or coffee—an ideal afternoon pick-me-up. They also work well chopped into smaller bites for sharing at parties or as a portable snack. Serve slightly chilled for the best texture; they’re not too sweet and pair nicely with plain yogurt or a fresh fruit salad if you want something fresh on the side.
Storage Instructions
Store the slice covered in an airtight container in the refrigerator. It will keep well for up to 5 days. The bars can also be frozen for up to a month; just thaw in the fridge overnight before slicing. Avoid leaving them at room temperature for long periods as they might soften too much.
Reheating Tips
Reheating isn’t recommended as it softens the chocolate glaze and can make the slice sticky or greasy. It’s best enjoyed cold or at room temperature straight from the fridge.
Nutrition Estimate (per slice, makes about 12 slices)
- Calories: 200
- Protein: 3 g
- Carbohydrates: 15 g
- Fat: 14 g
Recipe Summary
- Prep Time: 10 minutes
- Cook Time: 5 minutes
- Chilling Time: 2 hours
- Total Time: 2 hours 15 minutes
- Servings: 12 bars
- Cuisine: No-bake dessert
- Course: Snack or Dessert
- Calories: 200 per serving
Frequently Asked Questions
Can I use gluten-free biscuits?
Yes, plain gluten-free biscuits will work fine here. Just choose a sturdy biscuit that holds together well.
Can I substitute honey with maple syrup or another sweetener?
Maple syrup can be used but will result in a thinner glaze and slightly different flavor. Adjust the amount slightly and be careful with the melt temperature.
What’s the best way to chop walnuts for this recipe?
Chop with a sharp knife into uneven chunks for texture, or pulse gently in a food processor. Avoid finely ground nuts.
Can I make this slice vegan?
It’s possible by swapping butter for coconut oil and using a plant-based milk, but the texture and flavor will vary slightly.
How long will this slice keep in the fridge?
Up to 5 days if stored airtight, though it’s best eaten within 2-3 days for optimal texture.
No-bake treats like this honey walnut biscuit slice are perfect for anyone who loves quick, simple, and crowd-pleasing desserts without fuss. Once you try it, you might find yourself reaching for it whenever you want something sweet but effortless.