Homemade Cheese in Just 5 Minutes
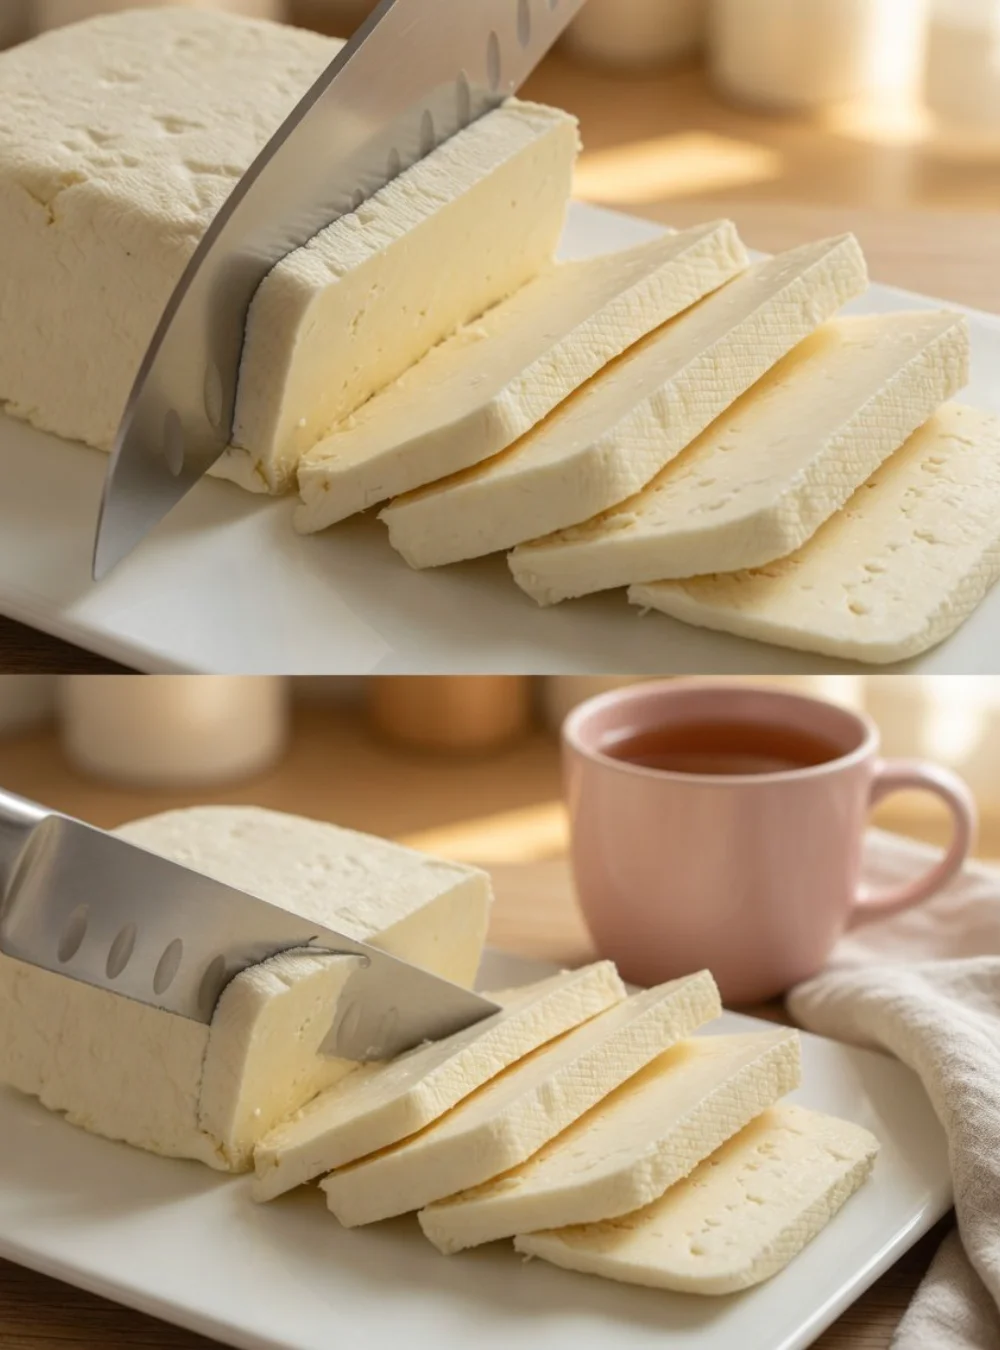
Homemade cheese is one of those delightful kitchen projects that not only brings a sense of accomplishment but also results in a fresh, creamy treat to enjoy. If you’ve ever thought about making your own cheese, this simple recipe will show you just how easy it can be. Using just a few ingredients, you can whip up a batch of cheese in no time—perfect for topping on salads, spreading on crackers, or simply enjoying on its own. Plus, it’s a wonderful way to impress friends and family without much effort! Once you make cheese at home, you’ll find yourself wanting to experiment with flavorings and textures, making it a fun and rewarding experience.
Why You’ll Love This Recipe
- Simple ingredients: Just milk, vinegar or lemon juice, salt, and optional herbs or spices.
- Quick to make: You’ll have fresh cheese in under an hour.
- Customizable: Modify flavors with herbs or spices that you love.
- Unique flavor: Homemade cheese has a freshness you can’t get from store-bought.
- Great for cooking: Use it in salads, pasta dishes, or as a snack.
Ingredients
- 1 cup (240 ml) milk
- ¼ cup (60 ml) vinegar or lemon juice
- ½ teaspoon (2 g) salt
- Herbs or spices for flavor (optional)
Ingredient Notes
When selecting milk, whole milk yields a creamier texture, but you can use low-fat milk as well. The type of vinegar or lemon juice will affect the flavor subtly, so feel free to choose based on your preferences. Fresh herbs like chives or basil can add a delightful twist to the cheese!
Kitchen Tools Needed
- Medium saucepan
- Fine-mesh strainer or colander
- Cheesecloth or a clean dish towel
- Bowl
Step-by-Step Instructions
- In a medium saucepan, pour the milk and heat it over medium heat. Stir occasionally to prevent scorching, and watch for steam to start rising.
- When you see steam and bubbles forming at the edges (but before a full boil), remove the saucepan from the heat.
- Stir in the vinegar or lemon juice and salt. Allow the mixture to sit for about 2 minutes, which will let the curds form.
- Line a fine-mesh strainer with cheesecloth, placing it over a bowl. Carefully pour the curds and whey into the strainer, allowing the whey to drain out.
- If you prefer a firmer cheese, let it drain longer. For a creamier texture, drain for a shorter time—about 5 minutes should do the trick.
- Transfer the cheese to a serving bowl, mixing in any herbs or spices you like before enjoying it fresh.
Pro Tips
- Always monitor the milk closely while heating to prevent burning.
- For a stronger flavor, try adding garlic powder or crushed red pepper flakes.
- Adjust draining time according to preference for texture: longer for crumbly cheese or shorter for a spreadable version.
- Experiment with different vinegars to discover unique flavors.
Common Mistakes
- Overheating the milk can scorch it, resulting in a burnt taste.
- Skipping the draining step can leave you with watery cheese.
- Not allowing the cheese to set after adding the acid can prevent curd formation.
Variations
- Add fresh herbs like basil or dill to the cheese for a flavorful twist.
- Incorporate spices such as paprika or cumin for a unique taste.
- Mix in honey for a sweet version that pairs well with fruits.
- Substitute different types of milk, like goat’s milk, for a different flavor profile.
Serving Suggestions
Homemade cheese can be served immediately as a topping on salads or spread on crusty bread. It’s also an excellent accompaniment to a cheese platter with fruits, olives, and crackers.
Storage Instructions
Keep any leftover cheese in an airtight container in the refrigerator. It should stay fresh for about 3–5 days. To keep it from drying out, consider drizzling a little olive oil on top before sealing.
Reheating Tips
This cheese is best enjoyed fresh or at room temperature rather than reheated. If desired, allow it to soften a bit by taking it out of the fridge about 20 minutes before serving.
Nutrition Estimate
Each serving contains approximately 80 calories, 5 g protein, 4 g carbohydrates, and 5 g fat.
Recipe Summary
Prep Time: 10 minutes
Cook Time: 5 minutes
Total Time: 15 minutes
Servings: About 1 cup
Cuisine: Various
Course: Appetizer, Snack
Calories: 80 per serving
Frequently Asked Questions
Can I use any type of milk?
Yes, whole, low-fat, or even non-dairy milk can work, though the texture might vary.
What can I do with the leftover whey?
Whey can be used in smoothies, baking, or even as a base for soups.
Can I freeze homemade cheese?
Freezing is possible, but the texture may change after thawing. It’s best eaten fresh.
How can I enhance the flavor?
Adding herbs, spices, or even a touch of garlic can elevate the flavor significantly!
Enjoying homemade cheese opens up a world of customization and fun in the kitchen. With just a few ingredients and simple steps, you can create a delightful creaminess that can accompany countless dishes.