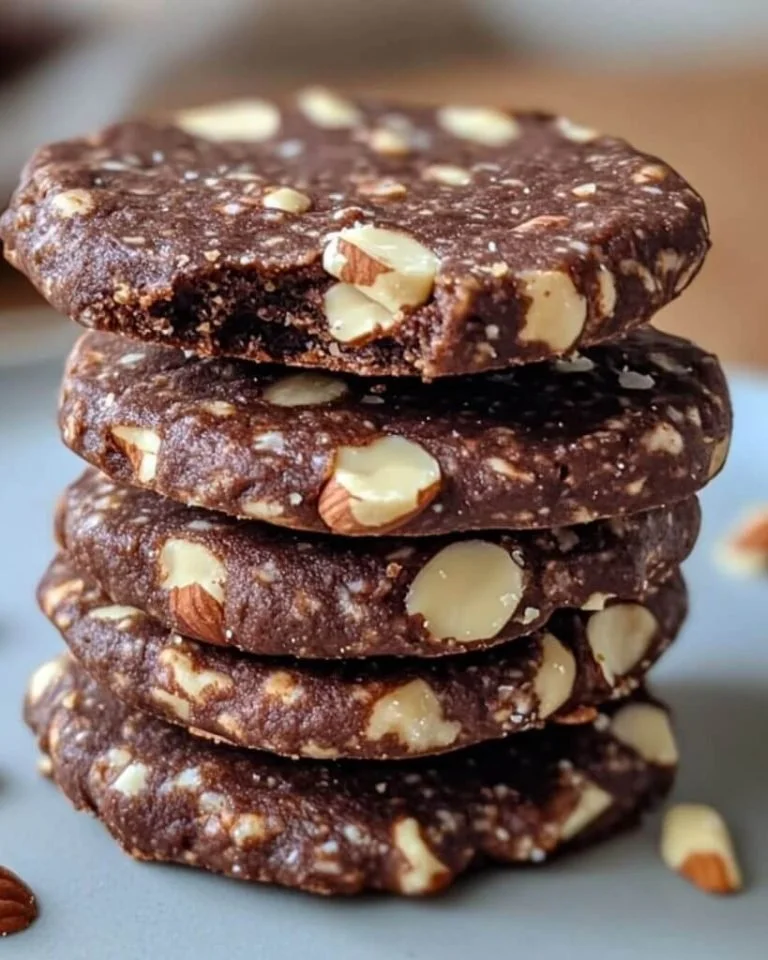
Easy Chocolate Bars for a Crowd-Pleasing Snack
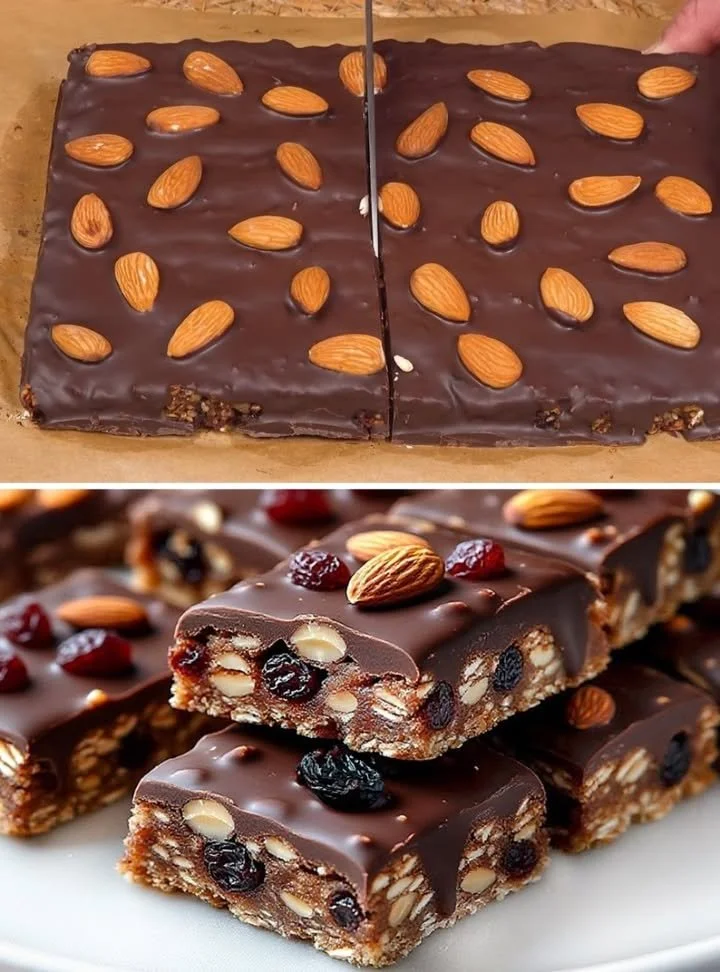
These delightful bars are just the ticket when that chocolate craving hits! They’re not only simple to whip up but also make a perfect snack or dessert for gatherings, family movie nights, or just a little treat for yourself. After trying various combinations, I found that the balance of flavors and textures in these bars is spot-on, with a rich chocolatey taste paired with a satisfying chewy base. Plus, they store well, making them a convenient option for a quick sweet fix throughout the week.
Why You’ll Love This Recipe
- Quick to prepare in just 15 minutes.
- Minimal cleanup with just one bowl needed.
- Perfect for customizing with your favorite add-ins.
- Rich and decadent flavor that satisfies chocolate cravings.
- Great for sharing, making them perfect for gatherings or gifts.
Ingredients
- 1 cup (150 g) all-purpose flour
- 1/2 cup (50 g) unsweetened cocoa powder
- 1/2 teaspoon baking powder
- 1/4 teaspoon salt
- 1/2 cup (120 ml) melted butter
- 1 cup (200 g) granulated sugar
- 2 large eggs
- 1 teaspoon vanilla extract
- 1/2 cup (90 g) chocolate chips (optional)
Step-by-Step Instructions
- Preheat your oven to 350°F (175°C). Grease an 8×8 inch (20×20 cm) baking pan or line it with parchment paper for easy removal.
- In a medium bowl, whisk together the flour, cocoa powder, baking powder, and salt until well blended. Set aside.
- In a large mixing bowl, combine the melted butter and sugar, stirring until the mixture is smooth and well combined.
- Add the eggs, one at a time, mixing well after each addition. Then, stir in the vanilla extract.
- Gradually add the dry ingredients to the wet ingredients, using a spatula to mix until just combined. Be careful not to over mix; the batter should be thick and fudgy.
- Fold in the chocolate chips, if using, for an extra chocolatey kick.
- Pour the batter into the prepared baking pan, spreading it evenly.
- Bake for 20-25 minutes, or until a toothpick inserted into the center comes out with a few moist crumbs.
- Let the bars cool in the pan for at least 10 minutes before transferring them to a wire rack to cool completely.
- Once cooled, slice into squares and enjoy!
Pro Tips
- For extra flavor, try adding a pinch of espresso powder to enhance the chocolate taste.
- Allow the bars to cool completely for the best texture; cutting them too soon can result in crumbly edges.
- Use parchment paper to easily lift the bars out of the pan after cooling.
Common Mistakes
- Overbaking can dry out the bars, so keep a close eye on them in the last few minutes.
- Not properly measuring the flour can lead to a drier batter; use the spoon and level method for accuracy.
- Mixing too much can toughen the texture; mix just until combined for that fudgy consistency.
Variations
- Add nuts like walnuts or pecans for added crunch.
- Substitute part of the flour with almond flour for a gluten-free version.
- Mix in dried fruits such as cherries or raisins for a chewy texture contrast.
- Top with a drizzle of caramel or melted peanut butter for added sweetness.
Serving Suggestions
These bars are delicious on their own, but you can also serve them with a scoop of vanilla ice cream or a dollop of whipped cream for a more indulgent treat.
Storage Instructions
Store any leftovers in an airtight container at room temperature for up to 5 days. For longer freshness, keep them in the refrigerator.
Nutrition Estimate
Each bar has approximately 200 calories, with 2g protein, 29g carbs, and 9g fat.
Frequently Asked Questions
Can I freeze the bars?
Yes! They freeze well for up to 3 months. Just wrap them tightly and place them in a freezer-safe container.
What can I substitute for butter?
You can use coconut oil or a vegan butter substitute for a dairy-free option.
Can I make these bars gluten-free?
Yes, by substituting the all-purpose flour for a gluten-free blend.
Why are my bars not fudgy?
This can happen if they’re overbaked; make sure to keep an eye on them in the oven.
Can I add mint or orange zest to the batter?
Absolutely! These flavors add a lovely twist to the chocolate base.
This recipe is wonderfully forgiving and versatile. Whether you stick to the classic version or explore the variations, you’re bound to have a delicious treat on your hands! Happy baking!