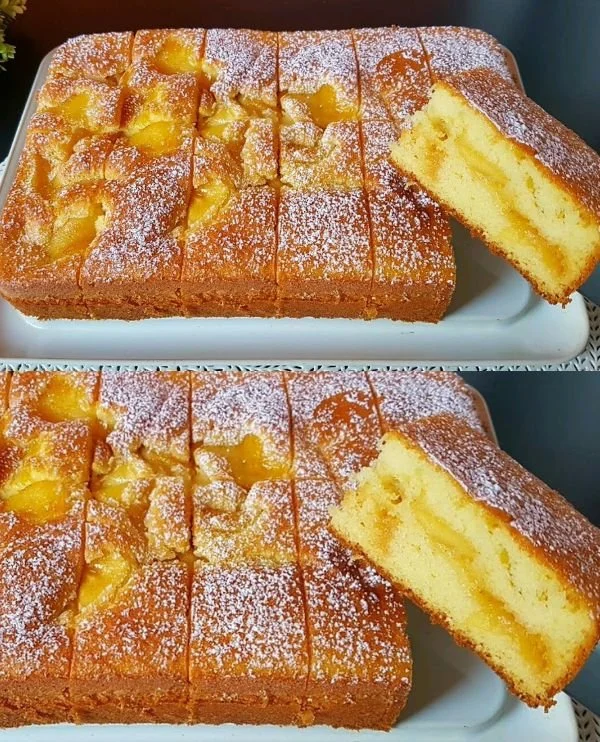
Easy No-Bake Banana Cake with One Egg and Two Bananas
This banana cake is the kind of recipe that earns its keep on busy days: no oven, just one egg, two bananas, and a simple pan on the stove. It’s especially useful when you want something homemade without heating up the kitchen, and it also happens to be a smart way to use ripe bananas before they get too soft.
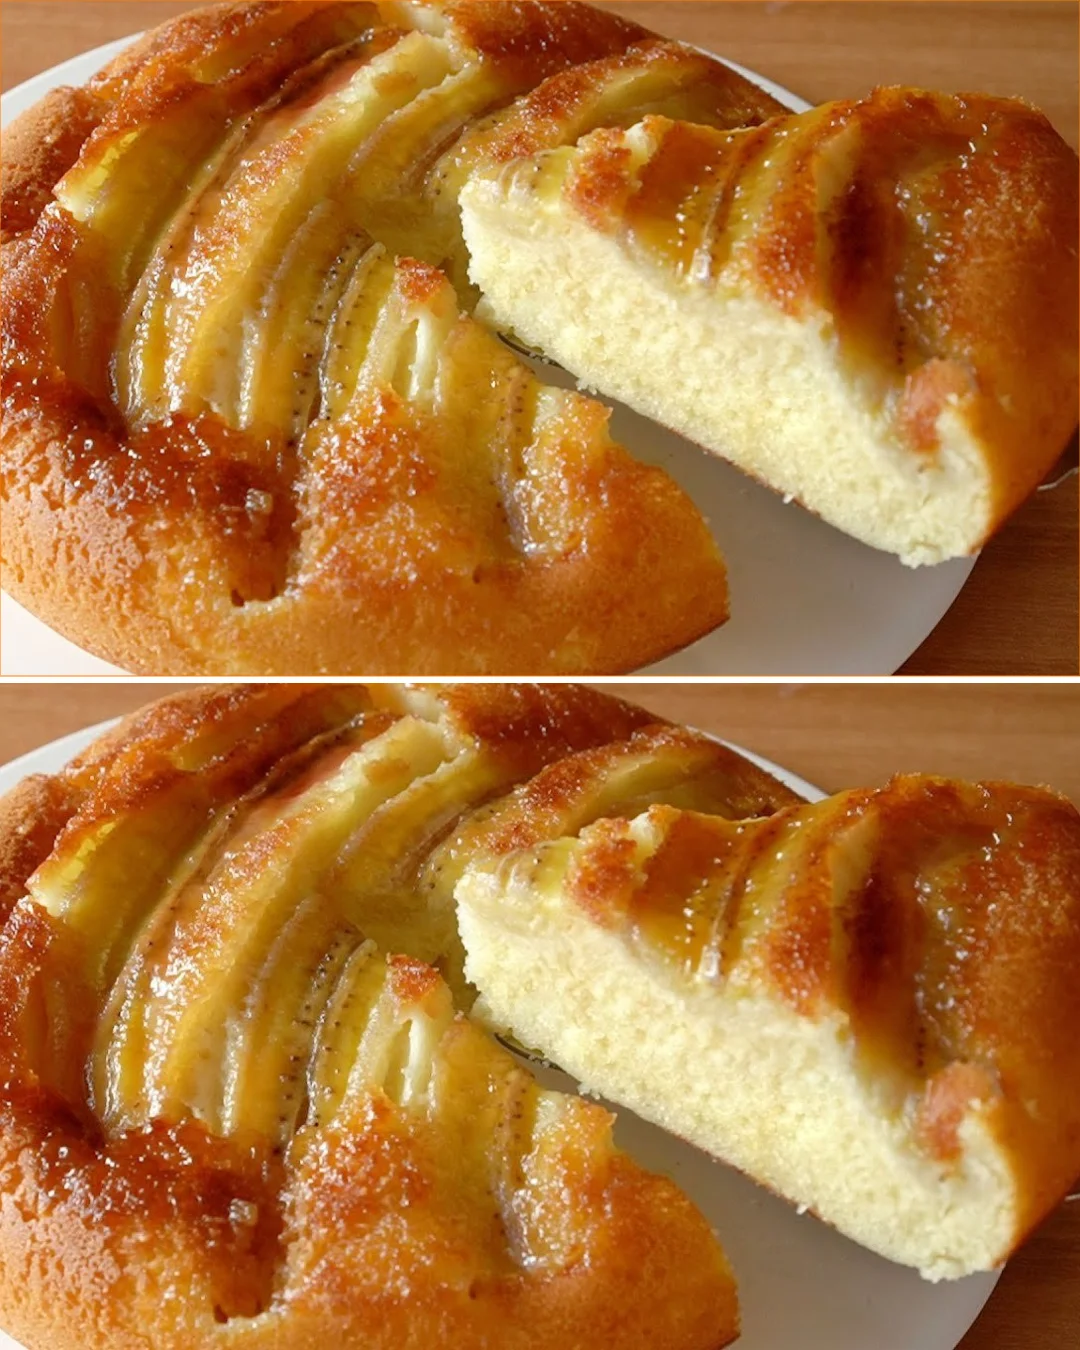
What makes this version stand out is the pan-caramelized banana layer on the bottom, which turns into a glossy topping when the cake is flipped out. I tested it a couple of times, and the biggest surprise was how well the low, steady heat worked once I stopped rushing it. The cake stays tender, the bananas turn jammy, and the whole thing slices cleanly after a short rest. If you’ve ever wanted a soft banana dessert without turning on the oven, this is a very practical one to keep around.
Why You’ll Love This Recipe
- No oven needed, so it’s perfect for warm weather or small kitchens.
- Uses just one egg and two bananas, which is ideal for using up ripe fruit.
- The bottom layer cooks into a buttery banana topping with a light caramel flavor.
- The batter comes together in one bowl with simple pantry ingredients.
- It stays soft and moist without feeling heavy.
- In testing, a short rest after cooking made it much easier to slice cleanly.
Ingredients
- 1 large egg
- 1/4 cup plus 2 tablespoons (60 g) granulated sugar
- 1/2 cup plus 2 tablespoons (130 ml) milk
- 1/2 teaspoon (2 g) salt
- 1 teaspoon vanilla extract
- 1 1/4 cups (150 g) cake flour or all-purpose flour
- 2 teaspoons (5 g) baking powder
- 3 1/2 tablespoons (50 ml) neutral cooking oil
- 2 teaspoons (10 g) unsalted butter
- 1 tablespoon (15 g) unrefined sugar or granulated sugar
- 2 medium bananas
Ingredient Notes
The bananas should be ripe, with plenty of brown spots. That’s what gives the cake its strongest banana flavor and natural sweetness.
Cake flour makes the crumb a little softer, but all-purpose flour works well too. If you use all-purpose flour, mix gently so the cake stays tender.
The oil keeps the cake moist after it cools. Butter is only used for the banana layer, where it helps the sugar melt and lightly caramelize.
Salt may seem like a lot for a sweet cake, but it sharpens the banana flavor and keeps the sweetness balanced.
Kitchen Tools Needed
- 1 medium mixing bowl
- Whisk or fork
- Spatula
- 8-inch to 9-inch (20 cm) frying pan with a lid
- Measuring cups and spoons, or a kitchen scale
- Knife and cutting board
- Plate large enough to invert the cake
Step-by-Step Instructions
-
In a medium bowl, whisk together the egg, sugar, milk, salt, and vanilla until the sugar starts to dissolve and the mixture looks smooth.
-
Add the flour and baking powder. Stir just until you no longer see dry flour. The batter should look slightly thick, but not overmixed.
-
Pour in the oil gradually while stirring. Mix until the batter is glossy and even. A few small lumps are fine, but there should be no dry pockets.
-
Set a 20 cm frying pan over very low heat. Add the butter and let it melt gently. Sprinkle the sugar evenly over the melted butter.
-
Slice the bananas in half lengthwise. Place them cut-side down in the pan, arranging them as neatly as possible.
-
Pour the batter over the bananas and spread it gently so the top is level.
-
Cover with a lid and cook on very low heat for about 25 minutes. The cake is ready for the first flip when the top looks set and the edges pull slightly away from the pan. If the pan starts sizzling loudly, lower the heat right away.
-
Carefully slide the cake onto a plate, then invert it back into the pan so the banana side faces up. If the banana topping needs a little more color, cook it uncovered for 1 to 2 minutes over very low heat.
-
Return the cake to the pan one more time only if needed, and cook for about 5 more minutes on low heat so the center finishes cooking through.
-
Remove from the pan and let it rest for 5 minutes before slicing. This helps the crumb settle and makes the banana layer easier to serve neatly.
Pro Tips
- Keep the heat low the whole time. High heat will brown the bottom too quickly before the center sets.
- If your lid collects a lot of condensation, wipe it once during cooking so water doesn’t drip back onto the cake.
- Do not overmix after adding the flour. On my first test, a little extra stirring made the cake denser than necessary.
- Ripe bananas are important, but overly mushy bananas can fall apart too much in the pan. Soft and spotted is ideal.
- If your pan runs hot, move it on and off the burner for a few seconds during cooking to prevent scorching.
- Let the cake rest before slicing. It tasted great right away, but the texture improved noticeably after 5 minutes.
Common Mistakes to Avoid
- Using heat that is too high, which can burn the bottom before the batter cooks through.
- Mixing the batter too much and ending up with a tougher crumb.
- Flipping too early while the top is still wet and loose.
- Using bananas that are too large for the pan, which makes flipping awkward.
- My first attempt mistake was not letting it rest before cutting; the slices looked messy and the topping slipped.
Variations
- Add 1/2 teaspoon cinnamon to the batter for a warmer, bakery-style flavor.
- Replace half the milk with yogurt for a slightly tangier, richer crumb.
- Scatter a few chopped walnuts or pecans over the bananas before pouring in the batter.
- Add a pinch of nutmeg or cardamom for a more aromatic finish.
Serving Suggestions
This cake is best served slightly warm, when the banana topping is still soft and glossy. It’s delicious on its own, but you can also serve it with a spoonful of yogurt, a dusting of powdered sugar, or a small scoop of vanilla ice cream for dessert.
For breakfast or afternoon tea, I like it with plain coffee or black tea. The cake is sweet enough to stand alone, so it doesn’t need much else.
Storage Instructions
Store leftover cake in an airtight container at room temperature for up to 1 day, or in the refrigerator for up to 3 days.
If you refrigerate it, let it come closer to room temperature before serving so the crumb feels softer and the banana layer tastes more fragrant.
Reheating Tips
Reheat individual slices in a covered pan over very low heat for 2 to 3 minutes, or microwave briefly for 10 to 15 seconds.
If using the microwave, don’t overdo it or the bananas can become too soft and the cake may turn rubbery.
Nutrition Estimate
Per serving, estimated for 6 servings:
- Calories: 225
- Protein: 4 g
- Carbs: 34 g
- Fat: 8 g
Recipe Summary Card
- Prep Time: 15 minutes
- Cook Time: 30 minutes
- Total Time: 45 minutes
- Servings: 6
- Cuisine: Home-style
- Course: Dessert, Snack, Breakfast
- Calories: 225 per serving
Frequently Asked Questions
Can I use all-purpose flour instead of cake flour?
Yes. All-purpose flour works well here. The cake may be slightly less delicate, but it will still be soft if you avoid overmixing.
What size pan should I use?
An 8-inch to 9-inch (20 cm) frying pan is ideal. If the pan is much larger, the batter will spread too thin and cook too quickly.
Can I make this without a lid?
A lid helps trap heat and cook the center evenly. If you don’t have one, use foil with a few small holes poked in it.
Why did my cake stick?
Usually the heat was too high or the pan wasn’t coated evenly with butter. Make sure the butter melts fully before adding the sugar and bananas.
Can I add more bananas?
You can, but too much banana can make flipping difficult and may soften the cake too much. Two bananas is the sweet spot for this pan cake.
Conclusion
This is the kind of no-oven banana cake that feels simple but still gives you a real homemade dessert. The pan-caramelized bananas, soft crumb, and low-effort method make it especially satisfying when you want something quick, warm, and dependable.
Tested Note
I tested this more than once, and the best texture came from cooking it slowly rather than trying to hurry the center. Letting it rest for 5 minutes before slicing made the topping hold together much better.