A 100-Year-Old Grandma Bread Recipe

Making bread at home can be a rewarding experience, and with this timeless recipe, you’ll find it’s easier than you might think. This simple bread recipe offers a wonderful combination of taste, fluffiness, and nostalgia that will remind you of your grandma’s kitchen. If you are looking for a satisfying loaf that works well for everything from sandwiches to toast, this recipe will not disappoint. Just keep in mind that while it’s delicious, it does contain ingredients that should be enjoyed in moderation, especially for those who are mindful of their carbohydrate intake.
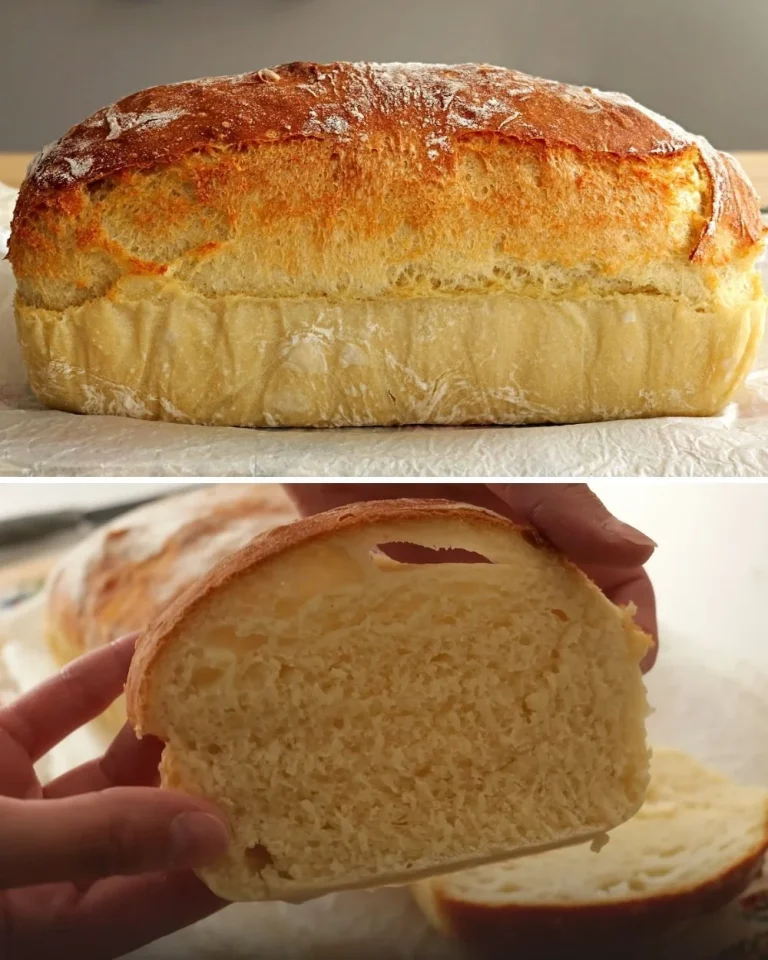
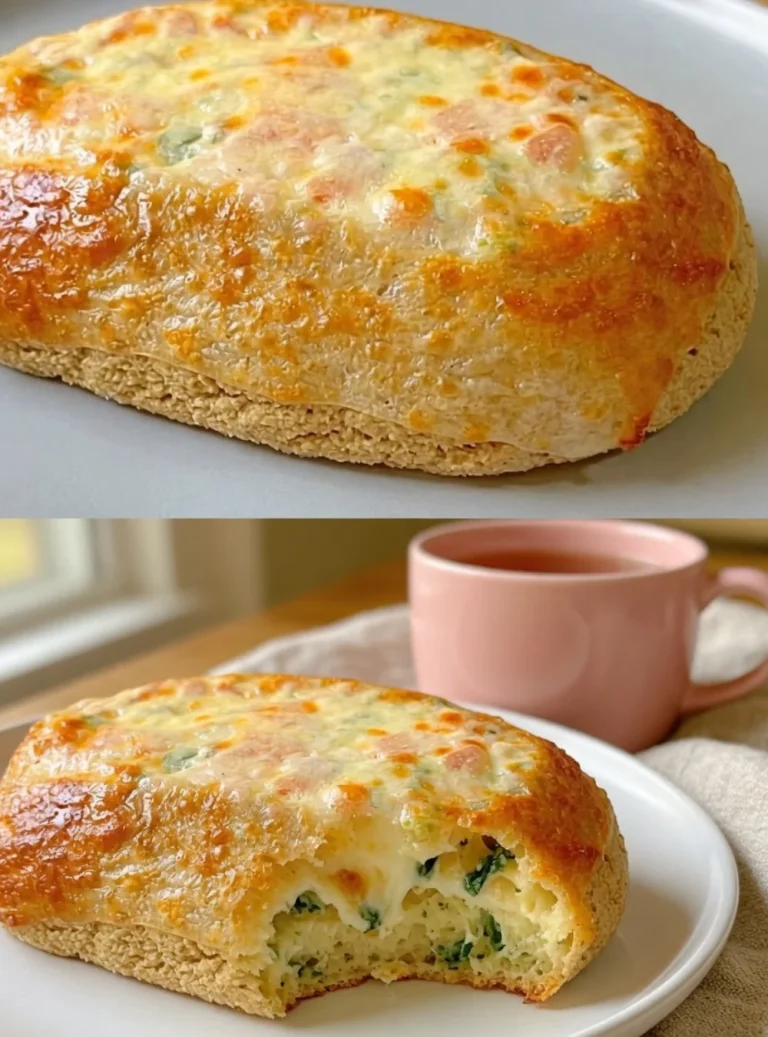
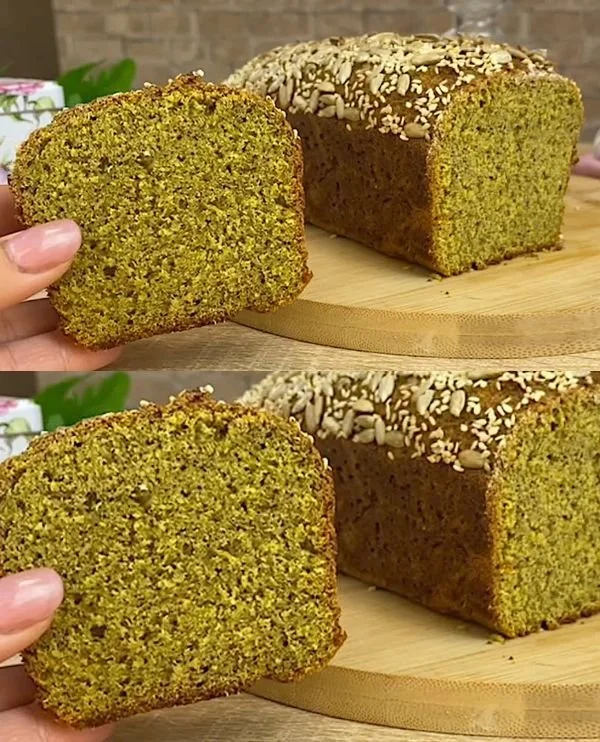
This recipe is perfect for busy families or anyone looking for a comforting loaf of bread without the overwhelming need for complicated techniques. It creates a beautiful crust with a soft, airy interior, making it an excellent choice for a variety of meals or snacks.
Why This Recipe Is Helpful
- The recipe is uncomplicated, perfect for both novice and experienced bakers.
- It uses easily available ingredients, minimizing the need for specialty items.
- The bread freezes well, allowing you to make extra for quick meals later.
- It’s a versatile base for sandwiches, toast, or simply enjoying with butter.
Who This Recipe Is Best For
This bread recipe suits a variety of home cooks, especially those seeking a filling option to accompany their meals. It’s great for families looking for a wholesome, homemade addition to dinner or breakfast, and it can easily be paired with soups, stews, or salads.
Who Should Be Careful
Individuals who are managing their carbohydrate intake or those with gluten sensitivities should be cautious with this recipe, as it contains flour, which is high in carbohydrates and gluten. It’s best enjoyed in moderation by those individuals.
Ingredients
- 4 cups (480 g) all-purpose flour
- 1 tablespoon (15 g) sugar
- 1 tablespoon (10 g) salt
- 2 teaspoons (8 g) active dry yeast
- 1 ½ cups (360 ml) warm water
- 2 tablespoons (30 ml) olive oil (optional)
Ingredient Notes
- All-purpose flour can be substituted with whole wheat flour for a nuttier flavor and added fiber.
- Active dry yeast is essential for leavening the bread, making it rise. Ensure it’s fresh for the best results.
- Olive oil adds flavor and moisture but can be omitted if you prefer a simpler version of the bread.
Kitchen Tools Needed
- Large mixing bowl
- Measuring cups and spoons
- Wooden spoon or dough scraper
- Loaf pan
- Kitchen towel
Step-by-Step Instructions
- In a large mixing bowl, combine the warm water, sugar, and yeast. Let it sit for about 5-10 minutes until it becomes frothy.
- Add the flour and salt (and olive oil if using) to the yeast mixture. Stir until a rough dough forms.
- Transfer the dough onto a floured surface and knead for about 8-10 minutes until smooth and elastic.
- Place the dough in a greased bowl, cover it with a kitchen towel, and let it rise in a warm area for about 1 hour, or until it doubles in size.
- Once risen, punch down the dough to release air. Shape it into a loaf and place it in a greased loaf pan.
- Cover again and allow it to rise for another 30-45 minutes until it puffs up.
- Preheat the oven to 375°F (190°C) and bake the bread for 30-35 minutes, or until golden brown and sounds hollow when tapped.
- Allow it to cool on a wire rack before slicing.
Pro Tips
- For an even softer crust, brush the top with melted butter right after it comes out of the oven.
- If you want to incorporate herbs or garlic, mix them in with the flour for added flavor.
- Always let the bread cool completely before slicing to preserve its texture.
Healthier or Lighter Swaps
- You can reduce the sugar amount for a less sweet loaf.
- Substitute half of the all-purpose flour with whole wheat flour for added nutritional value.
- Consider using Greek yogurt in place of some oil for added creaminess without extra fat.
Common Mistakes
- Not letting the dough rise for enough time can result in a dense loaf.
- Over-kneading can make the bread tough; knead until just smooth.
- Cutting into the bread while it’s still warm can lead to a gummy texture.
Variations
- Herbed Bread: Add dried herbs to the dough for extra flavor.
- Cheddar Bread: Fold in shredded cheese before the second rise for a cheesy twist.
- Sweet Bread: Add cinnamon and raisins for a quick dessert-like treat.
Serving Suggestions
This versatile bread can be served warm with butter, toasted for breakfast, or transformed into croutons for soups and salads. Pair it with a fresh salad or a hearty stew for a balanced meal.
Storage Instructions
Store any leftover bread in a sealed plastic bag at room temperature for up to three days, or slice and freeze for longer preservation.
Reheating Tips
Reheat slices in a toaster or wrap the loaf in foil and place it in a 350°F (175°C) oven for about 10-15 minutes to warm through.
Nutrition Estimate
- Calories: Approximately 160 per slice
- Protein: 5 g
- Carbohydrates: 30 g
- Fat: 1.5 g
Recipe Summary
Prep Time: 15 minutes
Cook Time: 35 minutes
Total Time: 1 hour 50 minutes (including rising)
Servings: 12 slices
Cuisine: American
Course: Bread
Calories: Approx. 160 per slice
Frequently Asked Questions
Is this recipe good for digestion?
While this bread contains fiber from the flour, those with gluten sensitivities should be cautious.
Is this recipe suitable for people managing blood sugar?
It’s best enjoyed in moderation due to its carbohydrate content.
Can I make this recipe lighter?
Yes, you can reduce sugar and switch to whole wheat flour for a healthier option.
Is this recipe good for kids?
Absolutely; the taste and texture make it appealing for all ages.
Can I make this without sugar or flour?
The recipe relies heavily on those ingredients; however, alternatives exist for specialty diets.
Making homemade bread not only fills your home with a warm, delightful aroma but also provides a comforting sense of accomplishment that comes with cooking. For a sweet touch to your next baking adventure, consider trying these creamy citrus cream puffs alongside your freshly baked bread for a delightful dessert!