No-Bake Chocolate Cookies: Quick, Chewy, Decadent Treats
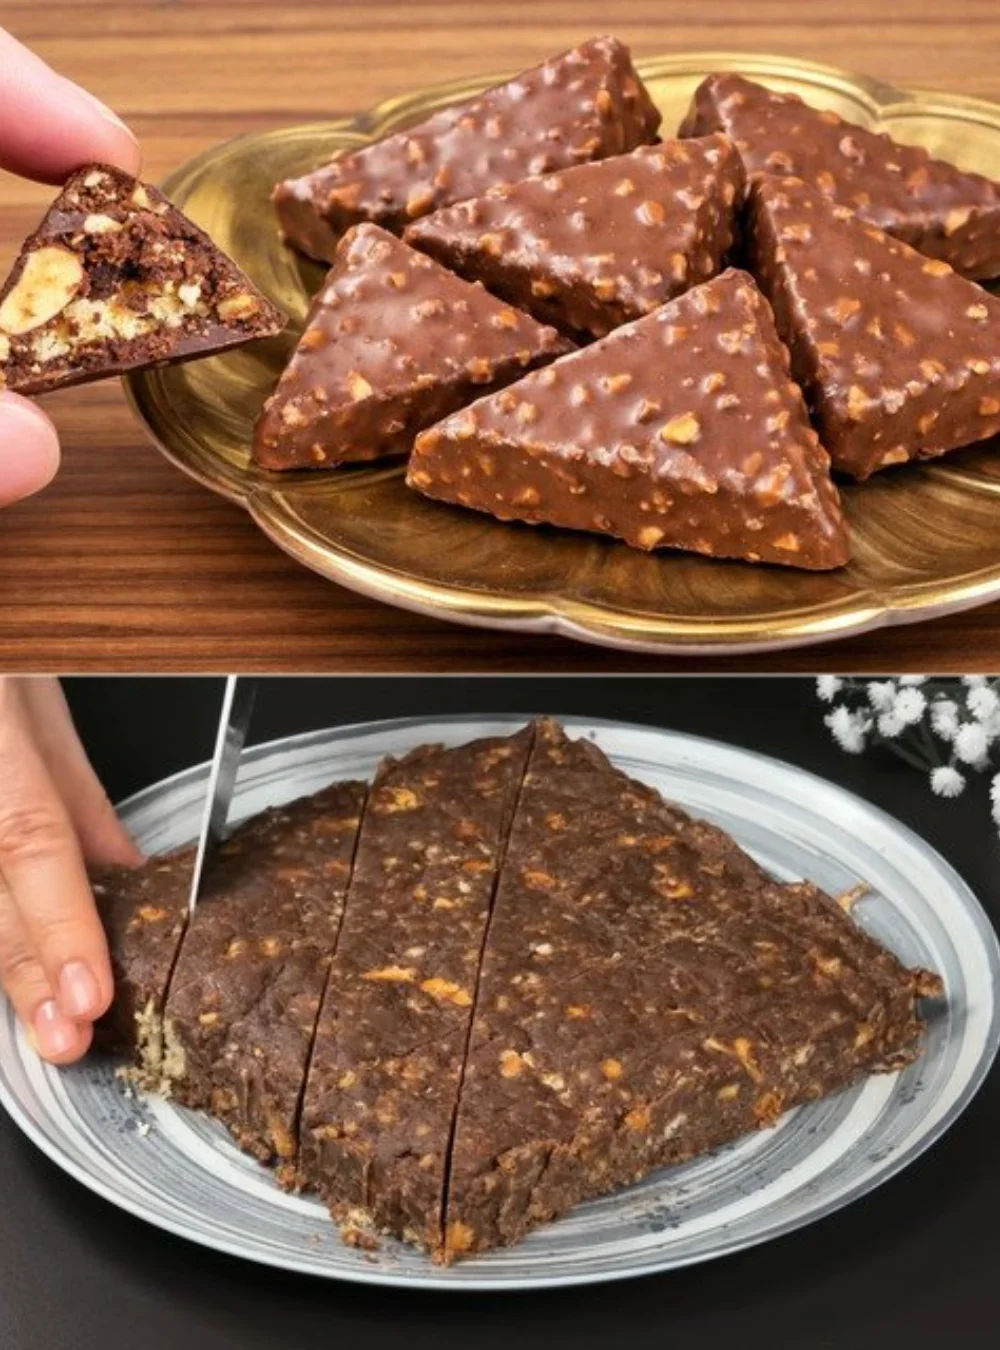
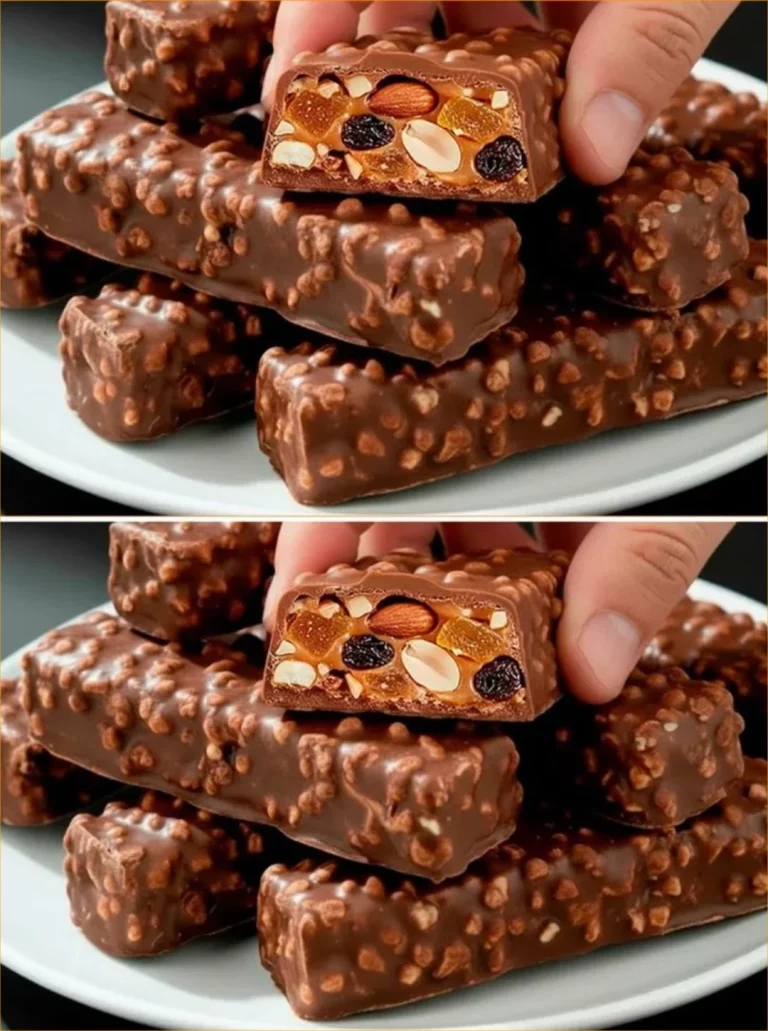
These Chocolate Coated No-Bake Cookies are the perfect treat for when you’re craving something sweet but don’t have the time or energy to bake. They combine the irresistible flavors of chocolate and peanuts with a quick and easy no-bake method. Plus, they take just a few simple ingredients that you likely already have in your pantry.
The beauty of these cookies lies in their versatility; you can make them during the hot summer months without turning on the oven, or whip them up in no time whenever friends or family drop by. You’ll love how easy they are to prepare, and they’re sure to impress!
Why You’ll Love This Recipe
- No Baking Required: Absolutely perfect for those hot days when you don’t want to heat up the kitchen.
- Quick to Make: From start to finish, these cookies come together in just a few short steps.
- Customizable: Add extra toppings or change up the nuts to suit your taste.
- Great for Kids: A fun activity to do with kids, and they’re sure to love helping out!
- Perfect for Sharing: These cookies make a wonderful treat for gatherings or simple afternoon snacks.
Ingredients
- 250 g (about 8.8 oz) cookies (like digestive biscuits or graham crackers)
- 120 ml (about ½ cup) milk
- 70 g (about ⅓ cup) sugar
- 0.5 teaspoons vanilla sugar
- 1.5 tablespoons cocoa powder
- 70 g (about 5 tablespoons) butter
- 85 g (about 3 oz) chocolate, chopped or chocolate chips
- 20 g (about ⅓ cup) peanuts, roughly chopped
- 20 ml (about 1.5 tablespoons) vegetable oil
Ingredient Notes
Using your favorite type of cookies can really change the flavor of these treats. Digestive biscuits give a crumbly texture, while graham crackers provide sweetness. Vanilla sugar adds a hint of flavor, but you can substitute with regular sugar as well, especially if you don’t have it on hand.
Kitchen Tools Needed
- Large mixing bowl
- Saucepan
- Baking sheet
- Parchment paper
- Heatproof bowl for melting chocolate
- Spoon for mixing
Step-by-Step Instructions
-
Crush the Cookies: Start by placing your cookies in a zip-top bag and crushing them into fine crumbs with a rolling pin or your hands. You want them to be quite fine to hold together well.
-
Make the Mixture: In a saucepan over low heat, combine the milk, sugar, vanilla sugar, cocoa powder, and butter. Stir gently until the mixture thickens slightly, about 5–7 minutes.
-
Combine Ingredients: Remove the saucepan from the heat and stir in the crushed cookies. Mix until everything is well incorporated.
-
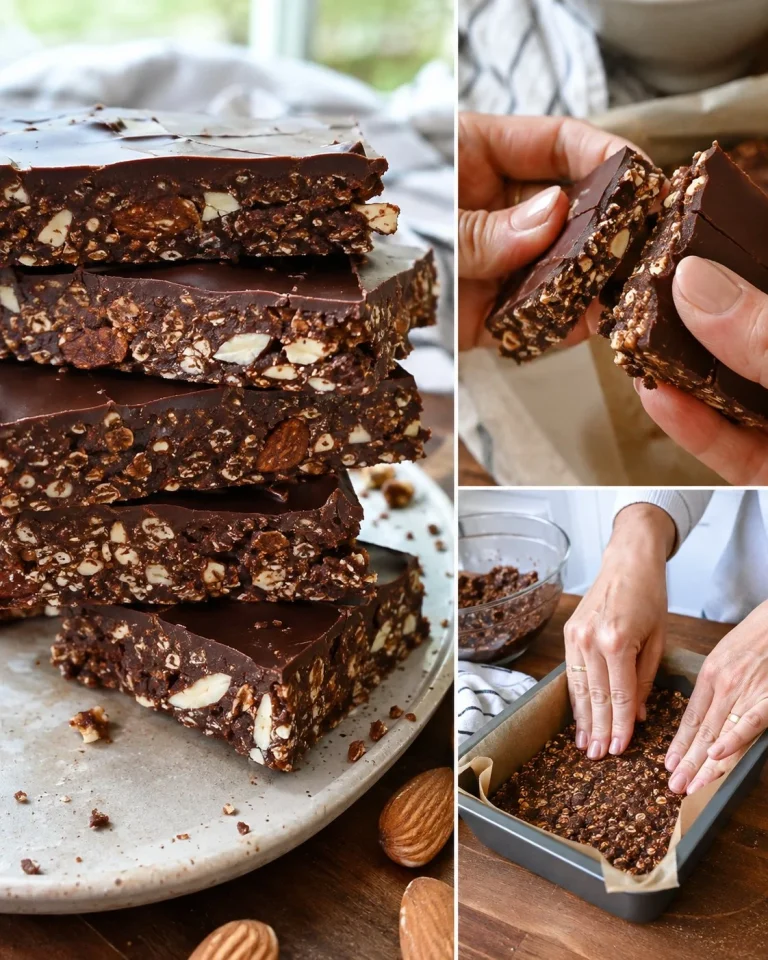
Shape the Cookies: Use your hands to form small cookie shapes from the mixture and place them on a baking sheet lined with parchment paper. Aim for small rounds for better coating later.
-
Chill: Place the cookie shapes in the freezer for about 2 hours to set. This step is crucial for the chocolate coating later.
-
Melt the Chocolate: In a heatproof bowl, melt the chocolate together with the vegetable oil using a microwave or a double boiler until smooth.
-
Coat the Cookies: Once the cookies are set and firm, dip each cookie into the melted chocolate, ensuring they are fully coated. Use a fork to lift them out, allowing excess chocolate to drip off.
-
Add Peanuts: Place the chocolate-coated cookies back on the parchment paper and sprinkle chopped peanuts on top while the chocolate is still wet.
-
Final Chill: Allow the chocolate to set by placing the cookies back in the fridge for a few hours before serving. This ensures a delightful snap when you bite into them.
-
Enjoy: Bite into these indulgent cookies—they’re just perfect for satisfying your sweet tooth!
Pro Tips
- Take your time when melting chocolate: Avoid overheating it, as chocolate can seize up. If using a microwave, heat in short bursts and stir in between.
- Cookie Crumb Size: The finer the crumb, the better the cookies will hold their shape when set.
- Experiment with coatings: Besides peanuts, consider using crushed pretzels or shredded coconut for a fun twist.
Common Mistakes
- Forgetting to let the cookies freeze long enough can lead to a messy coating process.
- Overheating the chocolate leads to a gritty texture, so be careful during melting.
- Not mixing the cookie crumbs well can create uneven cookie textures.
Variations
- Nut-Free Version: Skip the peanuts and add dried fruits like raisins or cranberries instead.
- Different Chocolate: Use milk chocolate or white chocolate for a sweet twist.
- Add Spices: A pinch of cinnamon or chili powder can give your cookies an exciting kick.
- Add a Drizzle: Drizzle white chocolate over the top for added flavor and decoration.
Serving Suggestions
Serve these cookies with a hot cup of coffee or tea for a delightful afternoon treat, or pack them in a lunchbox for a satisfying snack throughout the day.
Storage Instructions
Store the cookies in an airtight container in the refrigerator for up to a week. If they last that long, that is!
Reheating Tips
These cookies don’t require reheating; simply enjoy them chilled or at room temperature.
Nutrition Estimate
Approximately 150 calories, 2g protein, 18g carbs, and 8g fat per cookie (based on 12 cookies).
Recipe Summary
Prep Time: 15 minutes
Cook Time: 10 minutes
Total Time: 2 hours 25 minutes (includes chilling)
Servings: 12 cookies
Cuisine: Snack
Course: Dessert
Calories: 150 per cookie
Frequently Asked Questions
Can I use any type of cookie?
Yes, any cookies that you enjoy will work well. Digestive biscuits and graham crackers are both great options.
How do I prevent the chocolate from hardening too quickly?
Make sure to work quickly once melted, but if it hardens, simply return it to low heat to re-melt gently.
Can I make these cookies in advance?
Absolutely! These no-bake cookies last well in the fridge for up to a week.
What can I substitute for butter?
Coconut oil is a good alternative if you’re looking for a dairy-free option.
Enjoy this easy and delightful recipe for Chocolate Coated No-Bake Cookies – it’s sure to become a favorite in your home!
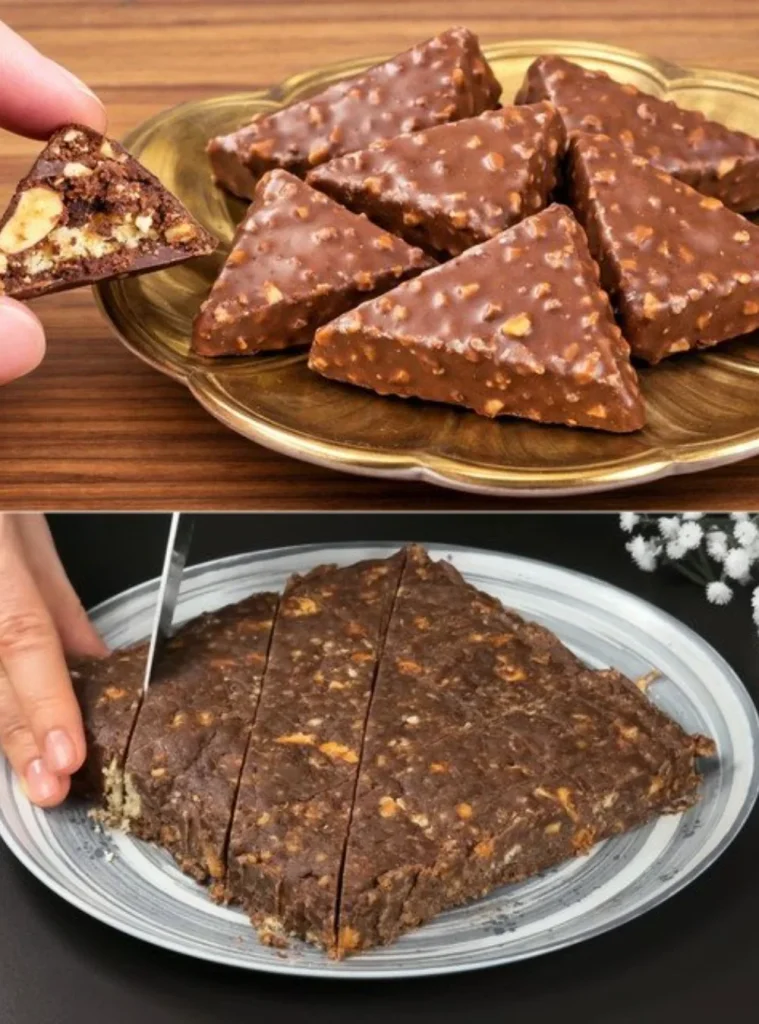
Chocolate Coated No-Bake Cookies
Ingredients
Method
- Crush the Cookies: Start by placing your cookies in a zip-top bag and crushing them into fine crumbs with a rolling pin or your hands.
- Make the Mixture: In a saucepan over low heat, combine the milk, sugar, vanilla sugar, cocoa powder, and butter. Stir gently until the mixture thickens slightly.
- Combine Ingredients: Remove the saucepan from the heat and stir in the crushed cookies. Mix until everything is well incorporated.
- Shape the Cookies: Use your hands to form small cookie shapes from the mixture and place them on a baking sheet lined with parchment paper.
- Chill: Place the cookie shapes in the freezer for about 2 hours to set.
- Melt the Chocolate: In a heatproof bowl, melt the chocolate together with the vegetable oil until smooth.
- Coat the Cookies: Once the cookies are set, dip each cookie into the melted chocolate, ensuring they are fully coated.
- Add Peanuts: Place the chocolate-coated cookies back on the parchment paper and sprinkle chopped peanuts on top.
- Final Chill: Allow the chocolate to set by placing the cookies back in the fridge for a few hours before serving.
- Enjoy: Bite into these indulgent cookies—they’re just perfect for satisfying your sweet tooth!