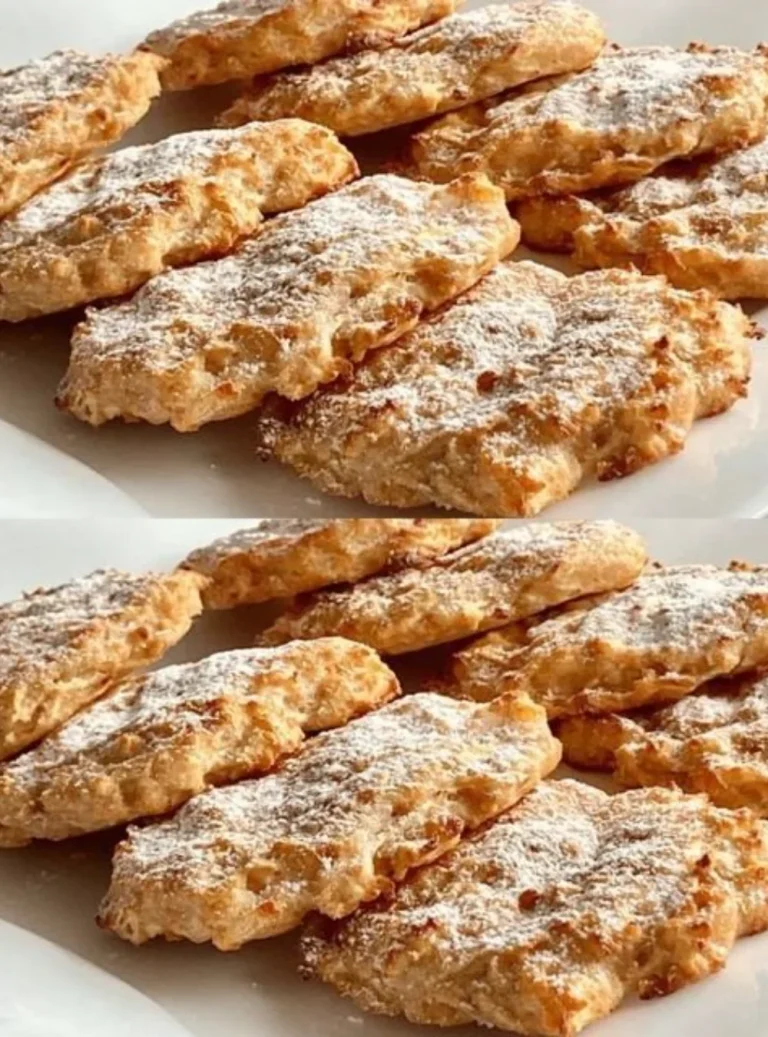
Make Bread in 10 Minutes in a Frying Pan | No Eggs, No Yeast
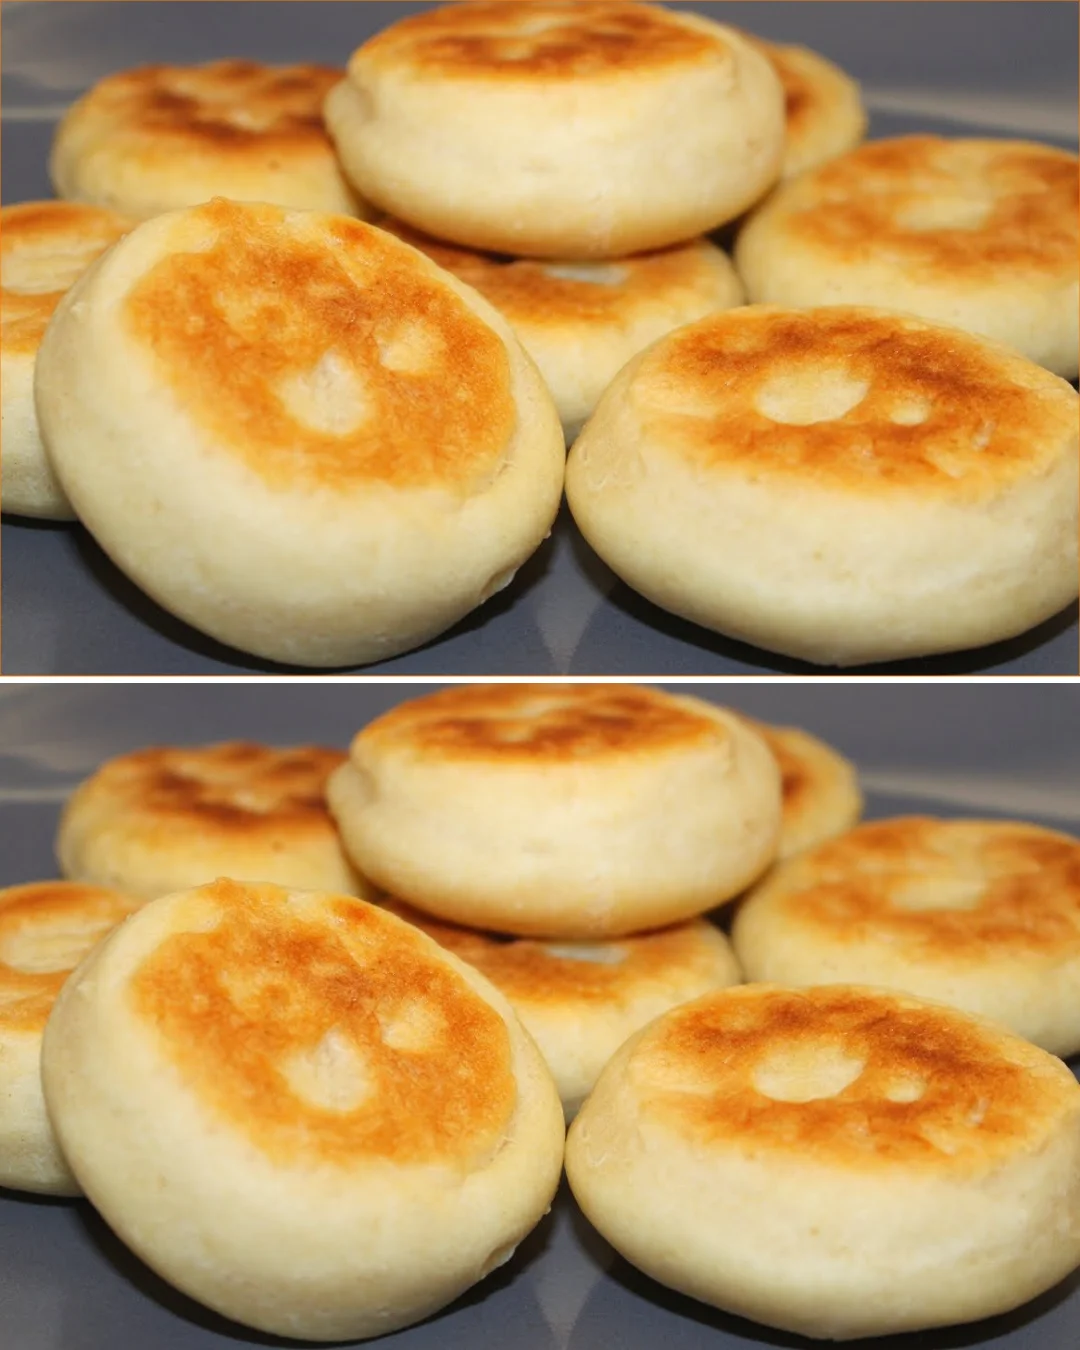
Making bread at home can feel like a daunting task, especially when you think about the time it usually requires for fermentation and baking. However, this quick frying pan bread is a game-changer! In just 10 minutes, you can whip up a delicious golden-brown bread that’s soft, fluffy, and entirely free of eggs or yeast. This recipe is perfect for those spontaneous bread cravings or when you find yourself out of supplies. With minimal ingredients and no special equipment needed, you’ll love how effortlessly you can create homemade bread that pairs delicately with any meal. Whether enjoyed warm with butter, used as a base for sandwiches, or simply savored on its own, this frying pan bread will soon become a staple in your kitchen.
Why You’ll Love This Recipe
- Quick and easy to prepare: ready in just 10 minutes!
- Requires no yeast or eggs, making it a vegan-friendly option.
- Only five basic ingredients are needed.
- Perfect for beginners and seasoned cooks alike.
- Versatile: use it for sandwiches, dips, or as a side.
- Great for those who need gluten-free alternatives with a simple flour swap.
Ingredients
- 1 ½ cups (200 g) all-purpose flour
- 1 teaspoon (5 g) baking powder
- A pinch of salt
- 1 ½ tablespoons (20 g) vegetable oil
- ½ cup + 2 tablespoons (125 ml) milk
Ingredient Notes
- All-purpose flour: Can be substituted with whole wheat flour or gluten-free flour for a different texture.
- Baking powder: Make sure it’s fresh for the best rise.
- Vegetable oil: Can be replaced with melted butter or olive oil for added flavor.
- Milk: Use any type of milk (dairy or plant-based) based on your dietary preferences.
Kitchen Tools Needed
- Mixing bowl
- Rolling pin
- Cookie cutter or round object (about 6 cm in diameter)
- Non-stick frying pan
- Lid for the frying pan
- Wire rack for cooling
Step-by-Step Instructions
- In a mixing bowl, combine the all-purpose flour, baking powder, and a pinch of salt. Whisk together until evenly mixed.
- Add the vegetable oil and milk to the dry ingredients. Mix everything until a soft dough forms. You can adjust the consistency by adding a little more milk if it’s too dry or sprinkle more flour if it feels sticky.
- Transfer the dough onto a lightly floured surface and roll it out to a thickness of about 0.5 to 1 cm (0.2 to 0.4 inches) with a rolling pin.
- Use a cookie cutter or a round object to cut out 6 cm discs from the dough.
- Heat a non-stick frying pan over medium heat. Once hot, place several dough discs in the pan, ensuring they have space between them.
- Cover the pan with a lid to help steam the bread while it cooks. Cook the bread for about 5 minutes on each side, or until they turn golden brown and slightly crispy. Check regularly to avoid burning, especially if the discs are thicker.
- Once cooked, transfer the bread to a wire rack to cool slightly. Push to the side and repeat with any remaining dough discs.
- Keep the finished bread warm by covering it with a kitchen towel until you are ready to serve.
Cooking Tips
- Ensure the pan is adequately pre-heated for even cooking.
- Experiment with different herbs or spices added to the dough for unique flavors.
- For additional crunch, sprinkle some sesame seeds or poppy seeds on the dough before cooking.
- Keep an eye on the bread during cooking; different pan materials may heat differently.
- For extra fluffiness, allow the dough to rest for a few minutes before rolling it out.
Variations
- Herbed Bread: Add dried herbs like oregano or thyme directly into the flour mixture for an aromatic kick.
- Cheese Bread: Fold in shredded cheese into the dough before rolling out for a cheesy delight.
- Garlic Bread: Infuse the vegetable oil with minced garlic before adding it to the dough for a savory punch.
- Sweet Bread: Mix in a bit of sugar and cinnamon for a sweet treat, perfect for breakfast or dessert.
Serving Suggestions
Serve this quick frying pan bread warm, slathered with your choice of butter, jam, or creamy spreads. It also makes for an excellent base for sandwiches or mini sliders. Pair with soups, salads, or stews for a hearty meal experience.
Storage Instructions
Store any leftover bread in an airtight container at room temperature for up to two days. If you wish to keep it for longer, wrap it tightly in plastic wrap and refrigerate for up to a week.
Reheating Tips
To reheat, briefly warm the bread in a non-stick pan over low heat until heated through. Alternatively, you can microwave for about 10-15 seconds, ensuring not to overheat as it may become tough.
Nutrition Estimate (per serving)
- Calories: 120
- Protein: 3 g
- Carbohydrates: 18 g
- Fat: 4 g
Recipe Summary Card
- Prep Time: 5 minutes
- Cook Time: 5 minutes
- Total Time: 10 minutes
- Servings: 4
- Cuisine: Global
- Course: Side
- Calories: 120
Frequently Asked Questions
Q: Can I make this bread gluten-free?
A: Yes, simply substitute the all-purpose flour with a gluten-free blend.
Q: How do I know when the bread is done?
A: Look for a golden-brown color and a firm texture. You can also tap the bottom; it should sound hollow.
Q: Can I freeze these bread discs?
A: Yes, you can freeze uncooked or cooked bread in a zip-top bag for up to three months.
Q: What is the best way to serve this bread?
A: This bread is delicious on its own or topped with spreads, salads, or used as a sandwich base.
Q: Can I add additional ingredients?
A: Absolutely! Feel free to add herbs, spices, cheese, or even seeds to customize your bread.
Conclusion
Making homemade bread doesn’t have to be a lengthy, complex process. With this straightforward method, you can enjoy freshly cooked bread in just 10 minutes. It’s a fantastic way to satisfy your cravings with ease. Gather your ingredients, fire up the pan, and treat yourself to a warm, delightful bread that adds heart to any meal. Enjoy the simple pleasure of homemade bread and share it with friends and family!