Easy Chocolate Cream Cake Recipe for Chocolate Lovers
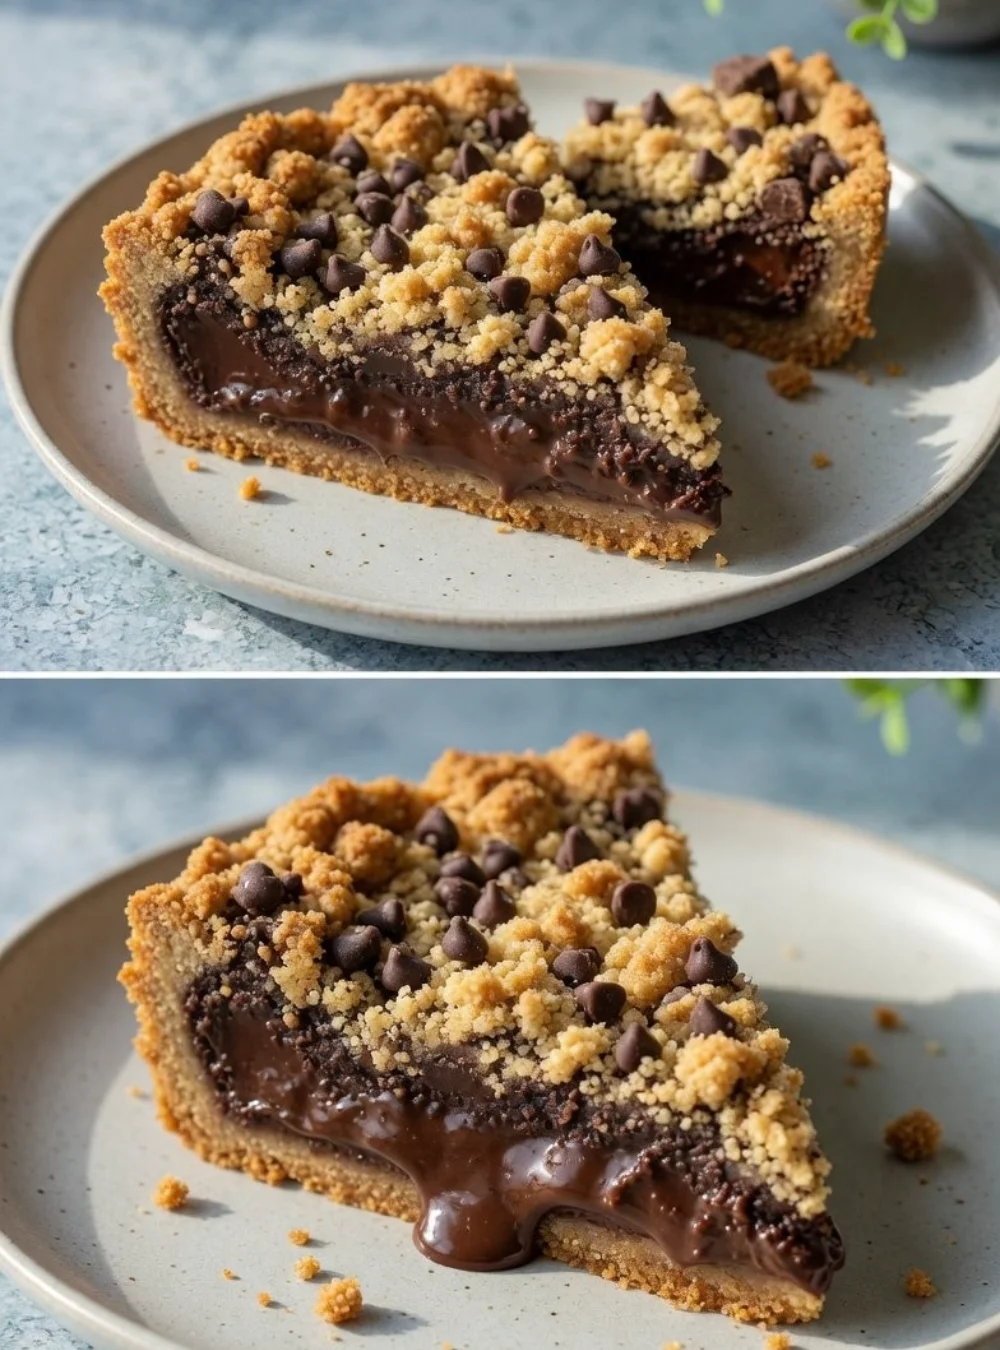
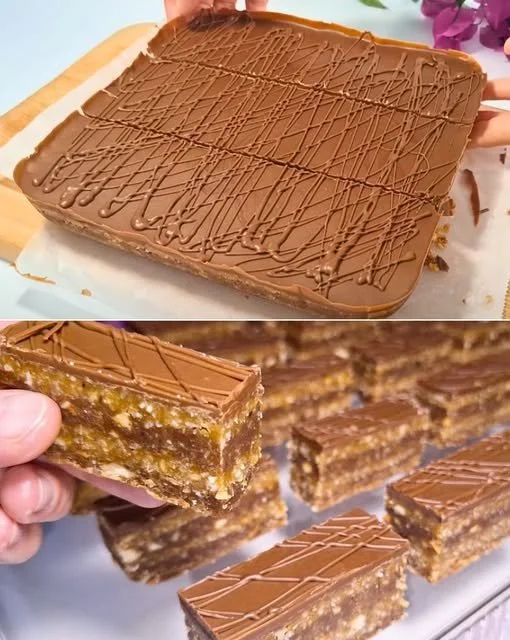
Indulging in a chocolate dessert can transform an ordinary day into something special, and right now, there’s a growing trend towards rich, creamy chocolate cakes that cater to all occasions—from birthdays to simple family gatherings. Having tested numerous recipes, I can confidently say that a dreamy chocolate cream cake never disappoints. While I enjoyed my first slice, the silky filling and moist base made me wonder if it could get any better. The answer? Yes! With subtle adjustments and a few pro tips, you can elevate this cake to impressive new heights.
Why You’ll Love This Recipe
- Rich, moist chocolate base that’s easy to make.
- Silky chocolate cream filling that melts in your mouth.
- Perfect for celebrations or a sweet treat at home.
- Simple ingredients that you likely already have on hand.
- Cooks evenly, avoiding the common pitfall of sogginess.
Ingredients
- 2 3/4 cups (340 g) all-purpose flour
- 1/2 cup (100 g) granulated sugar
- 2 teaspoons (8 g) vanilla sugar or extract
- 2 teaspoons (8 g) baking powder
- Pinch of salt
- 1/2 cup (113 g) unsalted butter, softened
- 2 large eggs
- 2 cups (500 ml) milk
- 1/3 cup (60 g) granulated sugar (for filling)
- 1/4 cup (45 g) cornstarch
- 2 tablespoons (16 g) unsweetened cocoa powder
- 1/4 cup (60 g) dark chocolate, chopped (for filling)
- Chocolate chips (for decoration)
Ingredient Notes
Using high-quality dark chocolate in the filling makes a world of difference in flavor. If you prefer, milk chocolate can be used for a sweeter taste. You can also substitute unsweetened almond milk for a dairy-free option, although this may slightly alter the flavor and texture.
Kitchen Tools Needed
- 24 cm (9-inch) cake pan
- Mixing bowls
- Electric mixer or whisk
- Saucepan
- Rubber spatula
- Measuring cups and spoons
Step-by-Step Instructions
- Preheat the Oven: Begin by preheating the oven to 350°F (180°C).
- Mix Dry Ingredients: In a large mixing bowl, whisk together the flour, sugar, vanilla sugar, baking powder, and salt until well combined.
- Add Wet Ingredients: Incorporate the softened butter and eggs. Mix using an electric mixer on medium speed until the mixture is smooth and homogenous.
- Prepare the Cake Pan: Grease the cake pan with butter and lightly dust with flour, or line the bottom with parchment paper to prevent sticking.
- Pour the Batter: Evenly spread the batter into the prepared cake pan, smoothing it out with the spatula.
- Prepare the Chocolate Filling: In a saucepan over medium heat, heat the milk and 1/3 cup of sugar until steaming. In a small bowl, combine the cornstarch and cocoa powder, then whisk into the hot milk mixture slowly. Cook, stirring continuously, until the mixture thickens—this should take about 5 minutes.
- Add Chocolate: Remove the saucepan from the heat and stir in the chopped dark chocolate until completely melted and smooth.
- Layer the Cake: Pour the chocolate filling over the cake batter in the pan. This will create a rich, creamy layer as it bakes.
- Bake: Place the cake in the oven and bake for 40 to 45 minutes or until the cake is set and a toothpick inserted comes out with a few moist crumbs.
- Cool and Chill: Allow the cake to cool completely in the pan for about 10 minutes, then transfer it to a wire rack to cool completely. For the best texture, refrigerate the cake for at least 2 hours before serving.
- Decorate: Top with chocolate chips right before serving for an extra touch of sweetness and presentation.
Pro Tips
- For a fluffier cake, ensure your butter is at room temperature and cream it well to incorporate air.
- Don’t rush the cooling process! Chilling the cake allows the filling to set properly, which enhances the flavors.
- If using a glass pan, reduce the baking time slightly, as glass retains heat differently.
Common Mistakes to Avoid
One common mistake is overmixing the batter, which can lead to a tougher cake. Mix just until combined for the lightest texture.
Variations
- Nutty Twist: Add chopped walnuts or hazelnuts for a crunch in the cake batter.
- Fruity Option: Layer fresh raspberries or strawberries between the cake and the filling for a refreshing contrast.
- Coffee Infusion: Stir in one tablespoon of espresso powder into the hot milk for a mocha flavor.
- Gluten-Free: Substitute the all-purpose flour with a gluten-free blend to cater to dietary needs.
Serving Suggestions
Serve slices chilled or at room temperature, garnished with whipped cream or a scoop of vanilla ice cream. A dusting of cocoa powder or grated chocolate adds an elegant touch.
Storage Instructions
Store leftovers in an airtight container in the refrigerator for up to 3 days.
Reheating Tips
If you prefer a warm slice, gently reheat in the microwave in 10-second intervals until just warmed through, being careful not to dry it out.
Nutrition Estimate
Approximately 320 calories, 6 g protein, 38 g carbs, and 18 g fat per slice (based on 12 servings).
Recipe Summary Card
- Prep Time: 20 minutes
- Cook Time: 45 minutes
- Total Time: Approximately 2 hours, including cooling
- Servings: 12
- Cuisine: Dessert
- Course: Cake
- Calories: 320
Frequently Asked Questions
- Can I make this cake ahead of time?
- Yes! It keeps well in the fridge for up to three days.
- Is it possible to freeze this cake?
- Yes, but it’s best to freeze without the chocolate chips. Wrap tightly in plastic and freeze for up to a month.
- What can I use instead of butter?
- Coconut oil or vegan butter works well if you prefer a dairy-free option.
- Can I use a different size of pan?
- Yes, just adjust the baking time accordingly. A smaller pan will require longer baking, while a larger one will need less.
- How do I know when the cake is done?
- The edges should be set, and a toothpick inserted in the center should come out with a few moist crumbs.
In testing this recipe, I discovered that using room-temperature ingredients made a noticeable difference in the emulsification, resulting in a light and moist cake. Enjoy this delightful treat—you’ll be glad you did!