Crispy Chebureki with Minced Meat Filling
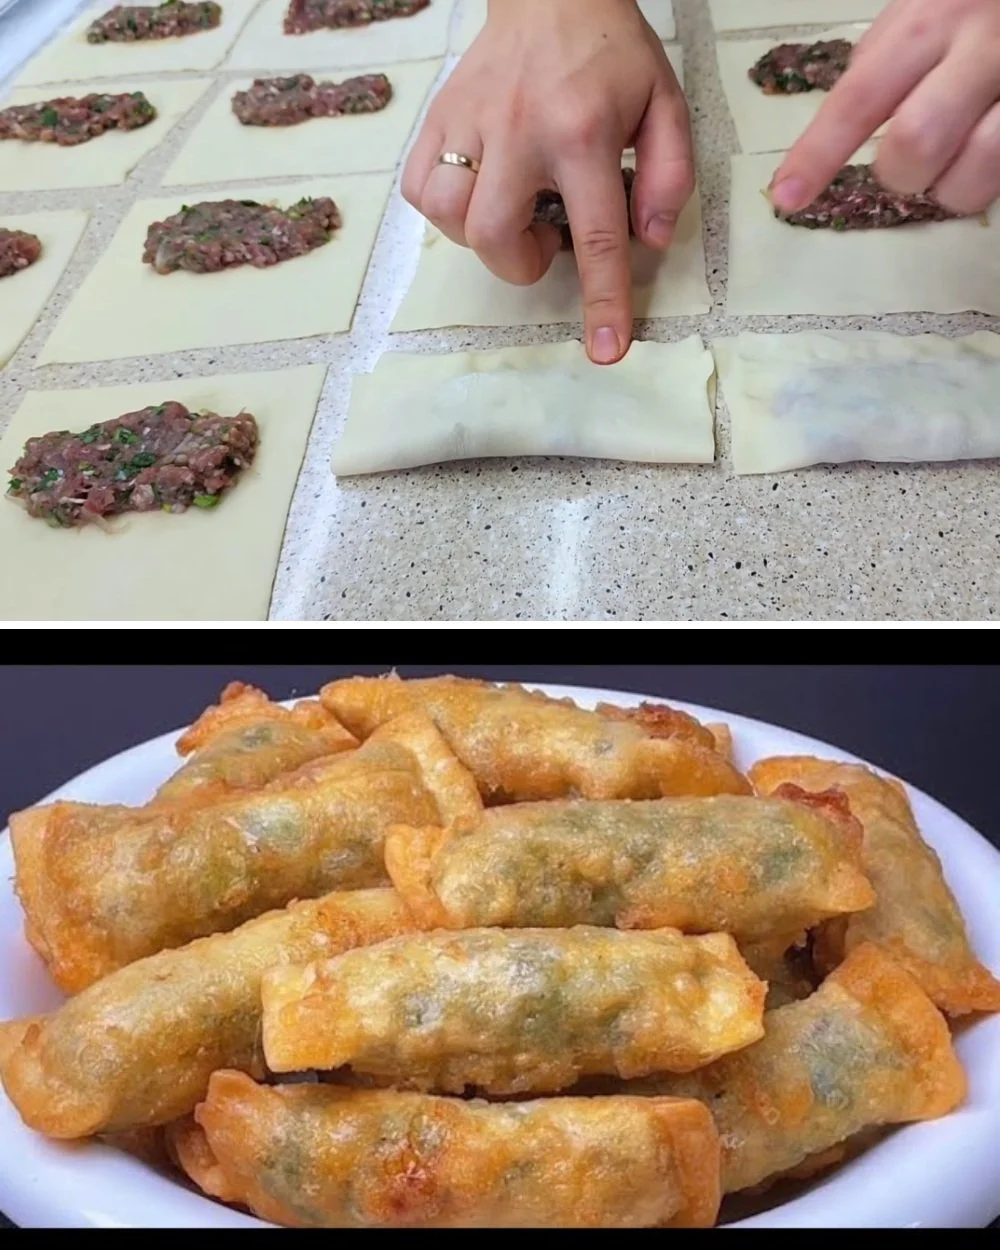
Chebureki are a delightful dish that craves attention at every meal. These crispy, savory pastries, filled with minced meat and aromatic herbs, are perfect for a hearty lunch or a comforting dinner. The beauty of chebureki lies not only in their delicious flavor but also in their versatility—ideal for family gatherings or casual dinners. After trying various techniques, I’ve found a method that ensures crispy edges and a perfectly cooked filling while keeping the overall process simple and approachable.
Why You’ll Love This Recipe
- Quick and easy to prepare, making them great for last-minute meals.
- Flaky, golden pastry that perfectly encases a juicy filling.
- Customizable with your choice of herbs and spices.
- Satisfying enough to serve as a main dish or snack.
- A fantastic way to impress friends and family without fussing over complex recipes.
Ingredients
- 175 ml (¾ cup) boiling water
- 1 tsp salt
- 350 g (2 ¾ cups) all-purpose flour
- 20 ml (1 ½ tablespoons) vegetable oil
- 2 medium onions, chopped
- Fresh greens (like dill or parsley), to taste
- 250 g (about ½ lb) minced meat (beef, lamb, or a mix)
- Salt and spices (like black pepper) to taste
- 30 ml (2 tablespoons) boiling water (for filling)
- Vegetable oil for frying
Ingredient Notes
For the minced meat, feel free to use chicken or turkey for a lighter option. Fresh herbs not only enhance the flavor but also add a pop of color. Adjust the quantity based on your taste preference; some may prefer a stronger herb flavor, while others might want it milder.
Kitchen Tools Needed
- Mixing bowl
- Rolling pin
- Frying pan
- Spatula or tongs
- Measuring cups and spoons
Step-by-Step Instructions
-
In a mixing bowl, combine 175 ml of boiling water with 1 tsp of salt. Gradually add in 350 g of flour, mixing until a dough forms. Once incorporated, let the dough rest for 20 minutes at room temperature. This resting period allows the gluten to relax, making the dough easier to roll out later.
-
While the dough is resting, heat a little vegetable oil in a pan over medium heat. Sauté the chopped onions until they become translucent, about 5 minutes. Then, add the minced meat to the pan along with salt and spices to taste. Cook until the meat is browned and cooked through, breaking it up with a spatula.
-
Once the meat is cooked, stir in 30 ml of boiling water. Continue cooking for another minute to combine the flavors and moisten the filling slightly, enhancing the overall texture.
-
Divide the rested dough into equal portions (about 8 pieces works well). Roll each portion into a thin circle, roughly 6 inches (15 cm) in diameter.
-
Place a couple of spoonfuls of the meat filling in the center of each circle. Carefully fold the dough over to create a half-moon shape. Press the edges firmly to seal, making sure there are no gaps.
-
In a frying pan, heat vegetable oil over medium-high heat. Once hot, gently place a few chebureki in the pan, ensuring not to overcrowd. Fry until golden brown and crispy, about 3 to 4 minutes on each side. Drain on paper towels.
-
Serve your chebureki hot, and enjoy the delightful crunch and flavorful filling!
Pro Tips
- If you find the dough too sticky, add a little more flour; if it’s too dry, a splash more of boiling water can help.
- For extra crispiness, let the filled chebureki rest for a few minutes before frying; this helps them hold their shape better.
- Experiment with different seasonings in your meat filling, like cumin or paprika, for a twist on the classic flavor.
Common Mistakes
- Don’t rush the resting time for the dough; it’s crucial for texture.
- Make sure your oil is hot enough before adding the chebureki; too cool oil can result in soggy pastries.
- Avoid overfilling; too much filling can cause the edges to break apart during frying.
Variations
- Vegetarian Chebureki: Substitute minced meat for sautéed mushrooms or a mixture of finely chopped vegetables for a meatless option.
- Spicy Chebureki: Add red pepper flakes or chopped jalapeños to the meat filling for a little kick.
- Cheese Filling: Incorporate crumbled feta or mozzarella cheese into the meat mixture for a cheesy surprise.
- Herbed Variations: Experiment with fresh herbs like cilantro or chives in the filling for different flavor profiles.
Serving Suggestions
Chebureki are delightful on their own, or serve them with a side of sour cream or tzatziki for dipping. A simple green salad can complement the richness of the pastries nicely.
Storage Instructions
Store any leftovers in an airtight container in the refrigerator for up to 2 days.
Reheating Tips
Reheat chebureki in a hot pan for a few minutes on each side to regain their crispy texture. Avoid the microwave if possible, as it can make them soggy.
Nutrition Estimate
Calories: Approximately 320 per serving
Protein: 13g
Carbs: 36g
Fat: 15g
Recipe Summary
Prep Time: 30 minutes
Cook Time: 10 minutes
Total Time: 40 minutes
Servings: 4
Cuisine: Eastern European
Course: Main
Calories: 320 per serving
Frequently Asked Questions
Can I freeze chebureki?
Yes, they freeze well before frying. Just make sure to separate them with parchment paper and store in an airtight container.
What can I use if I don’t have fresh greens?
Dried herbs can work in a pinch, just use less as they are more concentrated in flavor.
Can I bake chebureki instead of frying?
Yes, if you prefer a healthier option, baking them at 375°F (190°C) for about 25 minutes can yield a tasty result, though the texture will be different.
How do I know when the oil is ready for frying?
You can test the oil by dropping in a small piece of dough; if it sizzles and bubbles around it, the oil is ready.
In conclusion, making chebureki is a rewarding process that can easily anchor your next family meal. Once you’ve mastered the basic recipe, feel free to get creative with the fillings. Enjoy your cooking adventure!
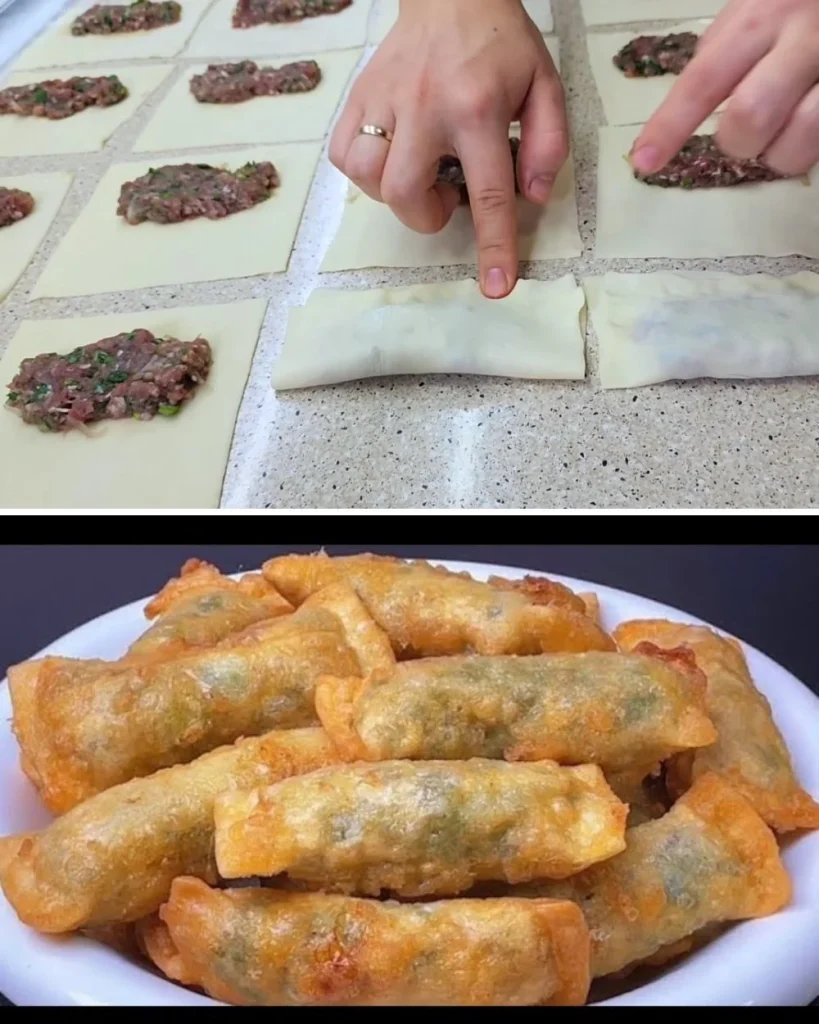
Chebureki
Ingredients
Method
- In a mixing bowl, combine 175 ml of boiling water with 1 tsp of salt. Gradually add in 350 g of flour, mixing until a dough forms.
- Once incorporated, let the dough rest for 20 minutes at room temperature to relax the gluten.
- While the dough is resting, heat a little vegetable oil in a pan over medium heat.
- Sauté the chopped onions until they become translucent, about 5 minutes.
- Add the minced meat, salt, and spices to the pan. Cook until the meat is browned and cooked through.
- Stir in 30 ml of boiling water and continue cooking for another minute to moisten the filling.
- Divide the rested dough into about 8 equal portions and roll each into a thin circle, roughly 6 inches (15 cm) in diameter.
- Place a couple of spoonfuls of the meat filling in the center of each circle, fold the dough over to create a half-moon shape, and press the edges to seal.
- In a frying pan, heat vegetable oil over medium-high heat. Fry the chebureki until golden brown and crispy, about 3 to 4 minutes on each side.
- Drain on paper towels and serve hot.