Bake Your Own Bread at Home
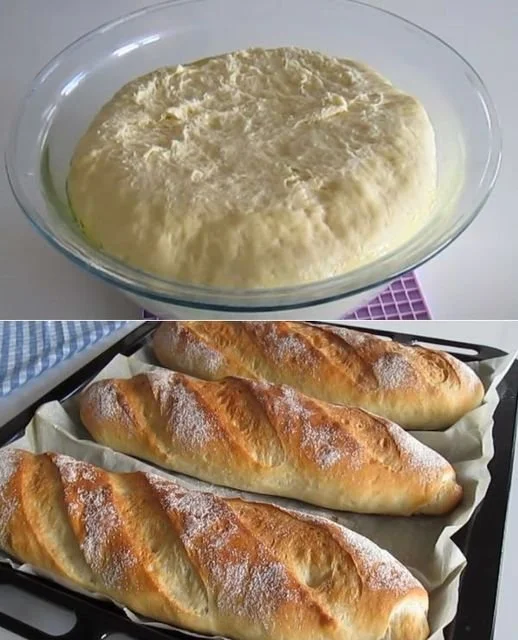
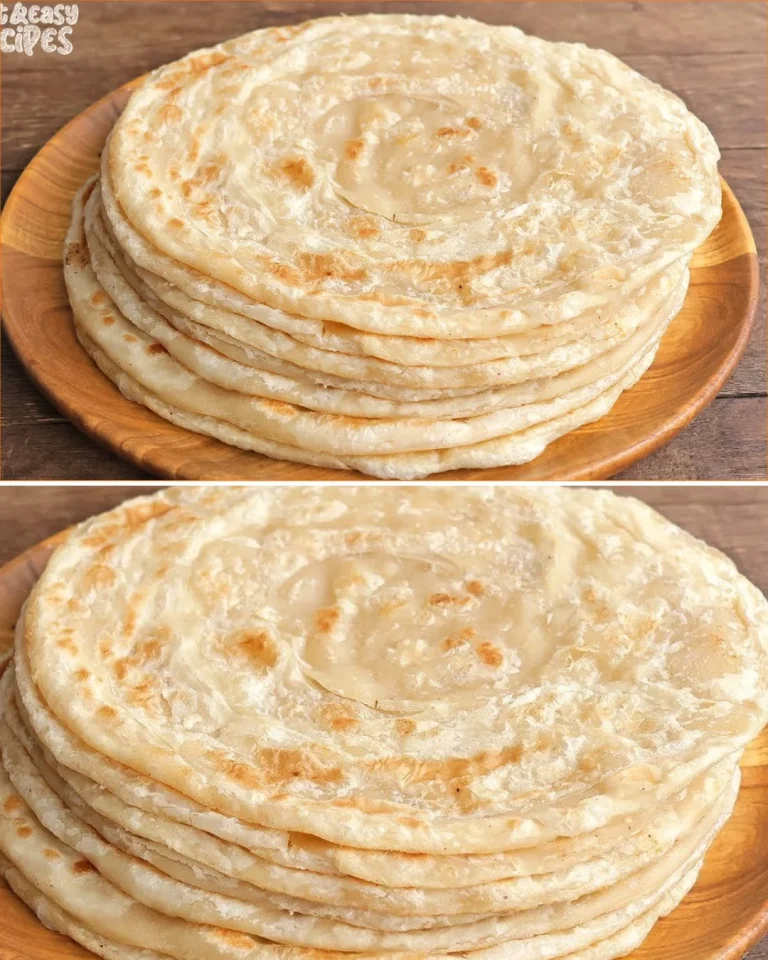
Baking your own bread at home is not only rewarding but also incredibly satisfying. There’s something special about the aroma of fresh bread wafting through your kitchen, filling the air with a sense of warmth and comfort. Plus, homemade bread can be far more flavorful and healthier than store-bought options. This simple recipe will guide you through creating a lovely loaf that you can slice and savor. After trying this method, I doubt you’ll ever want to reach for that plastic bag again.
Why You’ll Love This Recipe
- Easy to follow with minimal ingredients, making it perfect for beginner bakers.
- The bread has a nice crust and soft interior, ideal for sandwiches or toasting.
- Versatile enough to add your favorite herbs or seeds for a unique twist.
- You can prepare the dough in advance, allowing for flexibility in your baking schedule.
- Baking your own bread can save you money in the long run.
Ingredients
- 4 tablespoons (60 ml) olive oil
- 1 tablespoon (9 g) dry yeast
- 1 teaspoon (6 g) salt
- 1 1⁄3 cups (320 ml) warm water
- 4 3⁄4 cups (590 g) all-purpose flour
Ingredient Notes
- Olive oil: Adds flavor and moisture to the bread. You can substitute with vegetable oil if desired.
- Dry yeast: Important for the rise. Make sure it’s fresh for the best results.
- Salt: Enhances the flavor of the bread. Don’t skip this step, as it’s essential in bread-making.
Kitchen Tools Needed
- Large mixing bowl
- Wooden spoon or dough scraper
- Clean kitchen towel
- Baking sheet or loaf pan
- Parchment paper (optional)
Step-by-Step Instructions
-
Activate the Yeast: In a bowl, combine the warm water and dry yeast. Let it sit for about 5-10 minutes until it becomes frothy. This indicates that your yeast is active.
-
Combine Ingredients: Add the olive oil and salt to the yeast mixture. Stir gently to combine.
-
Incorporate Flour: Gradually add the all-purpose flour, one cup at a time, stirring with a wooden spoon or dough scraper until the dough starts to pull away from the sides of the bowl.
-
Knead the Dough: Transfer the dough onto a lightly floured surface. Knead for about 8-10 minutes until the dough is smooth and elastic. If the dough is too sticky, sprinkle a little more flour as you knead.
-
First Rise: Place the kneaded dough in a lightly greased bowl, cover it with a clean kitchen towel, and let it rise in a warm place for about 1-1½ hours, or until doubled in size.
-
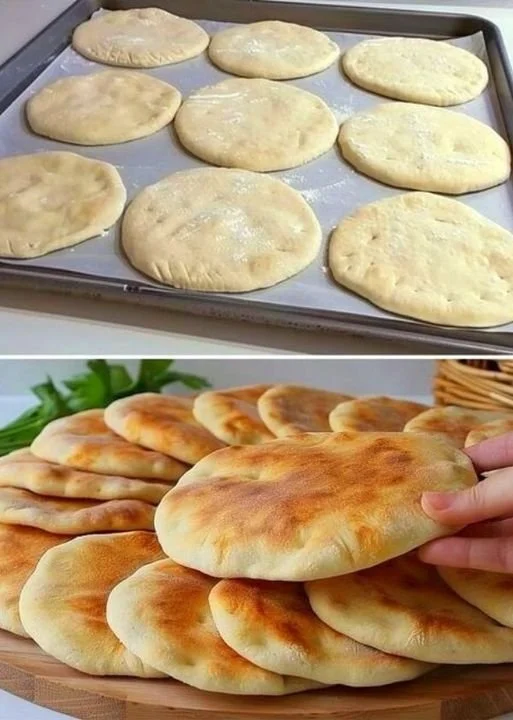
Shape the Loaf: Once risen, punch down the dough to release the air. Shape it into a loaf or divide into smaller portions for rolls and place on a baking sheet lined with parchment paper or in a greased loaf pan.
-
Second Rise: Cover the shaped dough with the towel again and let it rise for another 30-45 minutes until puffy.
-
Preheat the Oven: While the dough is rising, preheat your oven to 375°F (190°C).
-
Bake: Bake the bread for 25-30 minutes, or until golden brown and hollow-sounding when tapped on the bottom.
-
Cool: Remove from the oven and let cool on a wire rack. This waiting time helps the bread finish setting and enhances the flavor.
Pro Tips
- Make sure your water is warm (not hot) to ensure the yeast activates properly.
- For added flavor, incorporate herbs like rosemary or thyme into your dough.
- If you live in a cooler climate, placing the dough in an oven with the light on can provide the warmth needed for rising.
Common Mistakes
- Using water that’s too hot can kill the yeast; aim for around 110°F (43°C).
- Not kneading enough can lead to dense bread; ensure it’s smooth and elastic.
- Forgetting to cover the dough while it rises may dry it out.
Variations
- Whole Wheat Bread: Substitute half the all-purpose flour with whole wheat flour for a nuttier flavor.
- Herb Bread: Add 1-2 tablespoons of dried herbs to the dough for a fragrant loaf.
- Cheese Bread: Fold in shredded cheese during the last stages of kneading for a delightful cheesy flavor.
Serving Suggestions
This bread is perfect for sandwiches, served with soups, or simply spread with butter. Enjoy it fresh out of the oven or toasted for breakfast with jam.
Storage Instructions
Store the bread in a cool, dry place in a paper bag for 2-3 days, or in an airtight container for up to a week.
Reheating Tips
To reheat, wrap in foil and place it in a 350°F (175°C) oven for about 10 minutes to warm it through. This will help restore the crusty exterior.
Nutrition Estimate
Per slice (assuming 12 slices):
Calories: 120, Protein: 3 g, Carbs: 23 g, Fat: 3 g
Recipe Summary
Prep Time: 20 minutes
Cook Time: 30 minutes
Total Time: 2 hours
Servings: 12
Cuisine: Various
Course: Bread
Calories: 120 per slice
Frequently Asked Questions
Can I use instant yeast instead of dry yeast?
Yes, you can use instant yeast. Just mix it directly with the flour without needing to activate it separately.
What if my dough doesn’t rise?
Ensure your yeast is fresh and that the dough is in a warm environment for rising.
Can I freeze the bread?
Absolutely! Slice the bread and freeze it in an airtight container for up to 3 months.
Baking your own bread at home is a simple yet rewarding process, providing joy in every slice. Give this recipe a try, and relish the deliciousness of homemade bread.