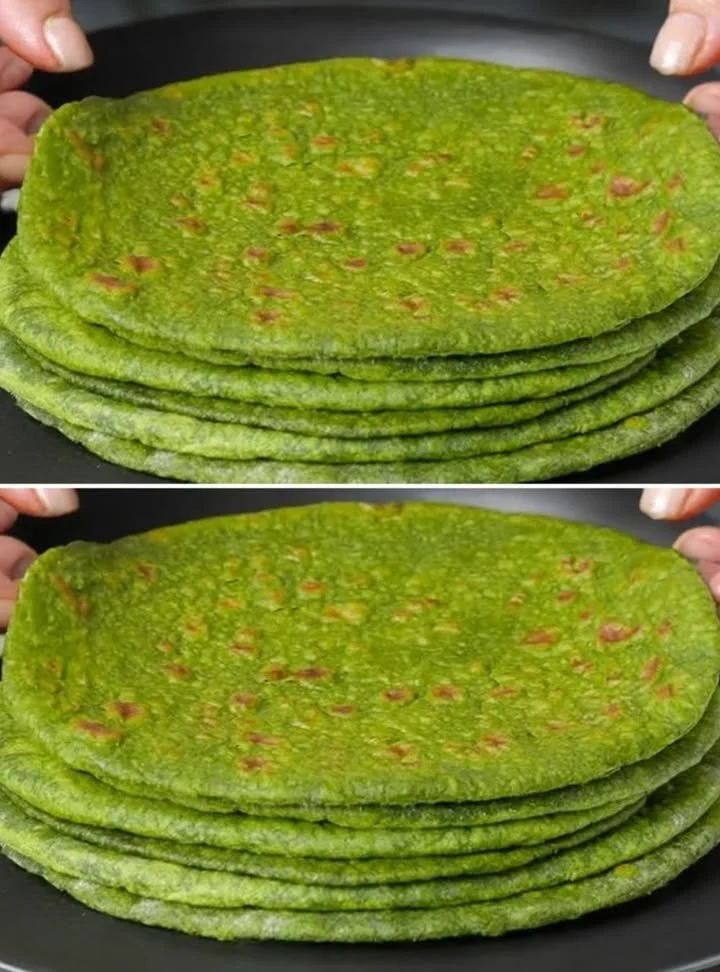
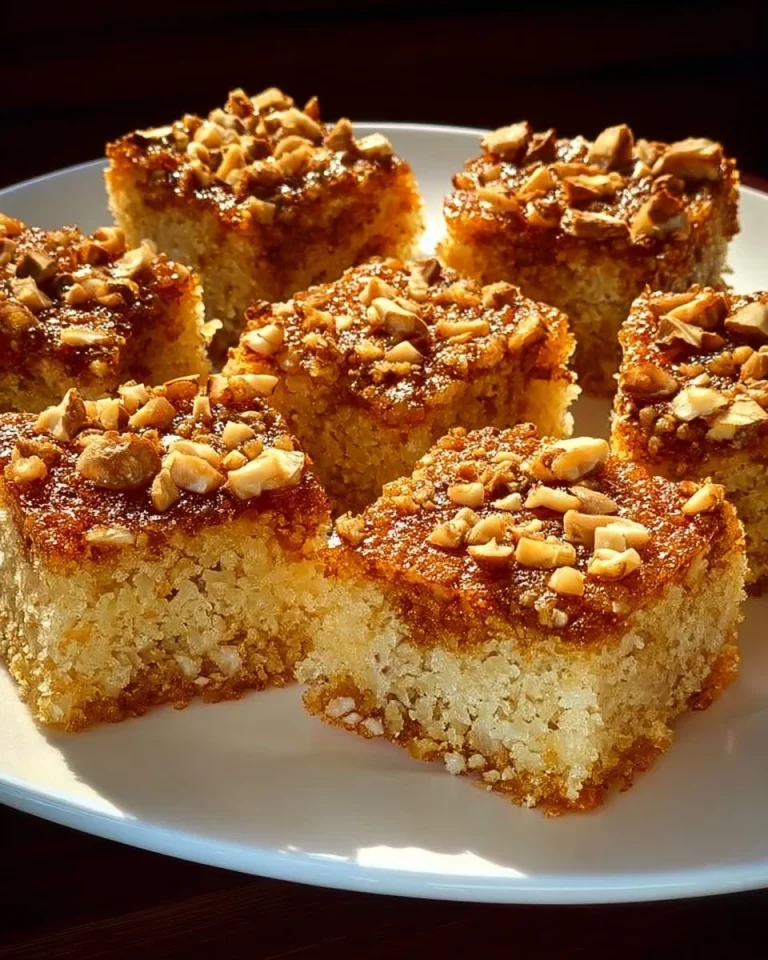
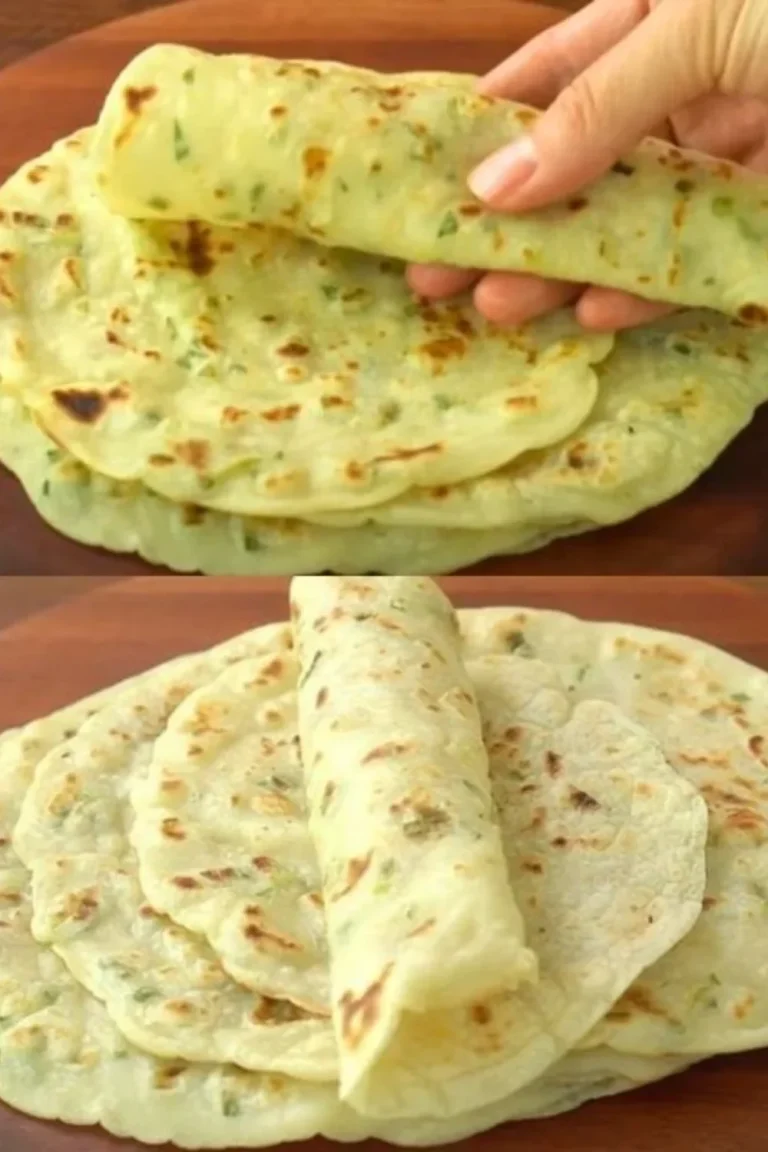
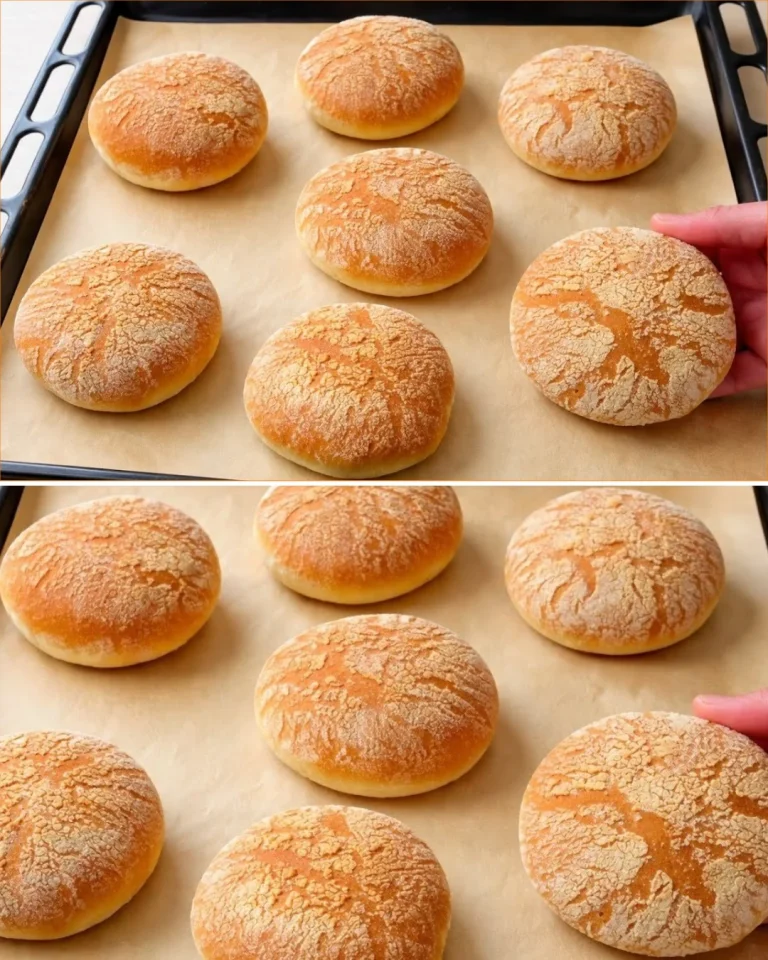
How to Make Easy Buckwheat Bread

There’s something truly rewarding about baking your own bread, especially when it’s as uncomplicated as this Easy Buckwheat Bread. Made from raw buckwheat groats, this bread is not only gluten-free but also packed with nutrients. Whether you’re looking for a hearty slice for breakfast or a base for your favorite sandwich, this recipe delivers. Plus, the fermentation process adds a unique flavor that elevates the taste without requiring any complicated techniques. You’ll love how easy it is to prepare, and the addition of optional seeds and nuts gives you the freedom to customize it to your liking.
Why You’ll Love This Recipe
- Nutritious Goodness: Buckwheat is high in fiber, protein, and antioxidants.
- Simple Ingredients: Just a few pantry staples are needed, making it budget-friendly.
- Customizable: Add your favorite seeds and nuts for added texture and flavor.
- Naturally Gluten-Free: A great choice for those avoiding gluten while still enjoying bread.
- Minimal Hands-On Time: The bread requires little active cooking time, with most of the time spent soaking and fermenting.
Ingredients
- 2¾ cups (450 g) raw buckwheat groats
- 1 cup (240 ml) water (plus more for soaking)
- 1 teaspoon salt
- 1 tablespoon olive oil (optional)
- ¼ cup (30 g) walnuts (optional)
- 2 tablespoons sunflower seeds (optional)
- 2 tablespoons flaxseeds (optional)
- Nigella seeds for topping
- Extra sunflower seeds for topping
- 1-2 teaspoons maple syrup or honey (optional)
- ½ teaspoon baking soda (optional)
- Sesame seeds (optional)
- Poppy seeds (optional)
- Additional nuts of your choice (optional)
- Pumpkin seeds (optional)
Kitchen Tools Needed
- Large mixing bowl
- Blender or food processor
- Clean kitchen towel or plastic wrap
- Loaf pan
- Parchment paper
Step-by-Step Instructions
- Soak the Buckwheat: Rinse the buckwheat groats thoroughly under running water. Place them in a large bowl and cover with approximately 750 ml of filtered water. Let them soak for 8 hours or overnight at room temperature.
- Blend and Ferment: After soaking, drain any excess water—do NOT rinse the groats. Transfer them to a blender or food processor, add 1 cup (240 ml) of water, and blend until you achieve a smooth consistency similar to pancake batter. If the mixture is too thick, add a tablespoon or two of water.
- Fermentation: Pour the batter into a clean glass or ceramic bowl (avoid metal), and cover it with a clean kitchen towel or plastic wrap. Allow it to ferment at room temperature (72–78°F or 22–26°C) for 24–36 hours. Look for bubbles forming, which means your batter is ready and will have a slightly tangy aroma.
- Prepare for Baking: Once fermented, gently stir in the salt, olive oil, maple syrup (if using), and any favorite seeds or nuts. Mix well to combine.
- Preheat and Line: Preheat your oven to 350°F (180°C). Line a loaf pan with parchment paper and pour in the batter, smoothing the top with a spatula. Sprinkle additional seeds on top if desired.
- Bake: Place the loaf in the preheated oven and bake for 50–60 minutes, or until the bread is golden brown and sounds hollow when tapped on the bottom.
- Cool Before Slicing: Allow the bread to cool completely in the pan before transferring it to a wire rack. This helps it hold together better when sliced.
Pro Tips
- If this is your first time fermenting, check the batter a few hours before the full 36 hours to ensure it’s bubbling.
- For a denser bread, you can add a bit of baking soda at the end for a slight lift; just be careful not to overdo it.
- Topping with nigella seeds not only enhances flavor but also adds a beautiful finish to your bread.
Common Mistakes
- Don’t skip the fermentation step; it’s key to achieving the right texture and flavor.
- Be cautious not to over-blend the batter; it should remain a bit chunky for the best texture.
- Ensure you allow the bread to cool completely before slicing; this prevents gummy slices.
Variations
- Try adding dried herbs like rosemary or thyme for an extra flavor kick.
- Incorporate different seeds, such as chia or hemp seeds, for extra nutrition.
- For a sweeter touch, add chopped dried fruit like figs or apricots to the batter.
Serving Suggestions
This buckwheat bread is delicious enjoyed plain or topped with your favorite spreads, like avocado or a simple butter and jam. It also works wonders as a base for open-faced sandwiches or toast.
Storage Instructions
Store any leftover bread wrapped in parchment paper and placed in an airtight container at room temperature for up to 3 days. For longer storage, slice and freeze in an airtight container or bag, where it will keep for up to two months.
Reheating Tips
If you find yourself with leftovers, a quick toast in the oven will bring back its lovely crustiness.
Nutrition Estimate
Per slice (based on 12 slices): Approximately 120 calories, 4g protein, 20g carbs, 3g fat.
Recipe Summary
- Prep Time: 10 minutes (plus soaking and fermentation time)
- Cook Time: 60 minutes
- Total Time: About 48 hours (including soaking and fermentation)
- Servings: 12 slices
- Cuisine: Gluten-free, healthy
- Course: Bread
- Calories: ~120 per slice
Frequently Asked Questions
1. Can I use another type of flour instead of buckwheat?
No, this recipe is specifically designed for buckwheat groats, as they provide the unique texture and flavor.
2. How do I know when the bread is done baking?
It should be golden brown and sound hollow when tapped; make sure to check at the 50-minute mark.
3. Can I skip fermentation?
While it’s technically possible, skipping fermentation will result in a denser, less flavorful bread.
4. How can I make this bread sweeter?
Adding maple syrup or honey will give it a nice sweetness, and incorporating fruits or nuts can enhance this too.
5. Is there a nut-free option available?
Absolutely! Simply omit the walnuts and any nut toppings, and add extra seeds for crunch and texture.
This easy buckwheat bread not only fills your kitchen with wonderful aromas but is also a fantastic way to enjoy nutritious homemade bread. Dive in and give it a try—you’ll be amazed at how simple and satisfying it is!