Marble-style Hiding Cake
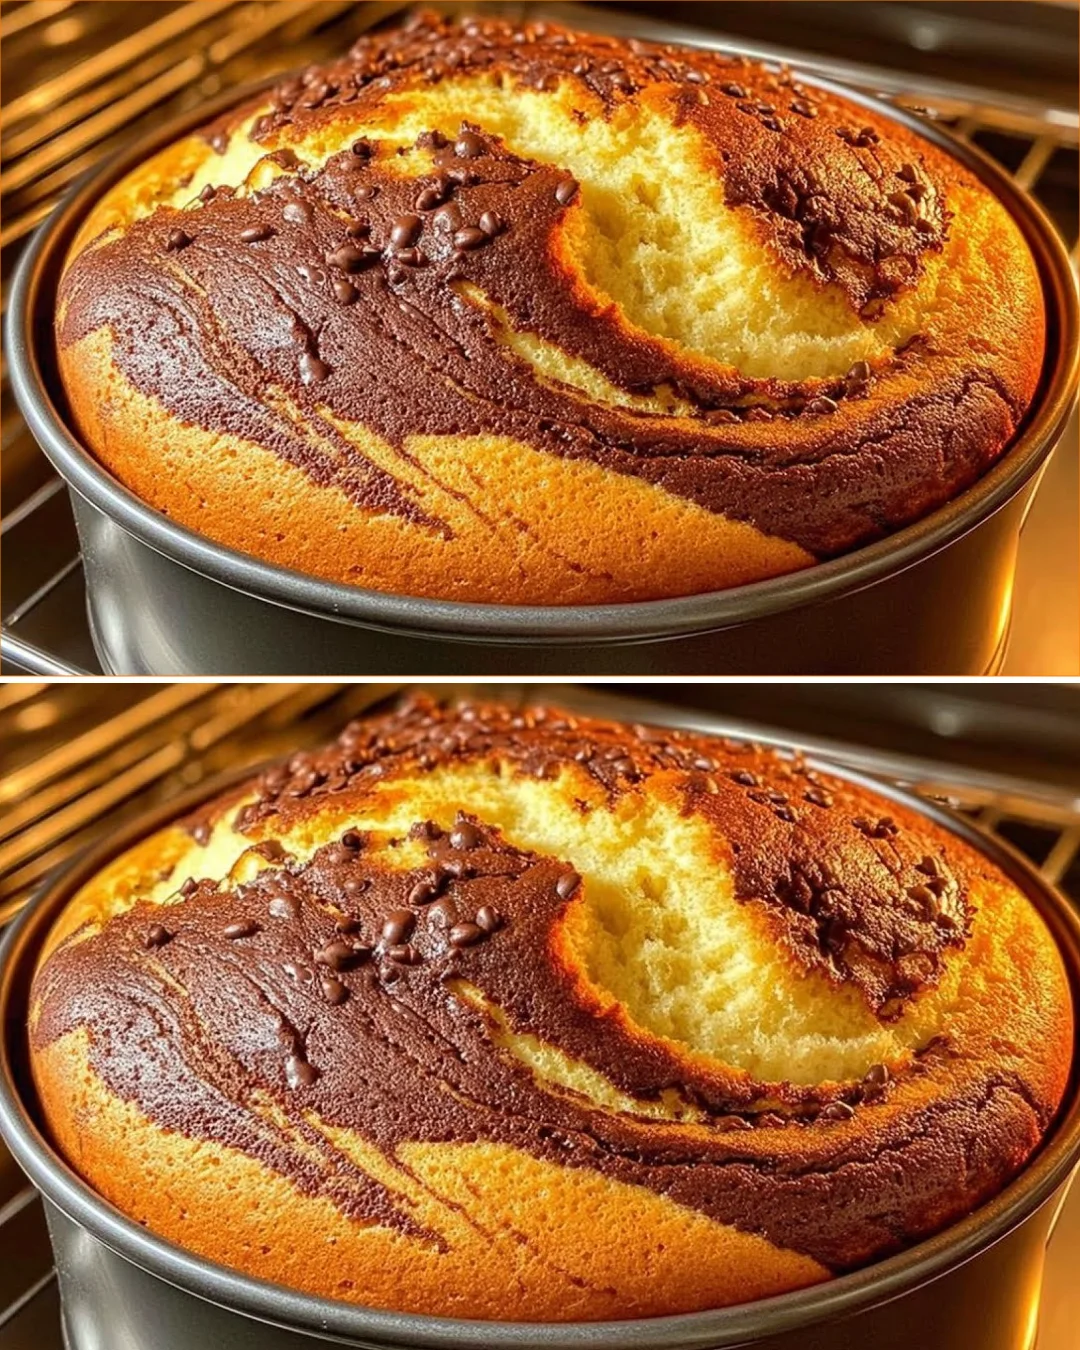
This marble-style cake is one of those simple bakes that quietly wins people over. It uses pantry staples, comes together fast, and gives you that nice mix of vanilla and cocoa in every slice without feeling fussy. It’s the kind of recipe I like when I want something homemade but don’t want to spend half the afternoon in the kitchen.
I tested this a couple of times and found that the batter is at its best when it stays smooth but not overmixed. The first time, I rushed the marbling and ended up with a less defined pattern, so I adjusted the layering method for a prettier result. The chocolate chips on top are a small touch, but they make the cake feel more bakery-style once it bakes.
Why You’ll Love This Recipe
- Uses simple ingredients you probably already have on hand
- Soft, moist crumb thanks to the oil and milk
- Beautiful vanilla-and-chocolate layers with very little effort
- A great everyday cake for tea time, snacks, or lunchboxes
- Bakes in one pan with no special equipment needed
- The chocolate chips add a slightly melty topping that makes each slice feel a little more special
Ingredients
- 3 large eggs
- 3/4 cup (150 g) granulated sugar
- 1 pinch salt
- 1 teaspoon vanilla extract
- 1/2 cup (120 ml) neutral oil, such as sunflower or canola
- 1/2 cup (120 ml) milk
- 1 1/2 cups (250 g) all-purpose flour
- 3 teaspoons (15 g) baking powder
- 1/4 cup (20 g) unsweetened cocoa powder
- 2 tablespoons (30 ml) milk, for the cocoa mixture
- 1/3 to 1/2 cup (55 to 85 g) chocolate chips, for topping
Ingredient Notes
- Eggs help build structure and give the cake a lighter texture. Room-temperature eggs mix in more smoothly.
- Neutral oil keeps the cake moist for days. Butter can work, but the crumb will be a little less soft.
- Milk adds tenderness and helps loosen the batter so it spreads evenly in the pan.
- Baking powder is the main leavener here, so make sure yours is fresh.
- Cocoa powder should be unsweetened. Natural or Dutch-process both work, though natural cocoa gives a slightly brighter chocolate flavor.
- Chocolate chips are optional, but they add a nice finish and a bit of extra chocolate in every bite.
Kitchen Tools Needed
- 10 x 14-inch or 26 cm baking dish
- Mixing bowls
- Whisk or hand mixer
- Fine sieve, optional but helpful
- Rubber spatula
- Measuring cups and spoons or kitchen scale
- Toothpick for testing doneness
Step-by-Step Instructions
- Preheat your oven to 350°F (180°C). Grease a 26 cm baking dish well, including the corners, so the cake releases cleanly later.
- In a large mixing bowl, beat the eggs, sugar, salt, and vanilla until the mixture looks pale and slightly thickened. If using a hand whisk, this takes a bit longer; with a mixer, it goes faster.
- Slowly pour in the oil while mixing, then add the milk. The batter may look slightly loose at this stage, and that is normal.
- Sift in the flour and baking powder. Mix just until the batter becomes smooth. Stop as soon as you no longer see dry flour. Overmixing can make the cake dense.
- Divide the batter into two portions, using about one-third of it in a separate bowl.
- In the smaller portion, stir together the cocoa powder and 2 tablespoons (30 ml) milk until fully blended. The chocolate batter should be smooth and spreadable, not dry or pasty. If it looks too thick, add a teaspoon of milk.
- Spoon the plain and chocolate batters alternately into the prepared baking dish. You can make a random pattern or layer them in lines. Once all the batter is in the pan, run a knife lightly through the surface once or twice for a simple marbled effect.
- Sprinkle the chocolate chips evenly over the top.
- Bake for 30 to 35 minutes, or until the top is set and a toothpick inserted into the center comes out clean or with just a few moist crumbs. In my oven, the cake was best at the 32-minute mark, but ovens can vary.
- Let the cake cool in the pan for at least 15 to 20 minutes before slicing. This helps the crumb set and makes cleaner slices.
Pro Tips
- Mix the batter only until combined. The texture stays softer if you stop as soon as the flour disappears.
- If your cocoa batter feels too stiff, add a tiny splash more milk. It should spoon easily and blend into the plain batter without clumping.
- For a more defined swirl, don’t over-mix the two batters once they’re in the pan. A few passes with a knife is enough.
- Use a light-colored baking dish if possible. Dark pans can brown the edges too quickly before the center is done.
- Let the cake cool before cutting. I tested it warm once, and the slices looked messy even though the flavor was great.
Common Mistakes to Avoid
- Overbeating the batter after adding flour, which can make the cake heavy
- Using too much cocoa mixture, which can dry out the chocolate portion
- Skipping the toothpick test and pulling the cake out too early
- Cutting the cake too soon; my first attempt was crumbly because I sliced it while it was still too warm
- Under-greasing the pan, especially around the corners
Variations
- Add a handful of chopped walnuts or hazelnuts on top for crunch
- Replace the chocolate chips with white chocolate chips for a sweeter finish
- Add orange zest to the batter for a chocolate-orange flavor
- Stir a teaspoon of instant coffee into the cocoa mixture to deepen the chocolate taste
Serving Suggestions
Serve this cake plain with coffee or tea, or dust it lightly with powdered sugar just before serving. It also works well with fresh berries or a spoonful of whipped cream if you want to dress it up a little.
Storage Instructions
Store the cooled cake in an airtight container at room temperature for up to 3 days. If your kitchen is warm, refrigerate it for up to 5 days. For longer storage, wrap slices tightly and freeze for up to 2 months.
Reheating Tips
Warm individual slices in the microwave for 10 to 15 seconds to bring back the soft texture. If reheating from frozen, let the slice thaw first, then warm it briefly.
Nutrition Estimate
Per serving, based on 10 slices:
- Calories: 280
- Protein: 5 g
- Carbohydrates: 34 g
- Fat: 14 g
Recipe Summary Card
- Prep Time: 15 minutes
- Cook Time: 30 to 35 minutes
- Total Time: 45 to 50 minutes
- Servings: 10
- Cuisine: European-style home baking
- Course: Dessert, snack, tea cake
- Calories: 280 per serving
Frequently Asked Questions
Can I make this cake without chocolate chips?
Yes. The cake still works well without them. The chips just add a nicer finish and a little extra chocolate flavor on top.
Can I use butter instead of oil?
You can, but the texture will be slightly firmer and less moist. If you use butter, melt it first and let it cool before adding it.
Why did my cake come out dry?
Most likely it was baked too long or too much flour was added. Measuring flour properly and checking the cake a few minutes early helps a lot.
Can I make this in a round cake pan?
Yes, but use a properly sized pan so the batter doesn’t overflow. An 8- or 9-inch round pan can work, though the baking time may need a small adjustment.
How do I get a better marble pattern?
Alternate the batters in small spoonfuls, then drag a knife through the batter just once or twice. Too much swirling blends the colors instead of marbling them.
Conclusion
This is an easy, dependable cake that delivers more than you’d expect from such a simple ingredient list. It’s soft, lightly sweet, and just chocolatey enough to feel special without being heavy.
Tested Note
I tested this with both a gentle swirl and a more layered pattern, and the layered version gave the prettiest slices. Letting it cool before cutting made the crumb noticeably neater and more tender.