No-Bake Cocoa Oat Squares
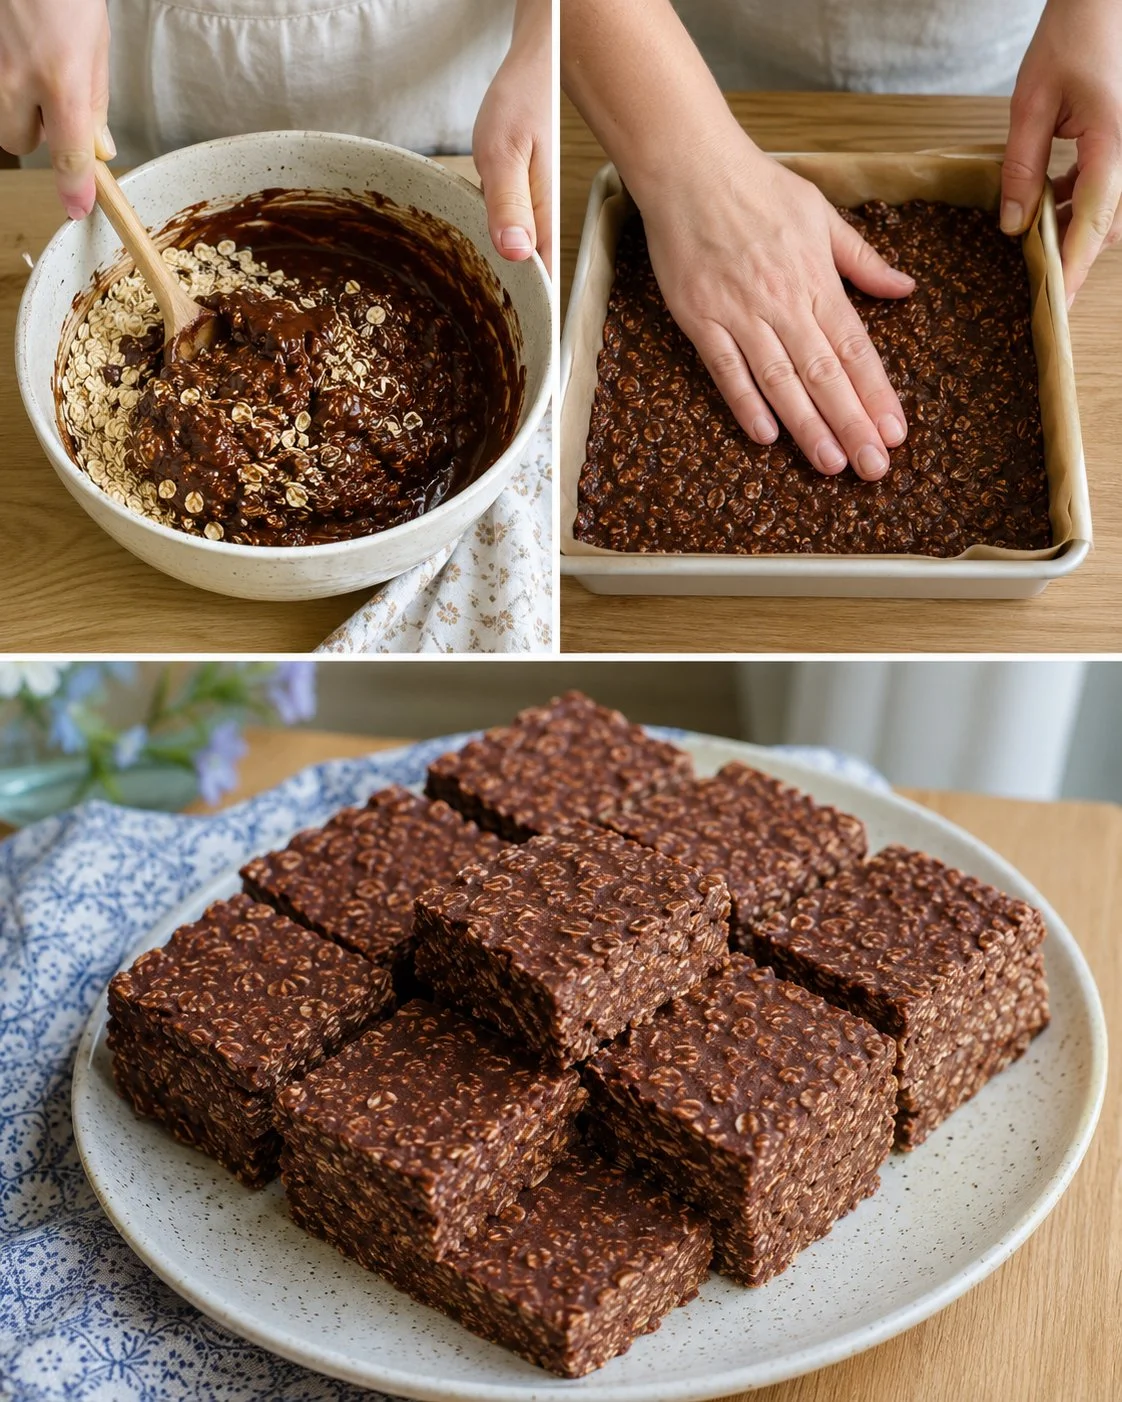
Sometimes you want a treat that feels a bit indulgent but doesn’t require turning on the oven or spending too much time in the kitchen. These no-bake cocoa oat squares fit the bill perfectly. They come together with simple pantry staples, creating a chewy, chocolatey snack that’s just sweet enough and packed with good texture. They’re a great option for a quick energy boost, lunchbox add-in, or even a light dessert when you need something fuss-free but satisfying. The combination of oats and shredded coconut makes every bite pleasantly chewy, and the cocoa adds just the right depth of flavor without overpowering the natural sweetness from honey.
If you’ve ever made bars like this before, you know that getting the right balance between sticky and firm can be tricky. One small adjustment that helped was gently warming the butter, cocoa, honey, and milk until silky smooth—this helps everything bind better, so the bars hold together without crumbling. Also, chilling them thoroughly before cutting makes slicing cleaner and keeps the texture just right.
Why You’ll Love This Recipe
- No baking required—ready in under an hour with chilling time
- Uses simple, wholesome ingredients you probably already have
- Perfect balance of chewy oats and rich cocoa flavor
- Easy to customize with add-ins or swap ingredients
- Great make-ahead snack that keeps well in the fridge
- Warming the mixture before mixing oats ensures it binds securely
Ingredients
- 2 cups (160 g) rolled oats
- 100 g (7 tbsp) butter
- 1/3 cup (80 ml) milk
- 2 tbsp cocoa powder (unsweetened)
- 3 tbsp honey
- 1/2 cup (40 g) shredded coconut (unsweetened)
Ingredient Notes
Rolled oats provide a chewy base that holds the bars together; quick oats work but may yield a softer texture. Unsweetened cocoa powder offers rich chocolate flavor without extra sweetness, balancing the natural honey sweetness. Use shredded coconut for texture and a subtle tropical note—avoid sweetened coconut to keep the taste balanced. Butter adds richness and helps the mixture firm up once chilled; you can substitute with coconut oil for a dairy-free option, though the flavor and texture will differ slightly. Milk helps bring everything together; any dairy or plant-based milk will work fine.
Kitchen Tools Needed
- Medium saucepan
- Mixing bowl
- Spatula or wooden spoon
- 8×8-inch (20×20 cm) square baking pan or container
- Parchment paper or plastic wrap
Step-by-Step Instructions
-
Line an 8×8-inch (20×20 cm) pan with parchment paper, allowing some overhang for easy removal later. This helps prevent the bars from sticking and makes cleanup easier.
-
In a medium saucepan over low heat, combine the butter, milk, cocoa powder, and honey. Stir constantly until the butter melts and the mixture is completely smooth and glossy. This gentle warming is key—it ensures the cocoa powder is well dissolved and the honey blends evenly without burning.
-
Remove the saucepan from heat. Pour the warm mixture into a mixing bowl and immediately stir in the oats and shredded coconut until well combined. Make sure every oat is coated; this helps with binding.
-
Transfer the mixture to the prepared pan. Use the back of a spatula or your hands (lightly dampened) to press the mixture firmly and evenly into the pan. Firm pressing prevents the bars from crumbling once chilled.
-
Cover the pan with plastic wrap or a clean towel and refrigerate for at least 1 hour, or until firm to the touch. This chilling step is crucial for the squares to set properly.
-
Once firm, lift the mixture out using the parchment overhang and place on a cutting board. Cut into squares about 2 inches (5 cm) each.
-
Keep the squares refrigerated until serving. They’re best enjoyed cold but can be left at room temperature for a short time before eating.
Pro Tips
- If your cocoa mixture separates or looks grainy, don’t panic—just keep stirring gently off the heat until it smooths out.
- Press the mixture firmly into the pan; loosening filling will make cutting messy.
- For cleaner cuts, dip your knife in hot water and wipe it dry before slicing. Repeat between cuts if needed.
- If you want a firmer texture, chill the squares overnight. They slice more easily and hold together well.
- Adding a pinch of salt to the cocoa mixture can enhance the chocolate flavor and balance sweetness.
Common Mistakes
- Not warming the wet ingredients enough—this can lead to uneven mixing and crumbly bars.
- Using quick oats instead of rolled oats may create a softer, less structured square.
- Pressing the mixture too lightly leads to bars that fall apart when cut.
- Skipping the chilling step means the squares won’t set properly and will be sticky and fragile.
- Cutting the bars before they’re fully chilled often results in messy edges and crumbling.
Variations
- Add 1/4 cup (40 g) chopped nuts or seeds for an extra crunch.
- Stir in 1/4 cup (40 g) mini chocolate chips for pockets of melty chocolate.
- Swap shredded coconut for chopped dried fruit (apricots, cranberries) for a fruity twist.
- Use maple syrup or agave instead of honey for a different flavor and vegan option.
Serving Suggestions
These cocoa oat squares are perfect alongside a cup of tea or coffee as a mid-afternoon pick-me-up. They’re also great for a quick breakfast on busy mornings or packed as a healthy snack for school or work. Because they’re not overly sweet, they can pair nicely with plain Greek yogurt or fresh fruit.
Storage Instructions
Store the chocolate oat squares in an airtight container in the refrigerator for up to one week. If you want to keep them longer, wrap individually in plastic wrap and freeze for up to 3 months. Thaw in the fridge overnight before serving.
Reheating Tips
No reheating needed. These bars are best enjoyed cold or at room temperature. If they soften too much during warming, they may lose their shape.
Nutrition Estimate (per square, based on 12 squares)
- Calories: 150 kcal
- Protein: 3 g
- Carbohydrates: 18 g
- Fat: 7 g
Recipe Summary
Prep Time: 10 minutes
Cook Time: 5 minutes
Chill Time: 1 hour
Total Time: 1 hour 15 minutes
Servings: 12 squares
Cuisine: Snack / No-bake
Course: Snack / Dessert
Calories: 150 per square
Frequently Asked Questions
Can I use quick oats instead of rolled oats?
You can, but quick oats will give a softer texture and the bars may hold together less firmly. Rolled oats offer the best chewiness and structure.
Is it possible to make these vegan?
Yes! Replace the butter with coconut oil and use plant-based milk such as almond or oat milk. Also, swap honey for maple syrup or agave.
How long do these squares keep?
They stay fresh in the fridge up to one week and freeze well for up to 3 months.
Can I add other flavors, like vanilla or spices?
Definitely. A teaspoon of vanilla extract or a pinch of cinnamon in the cocoa mixture adds a nice flavor boost.
What’s the best way to cut these squares without crumbly edges?
Make sure they’re fully chilled, use a sharp knife dipped in hot water, and press down firmly but gently.
Making no-bake cocoa oat squares is an easy way to enjoy a sweet treat without the fuss. This recipe is forgiving, quick, and satisfying anytime you want a little chocolate and oat goodness. Simple, practical, and delicious—it’s one you’ll come back to whenever you want a quick snack that feels a bit special.