Easy Homemade Baked Goods Without an Oven
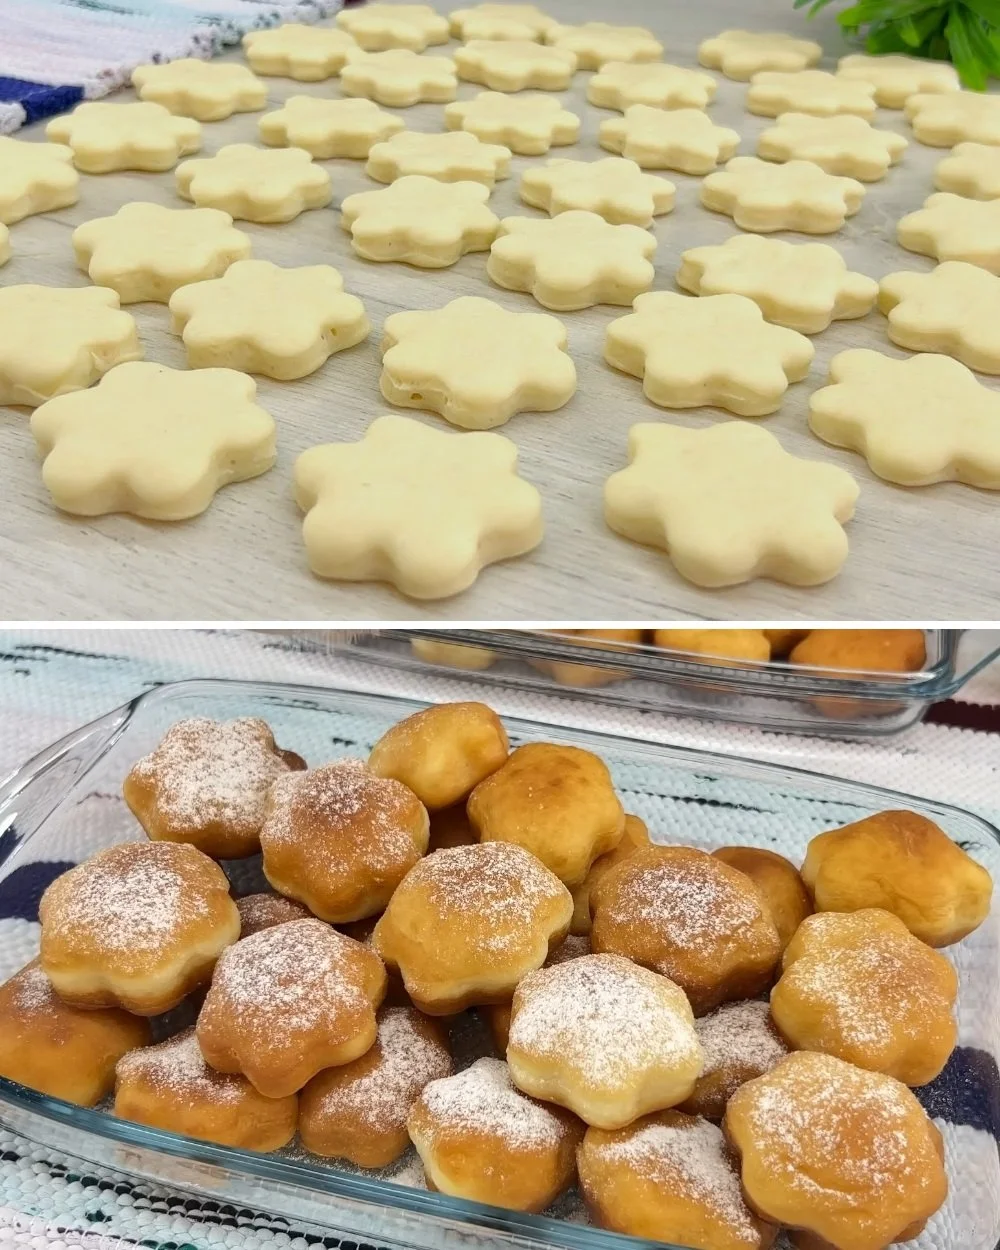
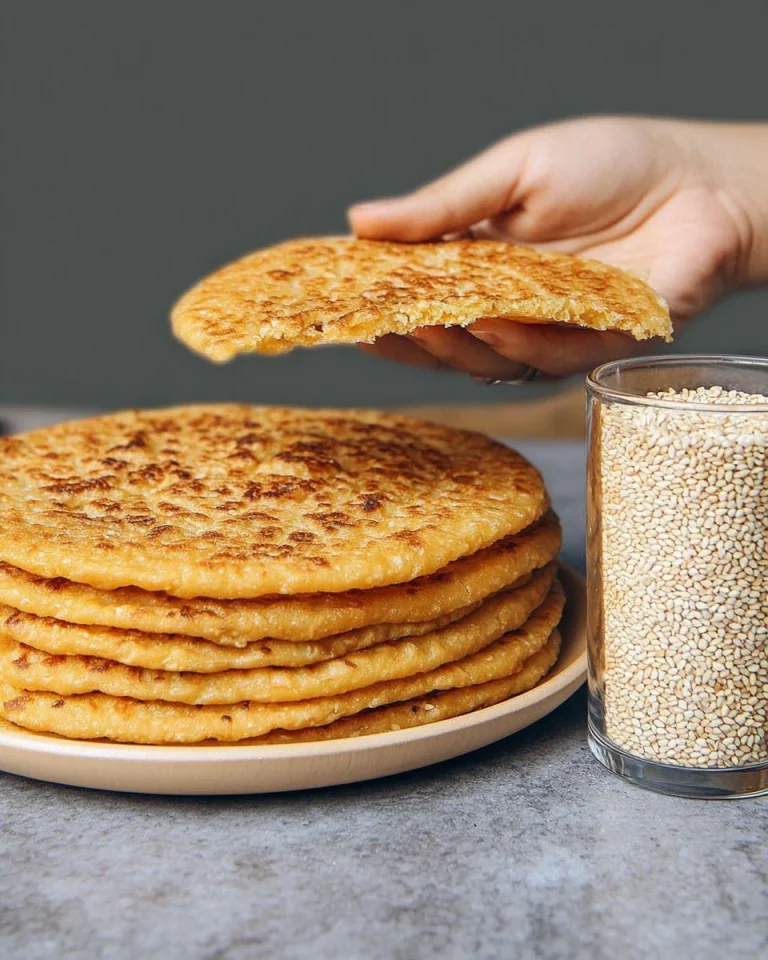
With baking, there’s often a misconception that you need an oven to whip up delicious homemade goods. This recipe for baking without an oven allows you to create soft, golden delights right on your stovetop. Whether you’re short on kitchen space, don’t have access to an oven, or simply want to try something different, this method is both practical and rewarding. The first time I made these, I was amazed at how simple it was to achieve that satisfying, freshly baked taste. Plus, they fry up beautifully, creating that crispy outer layer while remaining fluffy inside – perfect for breakfast or a snack.
Why You’ll Love This Recipe
- Simple and straightforward, perfect for novice bakers and experienced cooks alike.
- Requires minimal equipment – all you need is a stovetop and a skillet.
- Quick fermentation process means you can have warm baked goods in less than an hour.
- Versatile dough can be shaped into various forms, from round bites to creative designs.
- Frying gives a satisfying crunch that you don’t get from traditional baking.
Ingredients
- 1 cup (200 ml) warm milk
- 1/2 glass (100 ml) warm water
- 2 tablespoons (40 g) sugar
- 1 packet (10 g) dry yeast
- 1 cup (120 g) flour
- 40 ml vegetable oil
- 4 cups (480 g) flour (for the dough)
- 1 teaspoon (8 g) salt
Kitchen Tools Needed
- Mixing bowl
- Measuring cups and spoons
- Rolling pin
- Cookie cutters or a sharp knife
- Frying pan or skillet
- Clean kitchen towel
Step-by-Step Instructions
- In a mixing bowl, combine the warm milk, warm water, sugar, dry yeast, and 1 cup of flour. Stir well until everything is mixed.
- Cover the bowl with a clean kitchen towel and let it ferment for about 15 minutes until bubbly.
- Once bubbly, add the vegetable oil, remaining 4 cups of flour, and salt to the mixture. Stir until well combined.
- Knead the dough for 3-4 minutes until it feels medium soft and not sticky. If it sticks to your hands, lightly dust with a little extra flour.
- Cover the dough again and let it rest for 30 minutes in a warm spot. This helps to develop the texture.
- After resting, gently remove the air from the dough and roll it out on a lightly floured surface to a thickness of 7-8 mm.
- Use cookie cutters or a knife to cut out various shapes from the rolled dough.
- Place the cutouts on a clean towel, covering them to prevent drying while you repeat with the remaining dough.
- Heat oil in a frying pan over medium heat. Once hot, fry the dough shapes on both sides until golden brown, about 2-3 minutes per side.
- Remove from the pan and place on a paper towel to absorb excess oil. Serve warm, and enjoy!
Pro Tips
- Be sure your liquids are warm but not hot; too much heat can kill the yeast.
- Knead just enough to bring the dough together; over-kneading can result in tough bites.
- Fry in small batches to avoid overcrowding the pan, which can lower the oil temperature and affect cooking time.
- If you prefer a sweeter treat, consider sprinkling sugar over the finished dough while it’s still warm.
Common Mistakes
- Using cold ingredients can hinder yeast activation, so always warm your liquids.
- Not allowing the dough to rest properly can result in a dense texture.
- Frying at too high a temperature can cause the outside to burn before the insides are cooked.
- Not covering the dough cutouts can lead to them drying out.
Variations
- Add spices like cinnamon or nutmeg to the dough for a hint of warmth.
- Mix in herbs or garlic for a savory twist, perfect as an appetizer.
- Experiment with fillings by placing small amounts of cheese or jam on the dough before sealing.
- Shape into large buns instead of smaller cutouts for a heartier treat.
Serving Suggestions
These golden fried delights are delightful on their own or can be paired with various dips like yogurt, honey, or your favorite fruit preserves. They can also be used in place of bread at breakfast, served alongside egg dishes or soups.
Storage Instructions
Store any leftovers in an airtight container at room temperature for up to 2 days. For longer storage, refrigerate for up to a week, or freeze for up to a month. Just ensure they’re cool before sealing.
Reheating Tips
Reheat them in a skillet over low heat for a few minutes on each side to restore warmth and a bit of crispiness.
Nutrition Estimate
Approximately 200 calories per serving, with 4g protein, 30g carbohydrates, and 8g fat.
Frequently Asked Questions
Can I use whole wheat flour?
Yes, you can substitute whole wheat flour, but the texture may be denser.
How can I tell when the dough is ready to fry?
The dough should feel soft and slightly puffy. A good test is pressing it lightly; it should spring back.
What oil is best for frying?
Vegetable oil or canola oil works well, as they have a high smoke point.
Can I bake these instead of frying?
While this recipe is designed for frying, you can try baking them at a high temperature, keeping a close eye on timing. They may turn out differently!
This recipe is a great way to get creative in the kitchen, and it’s satisfying to skip the oven while still creating something delicious and warm. Try it out and experience the joy of homemade delights without an oven!
Stovetop Fried Dough Delights
Ingredients
Method
- In a mixing bowl, combine the warm milk, warm water, sugar, dry yeast, and 1 cup of flour. Stir well until everything is mixed.
- Cover the bowl with a clean kitchen towel and let it ferment for about 15 minutes until bubbly.
- Once bubbly, add the vegetable oil, remaining 4 cups of flour, and salt to the mixture. Stir until well combined.
- Knead the dough for 3-4 minutes until it feels medium soft and not sticky. If it sticks to your hands, lightly dust with a little extra flour.
- Cover the dough again and let it rest for 30 minutes in a warm spot.
- After resting, gently remove the air from the dough and roll it out on a lightly floured surface to a thickness of 7-8 mm.
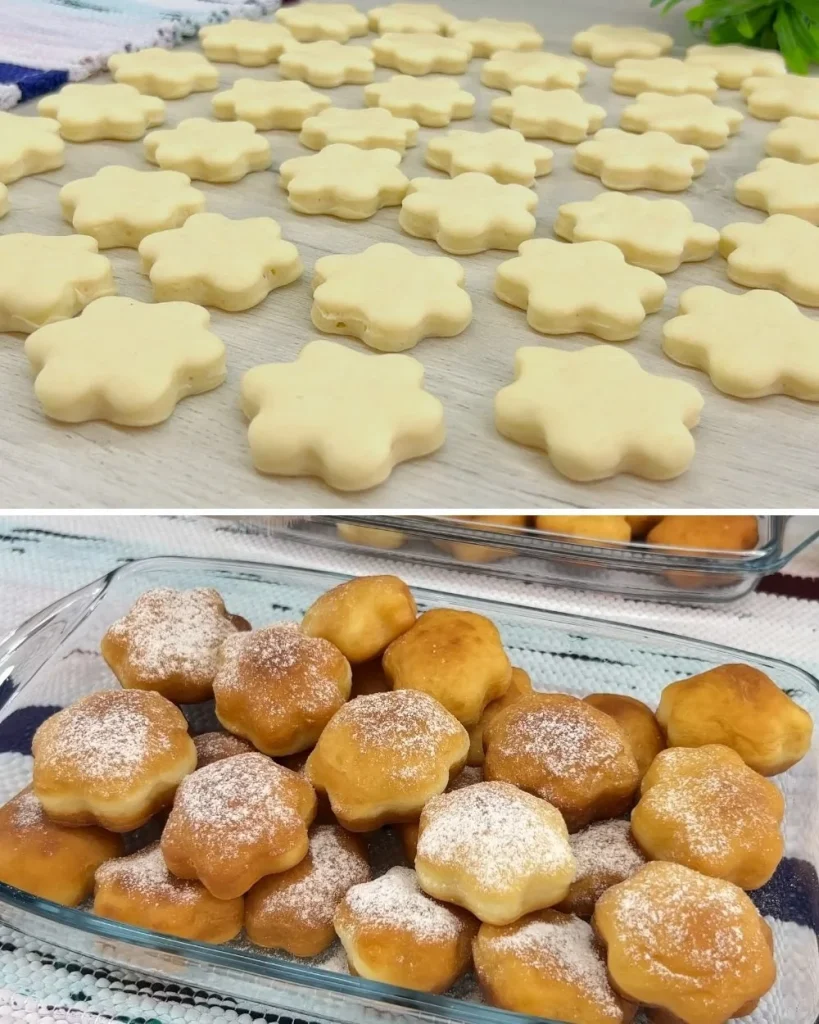
- Use cookie cutters or a sharp knife to cut out various shapes from the rolled dough.
- Place the cutouts on a clean towel, covering them to prevent drying while you repeat with the remaining dough.
- Heat oil in a frying pan over medium heat. Once hot, fry the dough shapes on both sides until golden brown, about 2-3 minutes per side.
- Remove from the pan and place on a paper towel to absorb excess oil. Serve warm, and enjoy!