Oat Flatbread
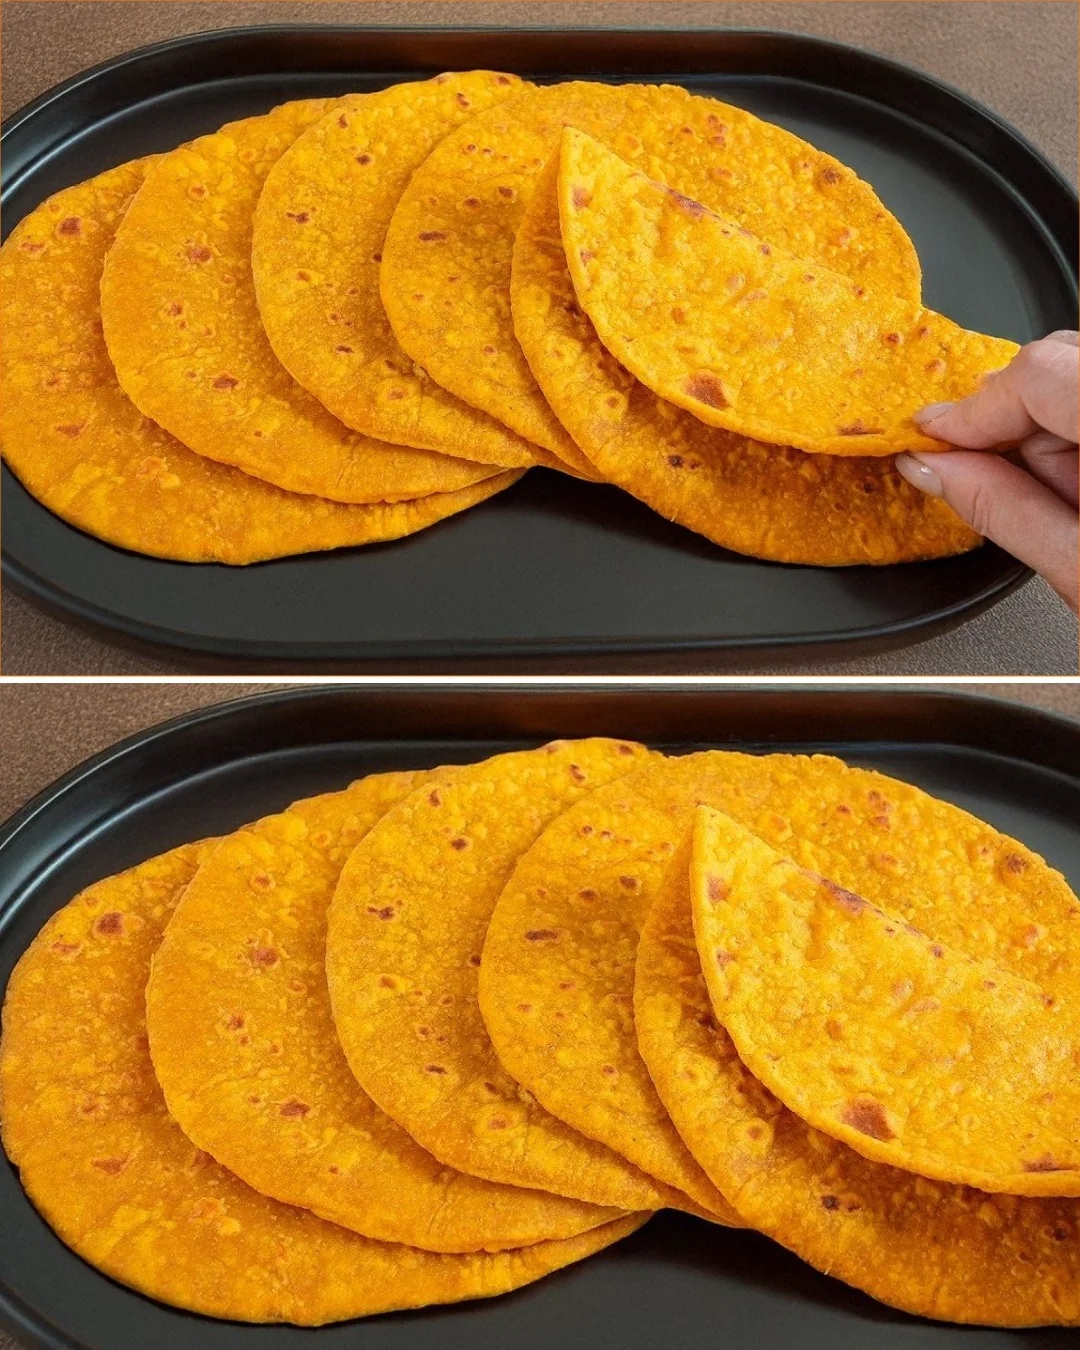
There’s something wonderfully satisfying about making your own flatbreads, especially when they’re healthy and packed with flavor, like these Oat Flatbreads. This simple recipe transforms ordinary rolled oats and fresh veggies into a versatile dough that’s perfect for wrapping around your favorite fillings or enjoying alongside soups and salads. I love how these flatbreads can be whipped up in no time and customized to suit your taste, making them a great choice for busy weeknights or weekend gatherings.
This recipe relies on everyday ingredients, ensuring you can whip it up without a special trip to the grocery store. Plus, they’re naturally gluten-free, making them a perfect option for those with dietary restrictions.
Why You’ll Love This Recipe
- Quick and easy to prepare, taking just about 30 minutes from start to finish.
- Packed with nutrients from carrots and oats, giving you a healthy alternative to store-bought bread.
- Customizable flavors with optional spices like cumin and ginger.
- Perfect for meal prepping—make a batch and enjoy them throughout the week.
- Great for kids; they can get involved in making and shaping the flatbreads!
Ingredients
- 2 1/4 cups (210 g) rolled oats (ground into oat flour)
- 2 medium fresh carrots, peeled and chopped
- 1 small piece of fresh ginger (optional)
- 70 g (1/4 cup) water (just enough to blend)
- 1 teaspoon salt
- 1/2 teaspoon ground cumin (optional)
- 2 tablespoons (30 ml) olive oil
- Extra oat flour for rolling
Ingredient Notes
Using rolled oats that you grind into flour keeps the flatbreads gluten-free and healthy. If you don’t have a blender or food processor, store-bought oat flour works just fine. Fresh carrots not only add moisture but also sweetness, and the ginger provides a lovely warmth if you choose to include it. Cumin adds an earthy flavor, but feel free to leave it out if you prefer a simpler taste.
Kitchen Tools Needed
- Blender or food processor
- Large mixing bowl
- Rolling pin
- Non-stick frying pan
- Knife and cutting board
Step-by-Step Instructions
- Grind the Oats: Start by grinding the rolled oats in a blender or food processor until they form a fine flour.
- Blend the Vegetables: Add the chopped carrots, fresh ginger (if using), water, salt, and ground cumin to the blender. Blend until smooth, creating a thick mixture.
- Combine with Olive Oil: Transfer the carrot mixture into a large bowl and mix in the olive oil until well combined.
- Add Oat Flour: Gradually add the oat flour, kneading it into the mixture. Only add flour until the dough comes together; if sticky, add a touch more.
- Knead the Dough: Knead the dough by hand until it’s smooth and elastic, about 2 to 3 minutes.
- Roll Out the Dough: On a surface dusted with extra oat flour, roll out the dough into a cylinder and cut it into equal small pieces, about the size of a golf ball.
- Shape the Flatbreads: Take each piece and roll it into a ball, then flatten it slightly with your hands.
- Flatten Thinly: Use a rolling pin to roll each ball into a thin circle, roughly 1/8 inch thick.
- Cook the Flatbreads: Heat a non-stick pan over medium heat. Cook each flatbread for about 2-3 minutes or until bubbles form on the surface, then flip and cook for another 1-2 minutes, allowing them to puff up.
- Puffing Technique: For extra puffiness, briefly place the flatbread directly over a flame (if using a gas stove) for a few seconds. Be careful not to burn yourself!
- Serve Warm: Enjoy the oat flatbreads warm with your favorite toppings or dips.
Pro Tips
- Make sure your dough is not too sticky; if it is, adding a little extra oat flour can help.
- Keep the flatbreads warm in a clean kitchen towel as you cook the rest.
- Feel free to mix herbs or spices into the dough for added flavor.
Common Mistakes
- Not blending the mixture smoothly can lead to uneven texture.
- Overcooking the flatbreads can make them tough, so keep an eye on them as they cook.
- Not letting the dough rest can make it harder to roll out evenly.
Variations
- Cheesy Oat Flatbreads: Add shredded cheese into the dough for extra flavor.
- Spicy Flatbreads: Mix in chili flakes or your favorite spices for a kick.
- Herbed Flatbreads: Incorporate fresh or dried herbs like thyme or basil.
- Sweet Flatbreads: Add a bit of honey and cinnamon for a sweet breakfast option.
Serving Suggestions
These flatbreads are fantastic served warm with dips like garlic yogurt or hummus, or you can wrap them around grilled vegetables, meats, or even tofu for a satisfying meal. They can also accompany soups or salads beautifully!
Storage Instructions
Store any leftover flatbreads in an airtight container at room temperature for up to 2 days. If you need to keep them longer, consider refrigerating them for up to a week.
Reheating Tips
Warm flatbreads in a non-stick pan or microwave for a few seconds to soften them before serving. You can also lightly toast them again in a pan to revive their freshness.
Nutrition Estimate
Per flatbread: approximately 100 calories, 3g protein, 15g carbs, and 4g fat.
Recipe Summary
Prep Time: 10 minutes
Cook Time: 20 minutes
Total Time: 30 minutes
Servings: 8 flatbreads
Cuisine: Healthy, Gluten-Free
Course: Bread
Calories: 100 per flatbread
Frequently Asked Questions
Can I freeze the flatbreads?
Yes, once cooled, you can freeze them in a single layer. Just separate them with parchment paper to prevent sticking.
What can I use instead of oats for a different texture?
You can experiment with other gluten-free flours, but make sure they can bind together well.
How can I make these flatbreads vegan?
The recipe is already vegan since it contains no animal products, making it perfect for plant-based diets.
Are these flatbreads filling?
Yes! The oats and carrots provide fiber, making them quite filling while being nutritious.
Enjoy making these delightful oat flatbreads. They’re a healthy and versatile addition to your table, and I’m sure they’ll become a favorite in your kitchen!