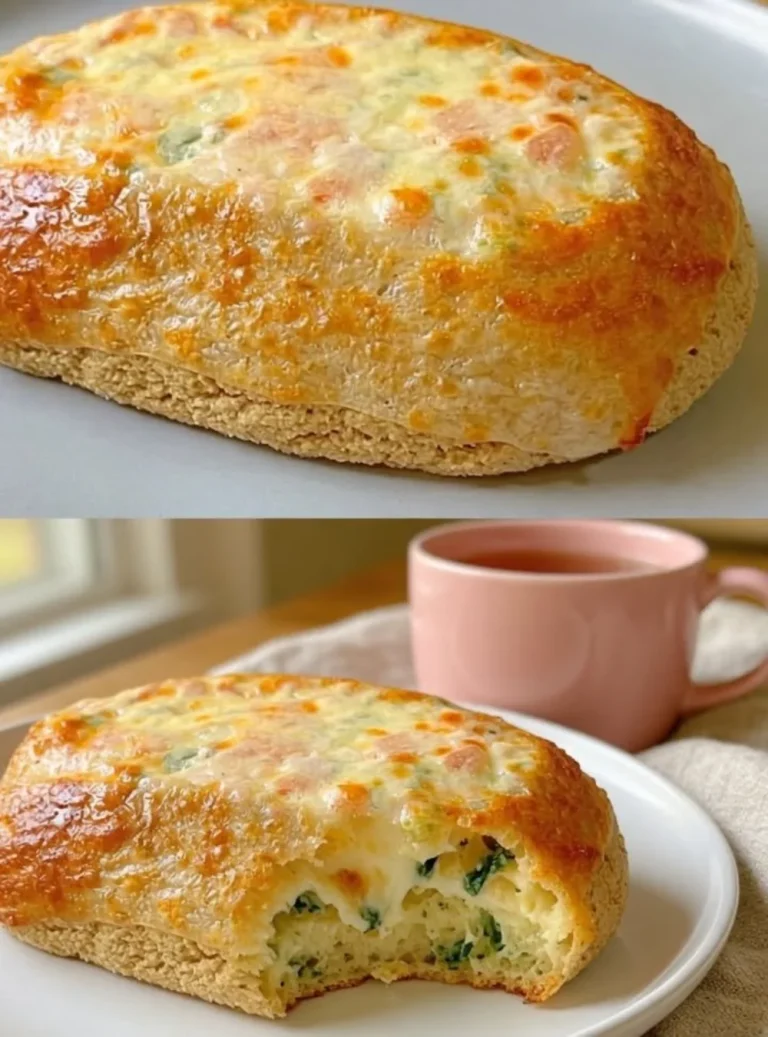
CIABATTA Bread
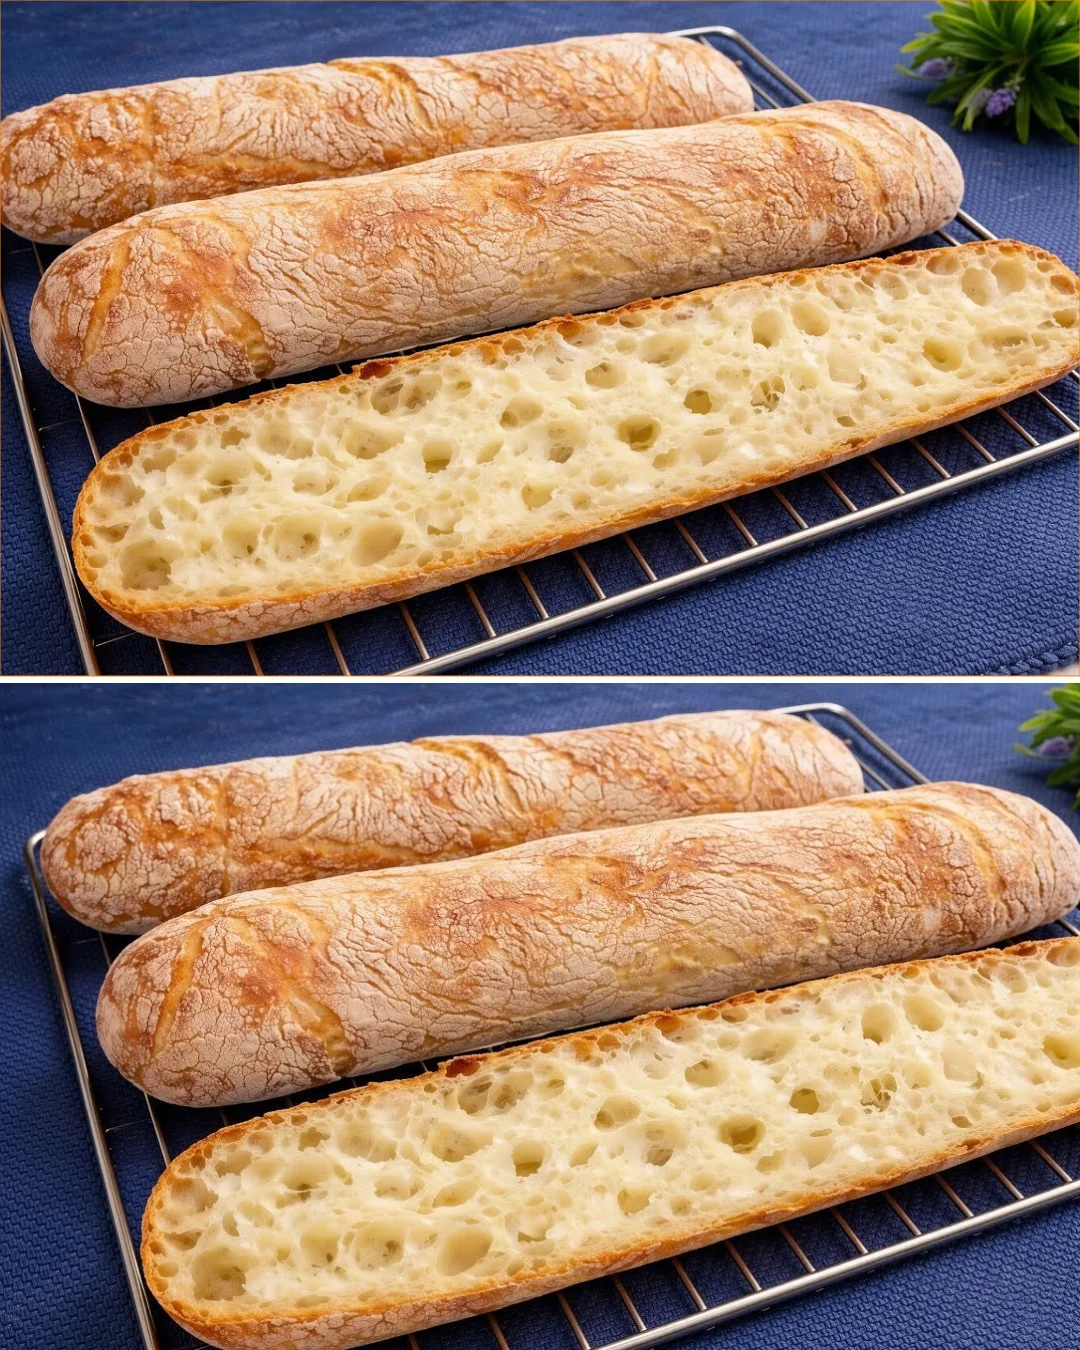
Ciabatta is one of those breads that looks fancy but really comes down to patience, a wet dough, and a little confidence. It’s been trending for a reason: the open crumb, crisp crust, and airy texture make it perfect for sandwiches, dipping into olive oil, or serving alongside soup. I’ve made this style of dough more times than I can count, and the biggest surprise is always how dramatic the dough transformation is after a few folds and rests. At first it feels too soft to handle, but that’s exactly what creates those signature holes and the light, chewy interior. If you’ve only bought ciabatta from the bakery, this homemade version is worth trying. Once you get the timing right, the result is much better than the dense, dry loaves people often end up with on a first attempt.
Why You’ll Love This Recipe
- You get bakery-style ciabatta with a crisp crust and airy crumb at home.
- The dough is simple, using basic pantry ingredients.
- It’s a great make-ahead bread for sandwiches, bruschetta, or dipping.
- The method is forgiving once you understand the texture cues.
- I found the short rest-and-fold technique really improves the final structure.
- It tastes best the same day, but it also freezes well for later.
Ingredients
- 1 cup plus 1 tablespoon (250 ml) warm water, about 100°F to 110°F (38°C to 43°C)
- 2 teaspoons (8 g) sugar
- 2 teaspoons (6 g) active dry yeast
- 6 cups (750 g) all-purpose flour, plus more for dusting
- 1 teaspoon (6 g) fine salt
- 2 cups (475 ml) warm water, added later
- 1 to 2 tablespoons (15 to 30 ml) vegetable oil, for greasing the bowl
- Extra flour, for shaping and handling
Ingredient Notes
All-purpose flour works well here and keeps the bread easy to make at home. The dough is intentionally very wet, which is what gives ciabatta its open, airy interior. If you add too much flour during mixing, the bread will turn tighter and more like a regular loaf.
Active dry yeast needs the first proofing step to wake it up. If your yeast doesn’t foam and smell yeasty after the first rest, it may be old.
Sugar helps the yeast get going, but this is not a sweet bread. The salt is important for flavor and for tightening the dough slightly during mixing.
Warm water should feel comfortably warm, not hot. Too much heat can kill the yeast, and I’ve seen that mistake ruin an otherwise good dough.
Kitchen Tools Needed
- Large mixing bowl
- Measuring cups and spoons
- Kitchen scale, optional but helpful
- Wooden spoon or sturdy spatula
- Plastic wrap or a clean kitchen towel
- Baking sheet
- Parchment paper, optional
- Oven
- Fine-mesh sieve or flour sifter, optional
Step-by-Step Instructions
-
In a large bowl, combine 1 cup (250 ml) warm water, 2 teaspoons (8 g) sugar, and 2 teaspoons (6 g) active dry yeast. Stir gently and let it sit for 5 to 10 minutes, until foamy and fragrant.
-
Add about 4 to 5 tablespoons (30 to 40 g) of the flour and stir until smooth. Cover the bowl with plastic wrap and a kitchen towel. Let this mixture rest for 20 minutes. It should look bubbly and slightly expanded.
-
Stir in the remaining 2 cups (475 ml) warm water. The dough will look loose and a bit messy at this stage, which is normal.
-
Add the remaining flour and 1 teaspoon (6 g) salt. Mix until no dry flour remains. The dough should be sticky, elastic, and very soft. If it feels like a stiff bread dough, it is too dry.
-
Cover the bowl and let the dough rest for 30 minutes.
-
Wet your hands lightly, then lift one side of the dough and fold it over itself. Rotate the bowl and repeat several times, stretching the dough gently as you fold. This helps build structure without kneading. Cover again and let it rest for 1 hour in a warm place.
-
Lightly flour a work surface and your hands. Turn the dough out carefully, trying not to knock out too much air. Gently shape it into a rectangle.
-
Divide the dough into 4 equal pieces. Handle each one as little as possible. Transfer them to a lightly floured baking sheet, seam side down, leaving space between each piece.
-
Cover the pieces loosely and let them rise for 20 minutes. They won’t double dramatically, but they should look slightly puffed.
-
While the dough is rising, preheat the oven to 450°F (230°C).
-
Bake for 15 minutes at 450°F (230°C), then reduce the temperature to 350°F (180°C) and bake for another 10 to 15 minutes, or until the loaves are deeply golden and sound hollow when tapped on the bottom.
-
Cool completely on a wire rack before slicing. This part matters more than people think; slicing too early can make the crumb gummy.
Pro Tips
- Keep the dough wetter than you think it should be. That slack texture is what gives ciabatta its open crumb.
- Use wet hands for folding instead of adding extra flour. I tested this both ways, and flouring heavily made the loaves denser.
- Let the bread cool fully before cutting. Warm ciabatta can seem underbaked because the interior is still setting.
- If your kitchen is cool, let the dough rise in a slightly warm oven that has been turned off.
- Flour the work surface generously, but dust off excess from the top so the crust doesn’t become too dry.
Common Mistakes to Avoid
- Adding too much flour during mixing. This was the first attempt mistake I see most often, and it leads to tight, heavy bread.
- Skipping the folds. Without them, the dough spreads instead of rising with structure.
- Cutting into the bread too soon. The crumb needs time to finish setting.
- Overproofing the final shaped pieces. They should look puffy, not collapsed.
- Using water that is too hot for the yeast.
Variations
- Rosemary ciabatta: Add 1 tablespoon finely chopped rosemary to the dough.
- Olive ciabatta: Fold in 1/2 cup (75 g) chopped pitted olives during the final mix.
- Garlic ciabatta: Brush with garlic butter after baking.
- Sandwich rolls: Shape the dough into 6 smaller pieces instead of 4 for easier sandwich portions.
Serving Suggestions
Serve ciabatta warm or at room temperature with olive oil and balsamic vinegar, alongside soups, or as the base for toasted sandwiches. It also works beautifully for tomato bruschetta, panini, or simply sliced with butter.
Storage Instructions
Store cooled ciabatta in a paper bag or wrapped loosely in a clean kitchen towel for up to 1 day at room temperature. For longer storage, wrap tightly and freeze for up to 2 months. Avoid sealing it in plastic while warm, or the crust will soften too much.
Reheating Tips
For the best texture, warm ciabatta in a 350°F (175°C) oven for 5 to 8 minutes. If the bread is frozen, thaw it first, then reheat. A toaster oven also works well for sliced pieces.
Nutrition Estimate
Per serving, based on 4 servings:
- Calories: 430
- Protein: 12 g
- Carbohydrates: 89 g
- Fat: 1 g
Recipe Summary Card
- Prep Time: 20 minutes
- Cook Time: 25 to 30 minutes
- Total Time: About 2 hours 15 minutes
- Servings: 4
- Cuisine: Italian
- Course: Bread
- Calories: 430 per serving
Frequently Asked Questions
Why is ciabatta dough so wet?
Ciabatta dough is meant to be high-hydration. The wet dough creates the open holes and airy texture that make the bread distinctive.
Can I knead this dough instead of folding it?
You can, but folding works better for this style. It builds strength without making the crumb too tight.
Why didn’t my bread get those big holes?
Usually it’s from adding too much flour, overhandling the dough, or not letting it rise enough.
Can I make this ahead of time?
Yes. You can make the dough earlier in the day and bake it later, as long as it doesn’t overproof.
How do I know when ciabatta is done?
The crust should be deep golden brown, and the bread should sound hollow when tapped on the bottom.
Conclusion
Homemade ciabatta is one of the most rewarding breads to make because the ingredient list is simple, but the results feel special. Once you get comfortable with the soft dough, the folds, and the final bake, it becomes a bread you’ll want to make again and again.
Tested Note
I tested this with both a lightly floured surface and a heavily floured one, and the lighter touch gave a noticeably better rise. Letting the loaves cool completely made the crumb much cleaner when sliced.