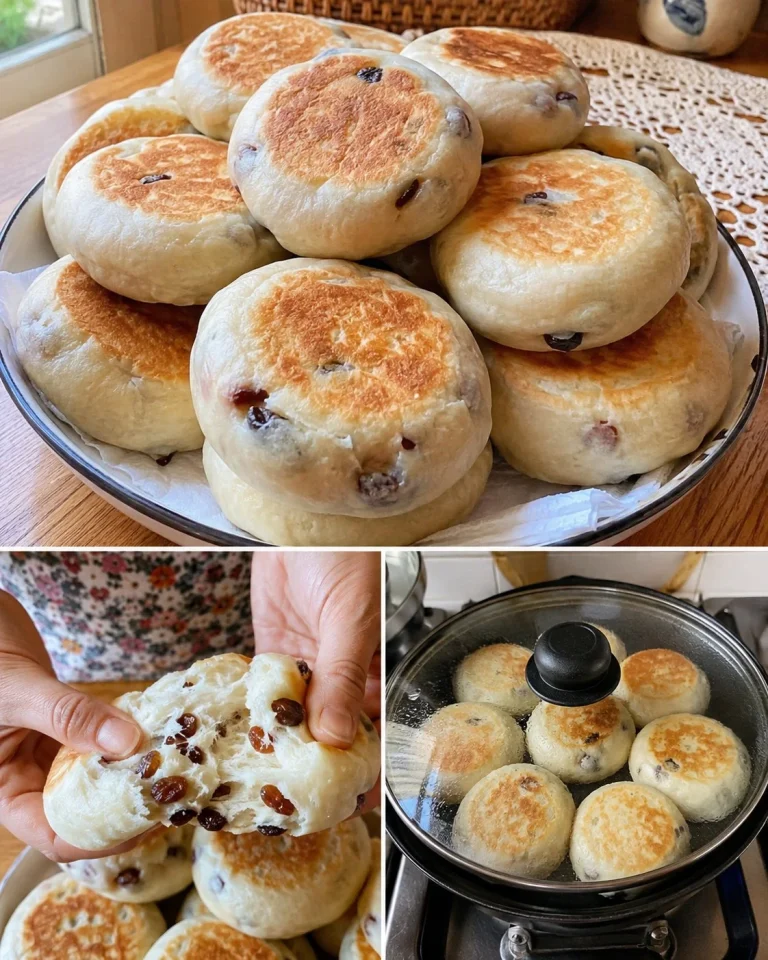
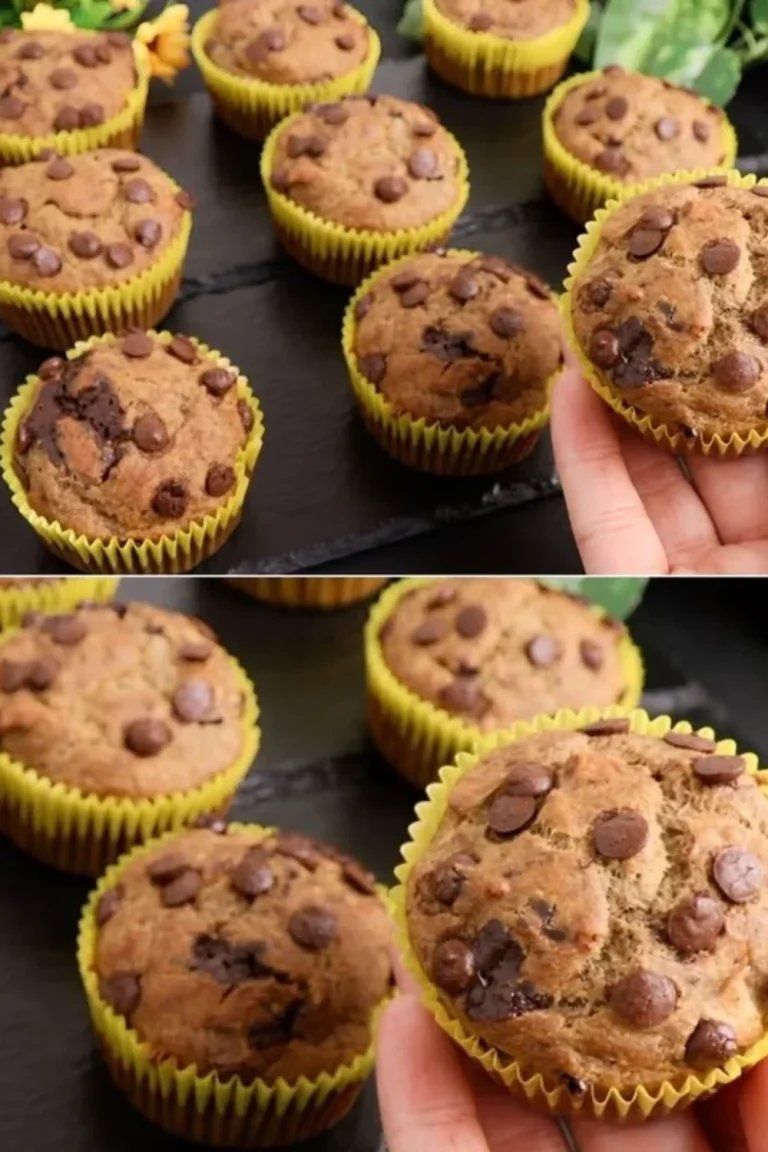
Fluffy Yogurt Bread and Buns: Easy Breakfast Recipe
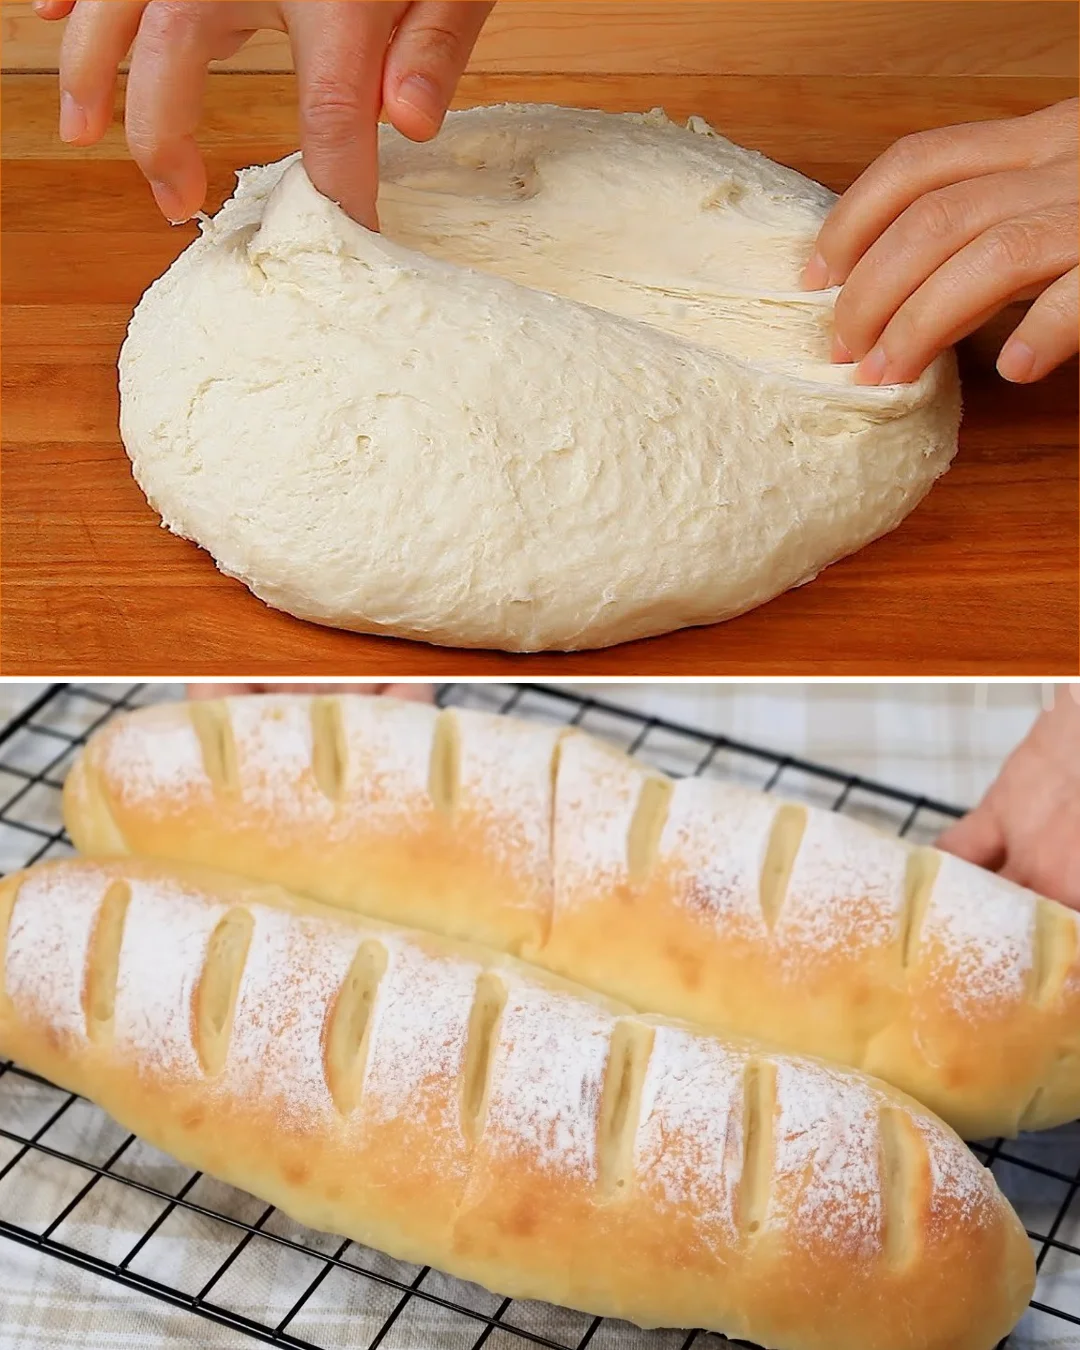
Fresh yogurt bread is one of those bakes that quietly earns a permanent place in the kitchen. It’s soft, lightly sweet, and has that pleasant tang that makes homemade bread taste a little more special than a standard white bun. I’ve found it especially useful on days when I want something comforting but don’t want to wait around for a complicated dough.
What surprised me most during testing was how forgiving the dough is. The yogurt keeps it tender, and a short rest before shaping makes the texture smoother and easier to handle. With a couple of small timing adjustments, this turns into a dependable homemade bread recipe that works well for breakfast, snacks, or a simple side for soup.
Why You’ll Love This Recipe
- Soft, fluffy texture with a subtle yogurt tang
- Easy pantry ingredients, no special equipment needed
- Works well as either bread or buns
- The dough is beginner-friendly and rises nicely
- Tested texture note: a short 5-minute yeast rest made the dough more active and easier to knead
- Great for both sweet and savory serving ideas
Ingredients
- 1 cup plus 2 tablespoons plain yogurt (250 g)
- 3 tablespoons honey (42 g)
- 1 teaspoon instant yeast (3 g)
- 1 large egg
- 2 cups all-purpose flour or bread flour (250 g), plus a little extra for dusting
- 1/2 teaspoon salt (3 g)
- 2 tablespoons olive oil (30 ml)
Ingredient Notes
Yogurt is the ingredient that makes this bread especially soft. I used plain unsweetened yogurt, and a thicker yogurt gave me a slightly better dough because it added moisture without making everything too sticky.
Honey adds gentle sweetness and helps the crust brown beautifully. If you only have a mild honey, that works perfectly.
Instant yeast is convenient because it can go straight into the liquid mixture. I still like giving it a short 5-minute rest so the dough starts off more active.
All-purpose flour gives a tender bun, while bread flour gives a little more chew and structure. Both work well.
Olive oil keeps the crumb soft. Don’t skip it; the dough feels smoother and bakes up less dry.
Kitchen Tools Needed
- Mixing bowl
- Measuring cups and spoons or kitchen scale
- Wooden spoon or spatula
- Clean work surface
- Kitchen towel or plastic wrap
- Baking sheet
- Parchment paper
- Pastry brush
Step-by-Step Instructions
- In a large bowl, combine the yogurt, honey, and instant yeast. Stir well and let it sit for 5 minutes.
- The mixture may look slightly foamy or loose. That’s normal and tells you the yeast is waking up.
- Add the egg and whisk until smooth.
- Add the flour, salt, and olive oil. Stir until a shaggy dough forms.
- Knead the dough on a lightly floured surface for 8 to 10 minutes, or until it becomes smooth and elastic.
- If the dough feels sticky at first, resist adding too much extra flour. It should soften as you knead.
- Place the dough in a lightly greased bowl, cover it, and let it rise in a warm spot until doubled in size, about 1 to 1 1/2 hours.
- Turn the risen dough onto your work surface and gently press out the air.
- Divide the dough in half and shape each piece into a smooth ball. Cover and rest for 15 minutes.
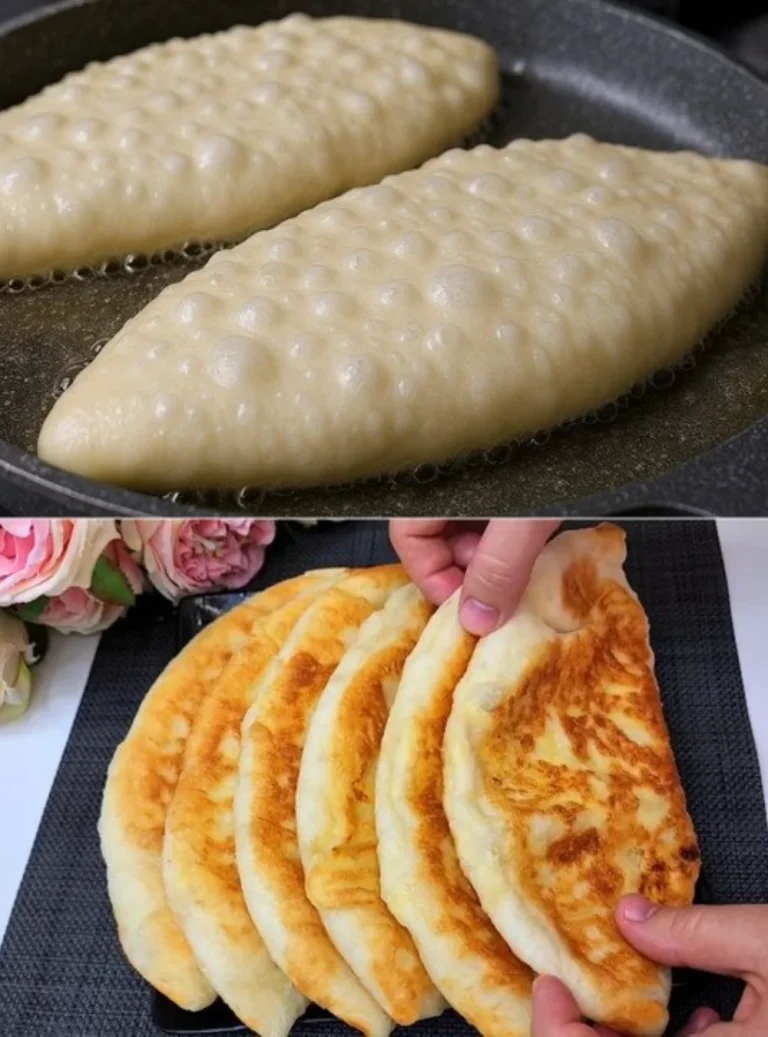
- Flatten one dough ball into an oval or round shape. Roll it up tightly, then pinch the seam closed.
- To make a bun-style finish, you can leave it rolled as is or shape it slightly into a neat log.
- If you want the classic decorative look, make shallow cuts on top with a sharp knife or razor, being careful not to cut too deeply.
- Place the shaped dough on a parchment-lined baking sheet. Cover and let it rise again until puffy, about 45 minutes.
- Preheat the oven to 375°F (190°C).
- Brush the tops lightly with water and dust with a thin layer of flour.
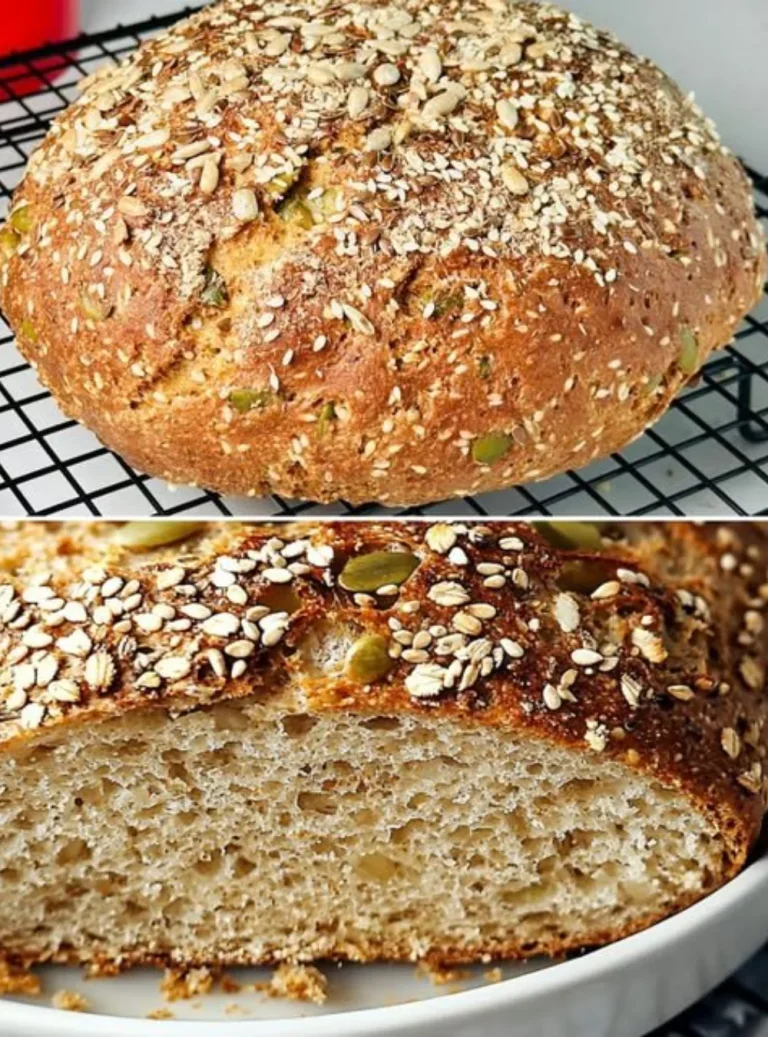
- Bake for 20 to 25 minutes, or until the bread is golden and sounds hollow when tapped on the bottom.
- If the top browns too quickly, tent it loosely with foil during the last few minutes.
- Remove from the oven and let cool on a rack for at least 15 minutes before slicing.
- For the second version, follow the same method, but use the alternate ingredient set: yogurt, egg, sugar, yeast, flour, salt, and olive oil, then finish the warm bread with unsalted butter after baking.
Pro Tips
- For the softest crumb, keep the dough slightly tacky before kneading. Too much flour can make the bread dense.
- If your kitchen is cool, let the dough rise in a turned-off oven with the light on.
- Brushing with water before baking helps the flour topping stick and gives a classic bakery-style finish.
- The second rise matters. The dough looks almost ready before it actually is, and that extra 45 minutes improves the texture a lot.
- I found the bread slices best after it has cooled a bit. Cutting too early makes the crumb seem gummy even when it’s fully baked.
Common Mistakes to Avoid
- Adding too much flour during kneading. This was my first-attempt mistake, and it made the bread noticeably less tender.
- Baking before the second rise is complete. The loaf or buns won’t have the same light interior.
- Using cold yogurt and cold egg straight from the fridge. Room-temperature ingredients blend more easily.
- Cutting the dough too deeply when scoring. Shallow cuts work best and keep the shape intact.
Variations
- Add 1 teaspoon cinnamon and a little extra honey for a lightly sweet breakfast bread.
- Mix in sesame seeds or poppy seeds on top before baking for more texture.
- Use bread flour for a slightly chewier, more structured bun.
- For a richer finish, brush the warm bread with melted butter instead of leaving it plain.
Serving Suggestions
This yogurt bread is excellent warm with butter, jam, or cream cheese. It also works well alongside soup, roasted vegetables, or eggs for breakfast. If you make the butter-finished version, it leans a little more like a soft dinner roll and tastes especially good fresh from the oven.
Storage Instructions
Store cooled bread in an airtight container at room temperature for up to 2 days. For longer storage, wrap tightly and refrigerate for up to 5 days. You can also freeze it for up to 2 months.
Reheating Tips
Warm slices in a toaster oven or a 300°F (150°C) oven for 5 to 8 minutes. If reheating a whole bun, cover loosely with foil so the outside does not dry out. A quick microwave works in a pinch, but the crust will soften.
Nutrition Estimate
Per serving, based on 6 servings for the first version:
Calories: about 210
Protein: 6 g
Carbs: 31 g
Fat: 7 g
Recipe Summary Card
- Prep Time: 20 minutes
- Cook Time: 20 to 25 minutes
- Total Time: About 2 hours
- Servings: 6
- Cuisine: Homemade
- Course: Bread
- Calories: About 210 per serving
Frequently Asked Questions
Can I use Greek yogurt?
Yes, but if it is very thick, add 1 to 2 teaspoons of water or milk to help the dough come together more easily.
Can I make this without honey?
You can replace the honey with an equal amount of sugar, but the flavor will be slightly less rounded and the crust may brown a little differently.
Why is my dough sticky?
Yogurt dough is naturally a bit soft. Lightly flour your hands and knead a little longer before adding more flour.
Can I make this into one loaf instead of buns?
Yes. Shape the dough into a small loaf, let it rise, and bake it on a parchment-lined sheet until golden and cooked through.
How do I know it is baked enough?
The top should be golden, and the bottom should sound hollow when tapped. If you have a thermometer, the center should reach about 190°F to 200°F (88°C to 93°C).
Conclusion
This yogurt bread is simple, flexible, and genuinely satisfying to make at home. Whether you choose the honey version or the slightly sweeter butter-topped version, you get a soft, bakery-style result with very little fuss. It’s the kind of recipe that feels easy enough for a weekday, but special enough to share.
Tested Note
I tested the dough with both all-purpose flour and bread flour, and both worked well, but the bread flour version had a slightly chewier finish. I also found that the 15-minute rest before shaping made the dough much easier to roll without springing back.